Using 3D scanning and printing in the classroom to create character models for drawing studies
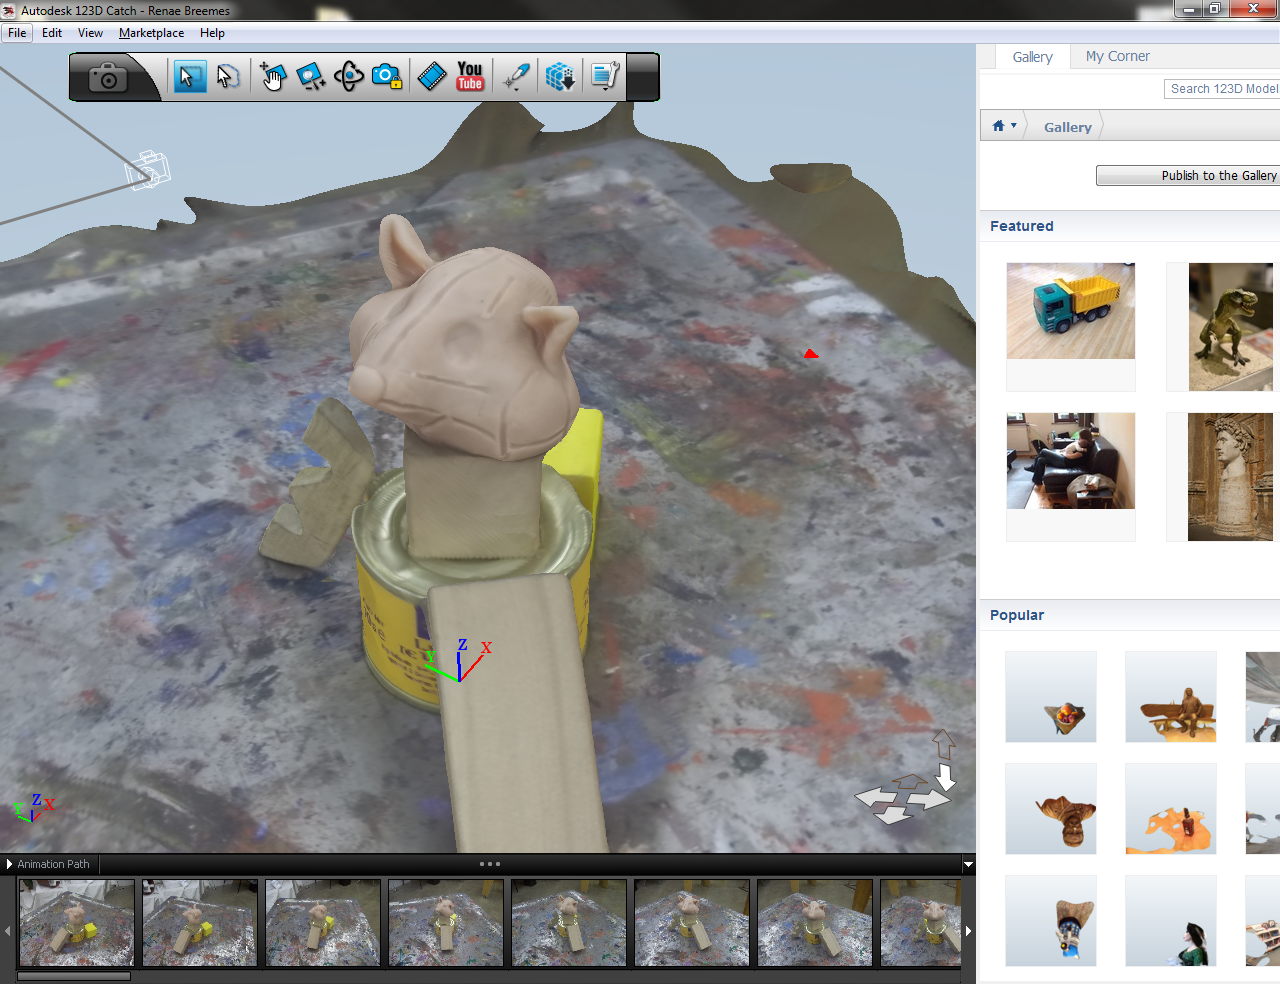
I’ve spent a considerable amount of time this semester researching and experimenting with various 3D scanning systems with the eventual goal of scanning student pieces in some sort of curricular activity. I started off by scanning objects (including lots of cool glass work) using 123D Catch. I learned quite a bit about how to successfully and consistently scan objects using that method, and had enough time left over to experiment with the XBox Kinect and ReconstructMe. That setup is great for scanning people quickly, though it lacks texture and fine details that may be possible with 123D Catch.
I worked with UNK design professor John Stanko to develop a lesson that uses 3D scanning and 3D printing in a way that students could actually find useful. We decided to augment an existing lesson that he does with his Design Illustration I students wherein students create a small figure using Sculpey clay, then manipulate it and draw it in various lighting conditions and expressive variations.
We realized that when using only a single Sculpey model the student is limited to only one or two facial expressions at a time. To explore aesthetic variations (ear styles, eye shapes, costumes etc.) the student may need to spend a fair amount of time modifying their model over and over to get the desired effects. But if they instead created a “skull” of their model and scanned it, we could print them as many copies as they could want so they can explore all the variations they choose!
So on Thursday, April 4th we handed each student a ball of Sculpey and asked them to do just that. By the following Tuesday each student had a small Sculpey head ready to scan!
Scanning the student pieces
On Tuesday, April 9th we attempted to scan each student’s model using my 123D Catch camera rig. I tried to have each student operate the rig and take photos of their piece, which took about 3 hours overall. However, at the last second the venue got changed; instead of scanning in the room that I had been working in all semester, we had to use a smaller room with poor lighting. I was hesitant, but there wasn’t much that could be done about it. As soon as we were done taking photos I ran a few of them through 123D Catch for processing and found my suspicions realized; none of them were successful.
On Thursday I rescanned each piece myself manually, as I had been doing earlier in the semester to much better results. There were about 18 students overall, and it took me around 4 hours to photograph each piece. It then took another 5 hours to process, clean and repair all of the meshes for each student and prepared them for 3D printing.
[flickr-gallery mode=”photoset” photoset=”72157633222150837″]
Printing copies of scanned pieces
Once I had scanned, repaired, cleaned and created plates of all the pieces I was ready to print. From Friday afternoon until Monday night I printed three copies of every student’s piece. This took over 60 hours of print time and about 700-800 grams of plastic! It was quite a lot of work, but I’m very happy with the results!
[flickr-gallery mode=”photoset” photoset=”72157633237625728″]
Repairing cracks using ABS slurry
The first round of printing went quite well, but during the second round the prints were developing some quite pronounced horizontal cracks. I suspect that after having the plastic in my apartment for a day or so the nominal diameter of the filament had changed due to humidity. I adjusted the “Filament Diameter” setting in ReplicatorG to be 1.78 and resliced each plate before starting the third round, which fixed the issue. But I still had a bunch of prints with cracks in them and no time (or enough plastic) to print another round!
So I whipped up a batch of ABS slurry by dissolving small bits of support material and rafts from previous prints in acetone. Depending on how much acetone you use you can alter the consistency of the slurry. I applied the slurry to the cracks, then smeared it in using some gloves. I’m extremely happy with the result!
[flickr-gallery mode=”photoset” photoset=”72157633251136463″]
Coming soon …
Just yesterday (Tuesday, April 16th) I delivered the prints to each student so they can begin creating expressive variations using Sculpey. Next week they will be expected to be ready to start photographing their pieces using various lighting scenarios. These photographs will be used as reference for them to draw from. I’m very much looking forward to what the students produce, and will share what I can here in the future!
