3D printed parts for a 123D Catch camera rig
This semester I am exploring DIY 3D scanning systems for use in undergraduate arts curriculum and have so far been focused on using Autodesk’s 123D Catch program to generate textured 3D models from photographs. This system has been so easy to use that I thought it would make a great platform for helping undergraduate art students get their feet wet with 3D scanning and 3D printing without getting too lost in technical details.
I’ve been experimenting with 123D Catch by photographing, processing and then printing various objects to get a feel for the overall ease-of-use, and have pretty much reached a conclusion that it is the simplest, most engaging free 3D scanning out there today. Other options exist, which I’ll be experimenting with in a little while, but I doubt they can reach the simplicity of 123D Catch.
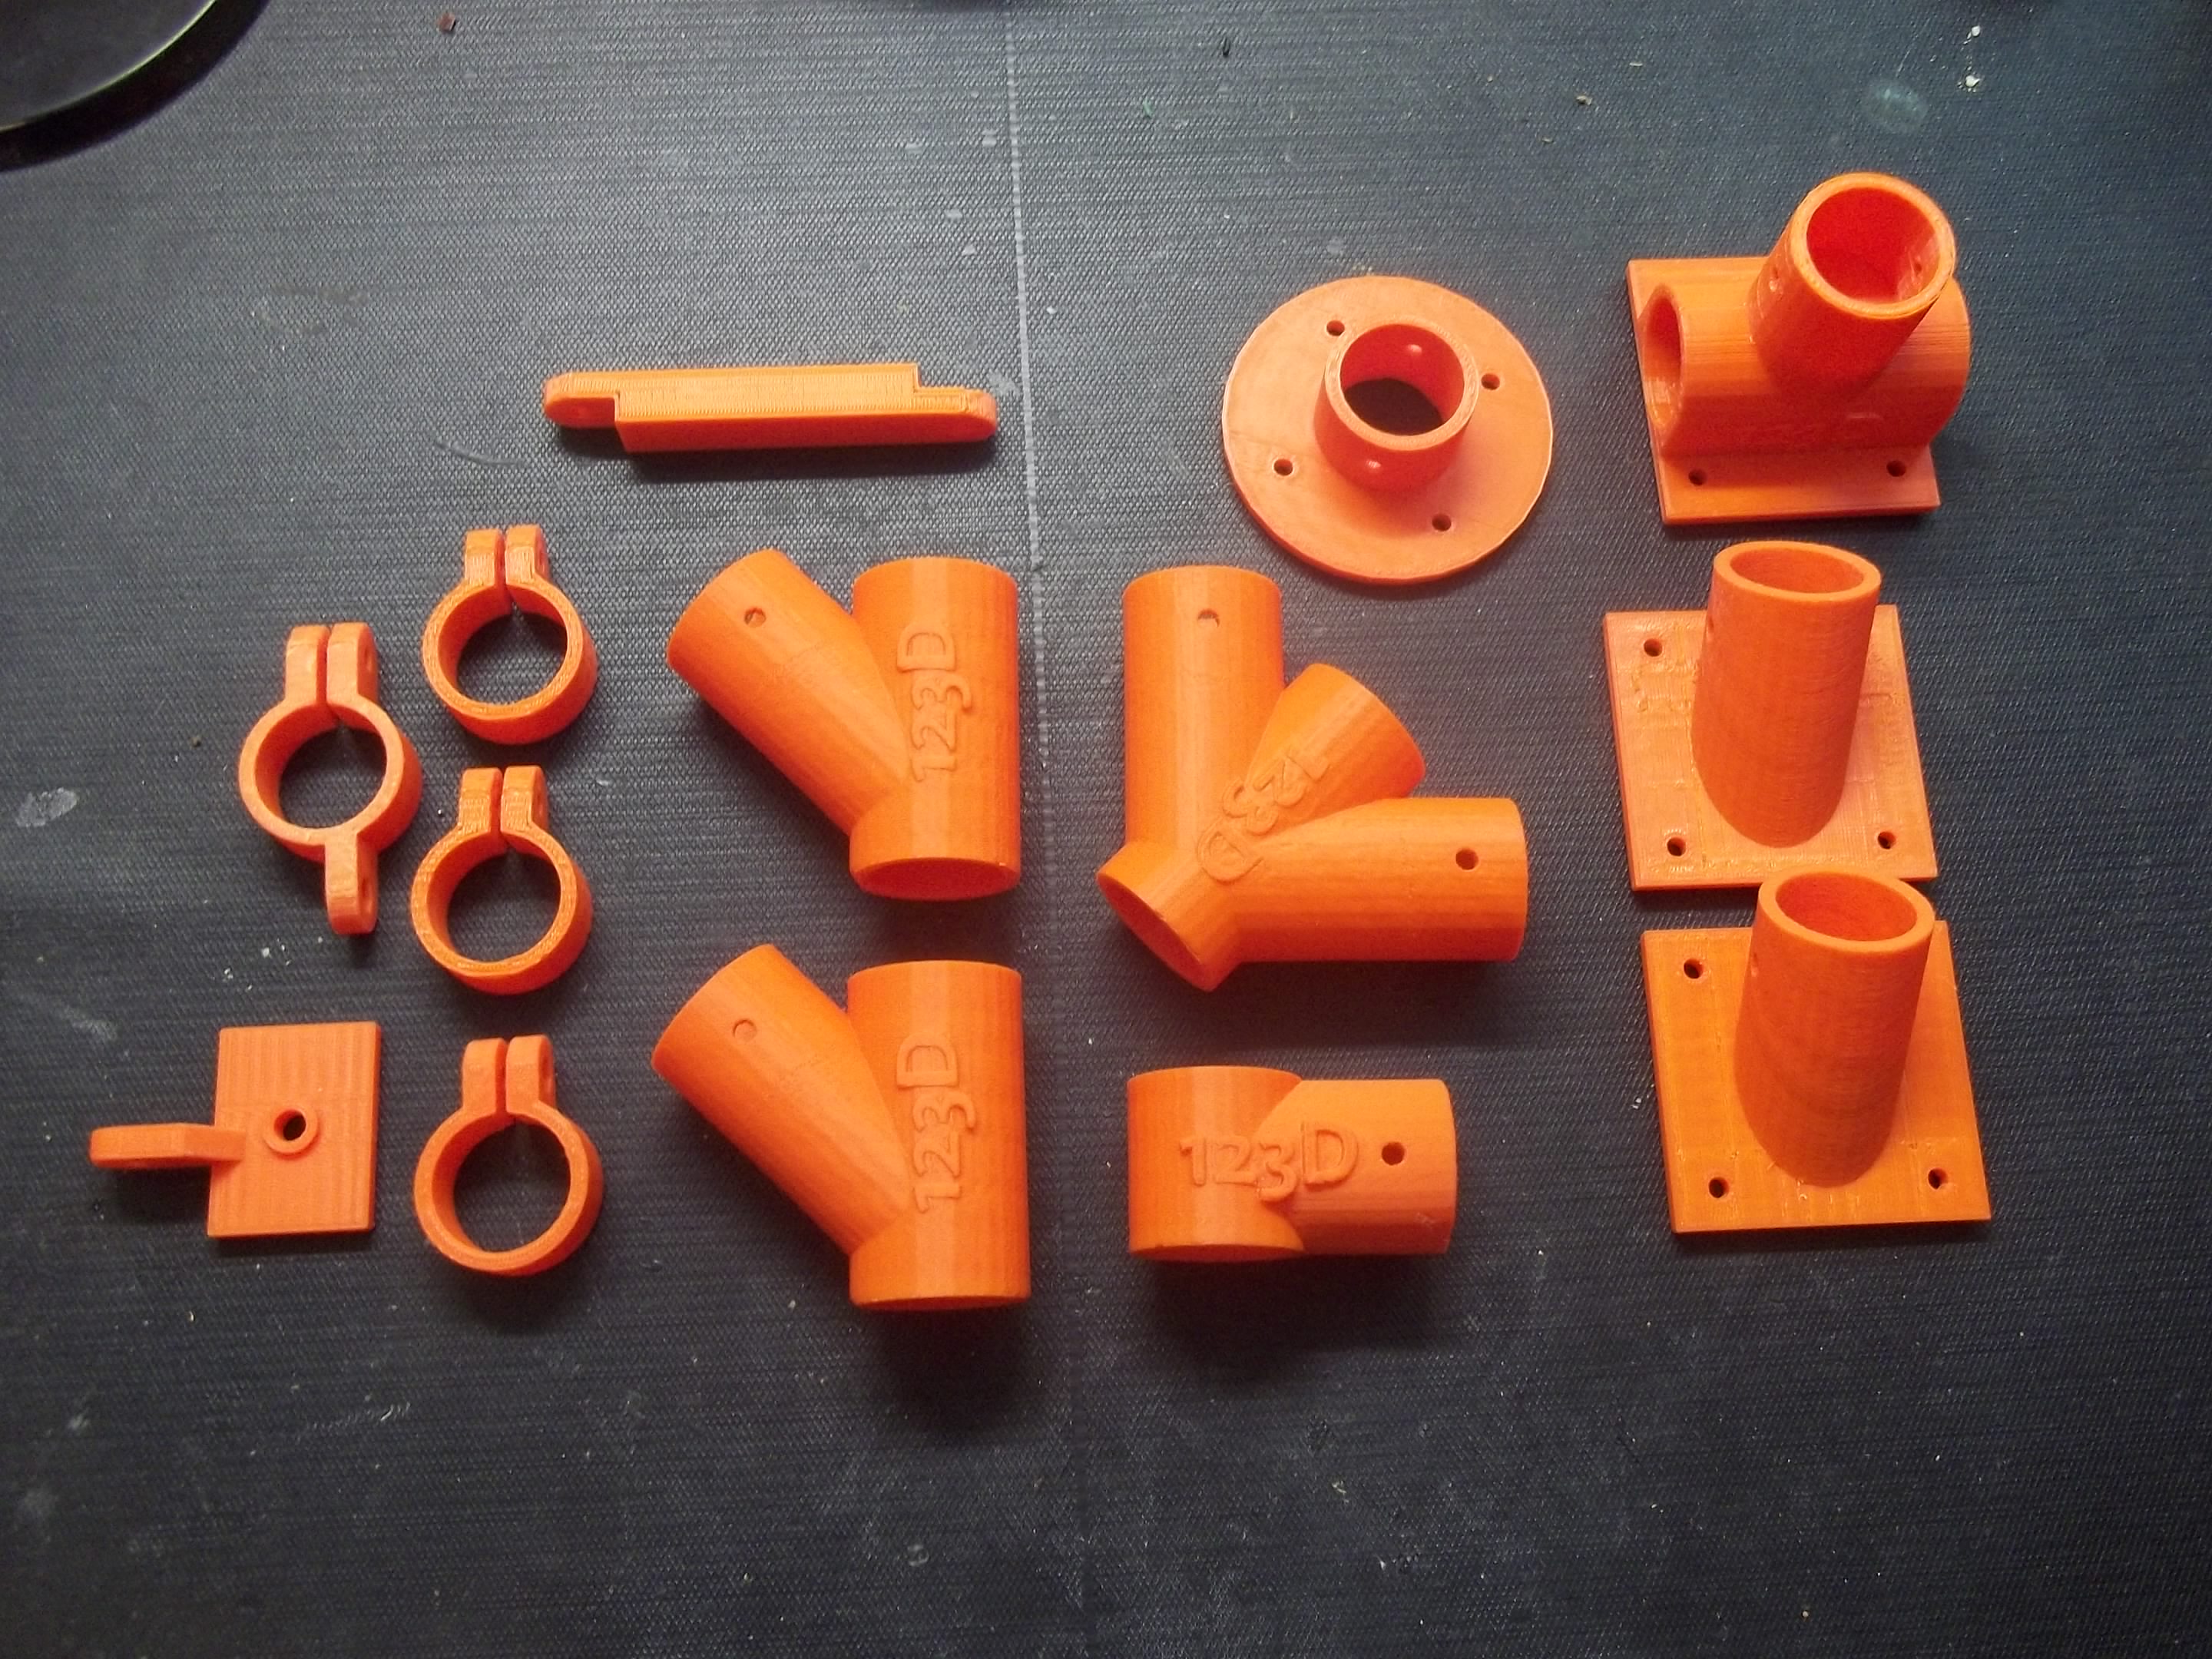
So far, I’ve just been taking photos of objects by physically walking around them and shooting them in circular paths. This seems to work great, but when I came across this neat camera rig for 123D Catch on Thingiverse, I thought it could make it even faster and easier to do.
I printed out each of the parts using 40% infill, 1 shell and 0.27mm layer height with UNK’s Makerbot Replicator at accelerated speeds. They feel very strong and solid and should hold up to some pretty good use. Over the next week or so, I’ll be acquiring the rest of the parts and assembling the rig, so stay tuned.
