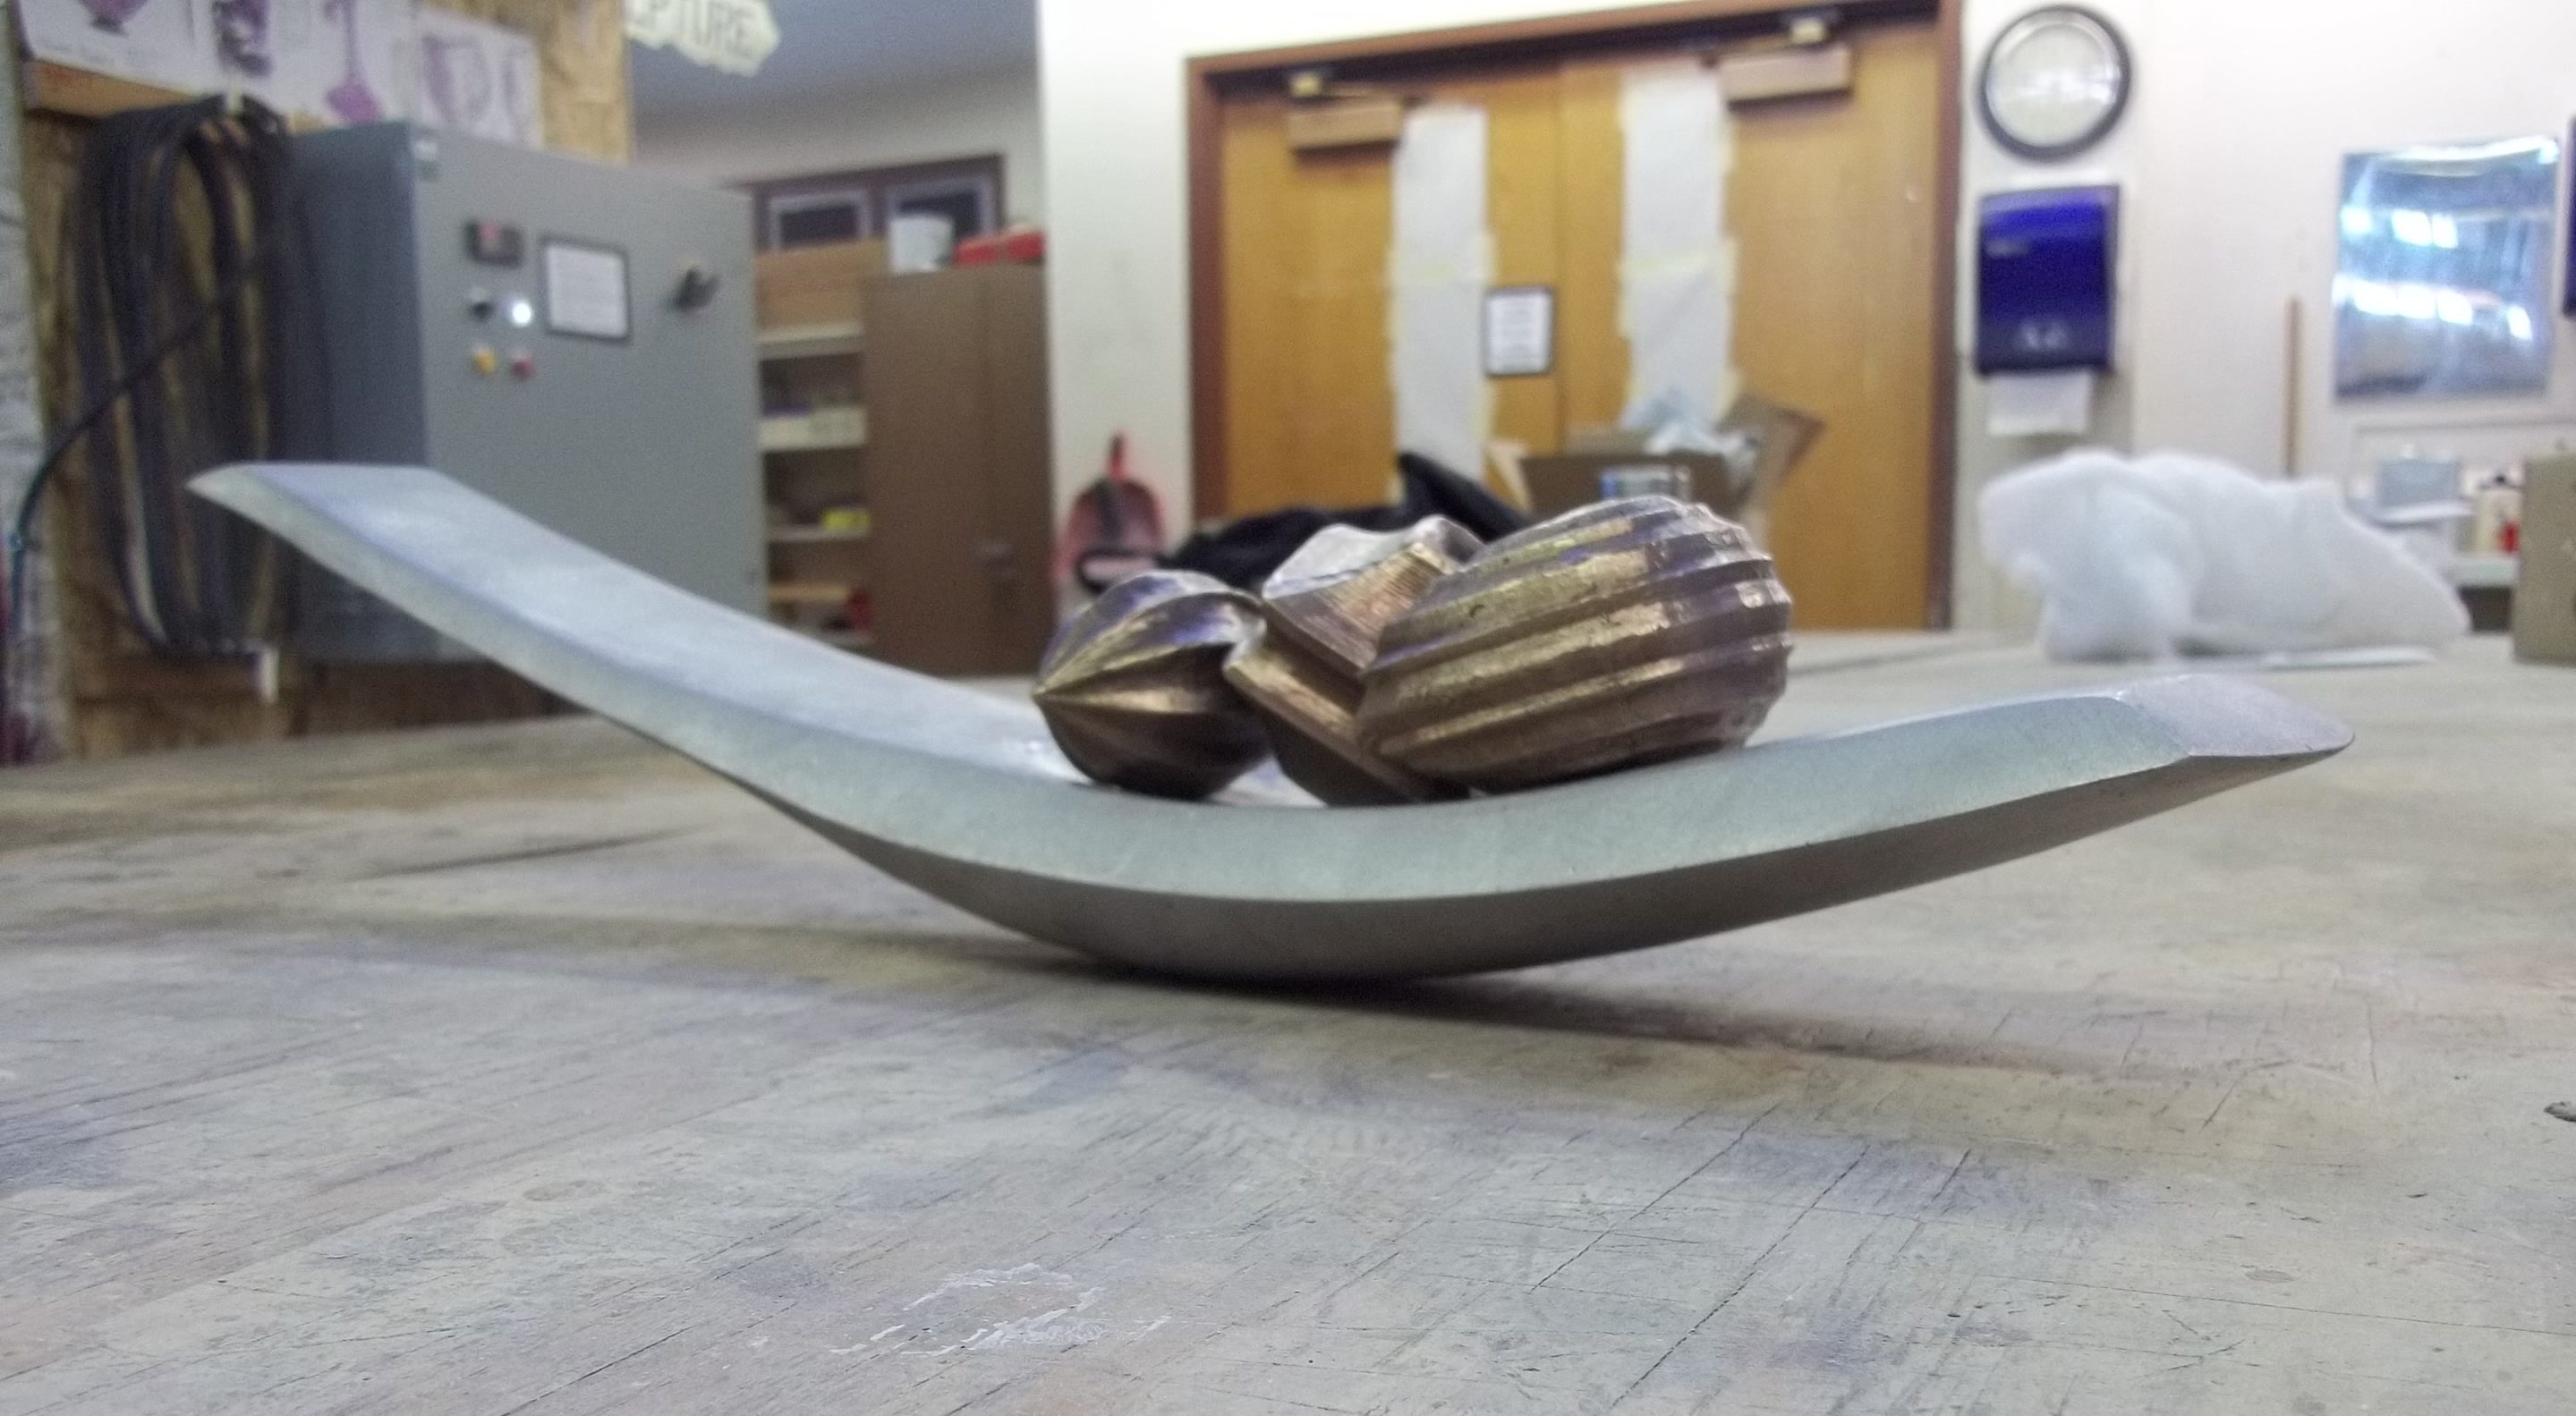
Cast aluminum cradle from carved foam
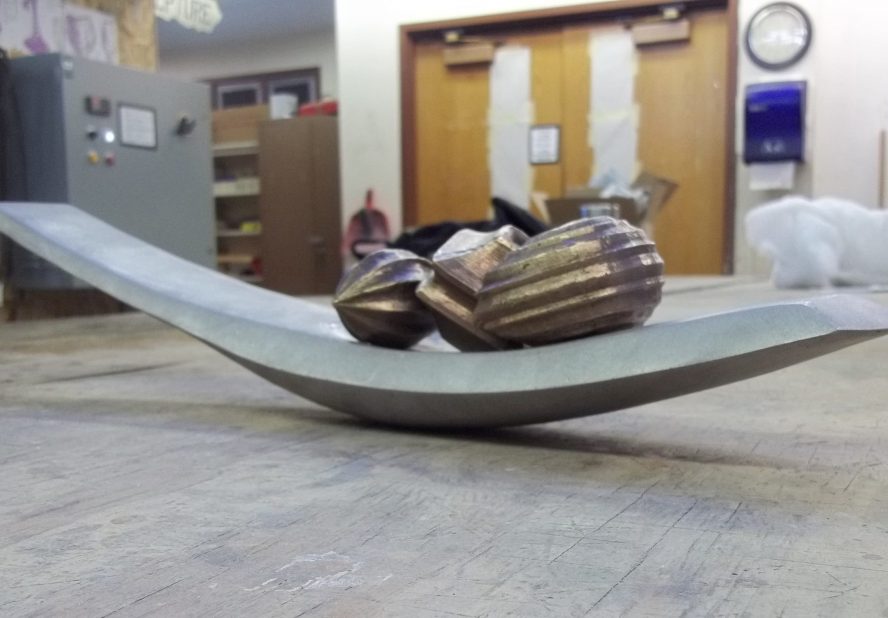
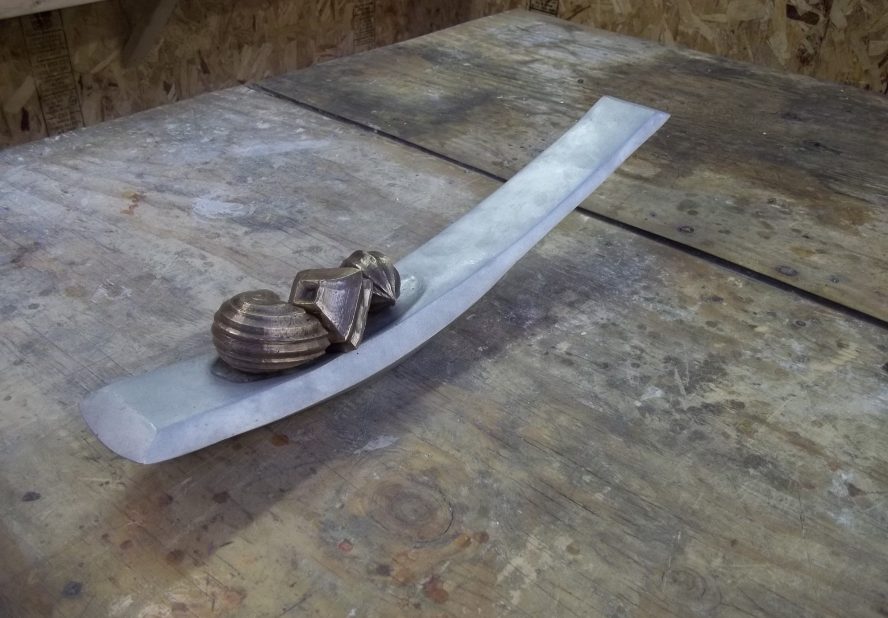
While working on a series of cast bronze supershapes made from 3D printed forms I thought it would be nice to have a visually interesting way to display them. And since I had never done metal casting of any kind before I also thought it would be educational for me to follow the process using less experimental materials and tools, such as insulation foam and rasps.
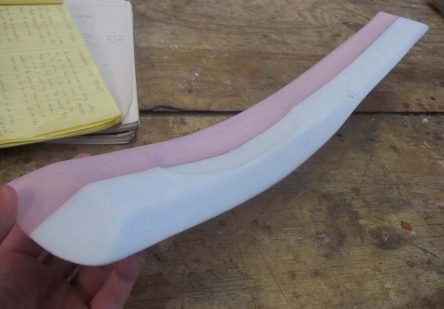
I drew out several rough sketches with dimensioned features to get a basic idea of the size, shape and details I wanted to achieve, then cut and glued together some insulation foam to give myself enough material to work with.
Foam carving
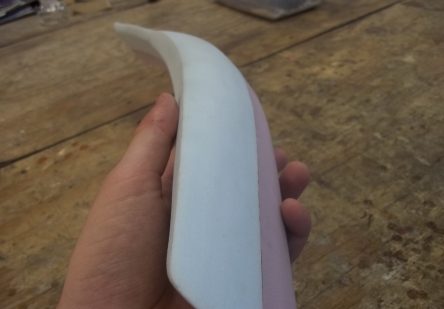
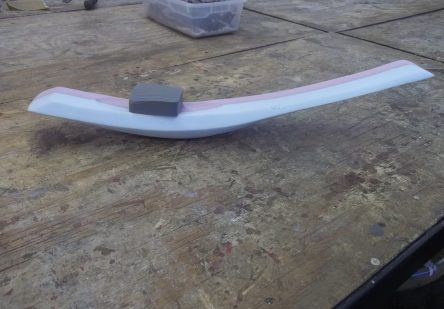
Using several sizes of rasps I began cutting away material from my block of foam, referencing my sketches and measurements as I went along to keep things accurate. I was very pleasantly surprised by how much I enjoyed this process – as I went I felt like it was nearly impossible to truly mess up the model too much. The more I carved, the more I could see the model I wanted emerging, and the fewer measurements I needed to do. I really hope to do more of this in the future!
Once the majority of the material had been cleared away with rasps, I used various sizes of sandpaper to smooth the surface and perfect details and edges to just the way I wanted them.
Gating
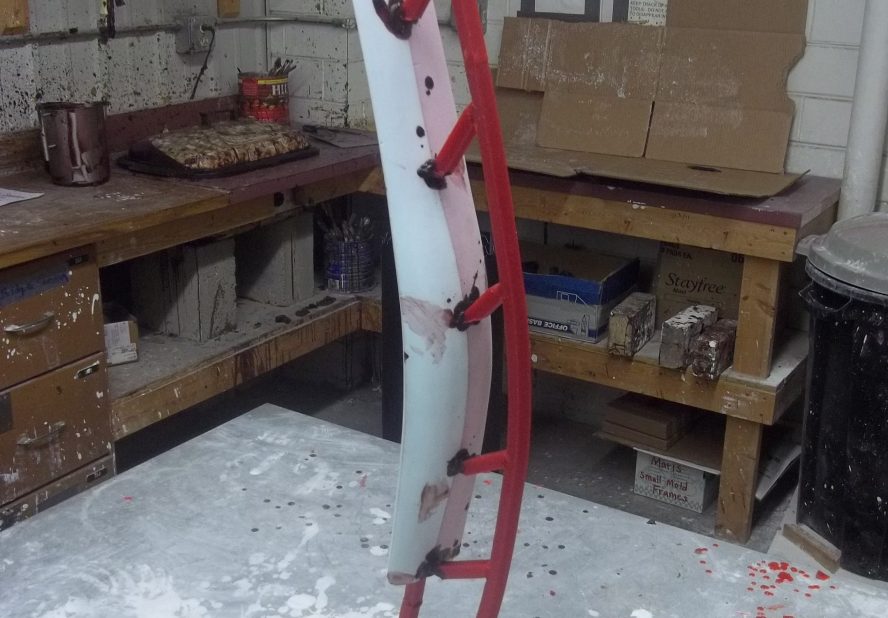
In order to cast this model in metal a system of inlet and outlet channels called ‘gates’ needed to be attached to the model. These allow metal to flow into the mold quickly and evenly while also allowing air to escape as it is displaced by the metal.
Based on the advice of the university’s sculpture professor Chad Fonfara, I attached large pieces of wax every few inches along the piece, aligning the entire thing vertically. This clever design allowed for metal to fill in the model very evenly, yet very quickly, while essentially pushing air upwards through the unfilled channels during the pour.
For the inlet hole we used a large paper cup, providing a nice target for pouring metal into later.
Investment and burnout
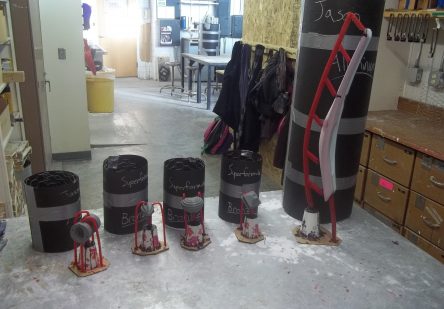
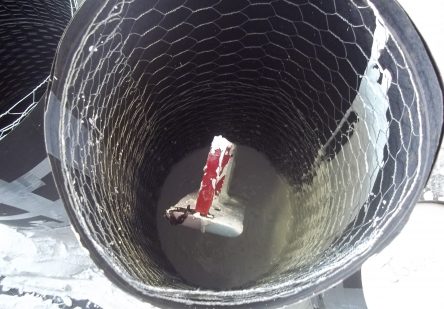
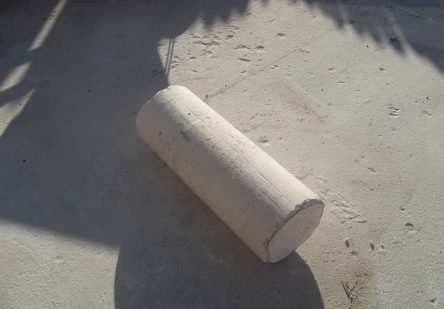
Next up we needed to surround the gated-up model with investment material – essentially a special mixture of plaster and sand. We constructed a circular containment wall using thick wax paper, into which we placed the model and a hoop of chicken wire to add structural integrity to the mold.
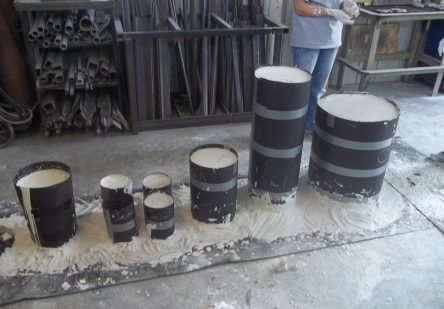
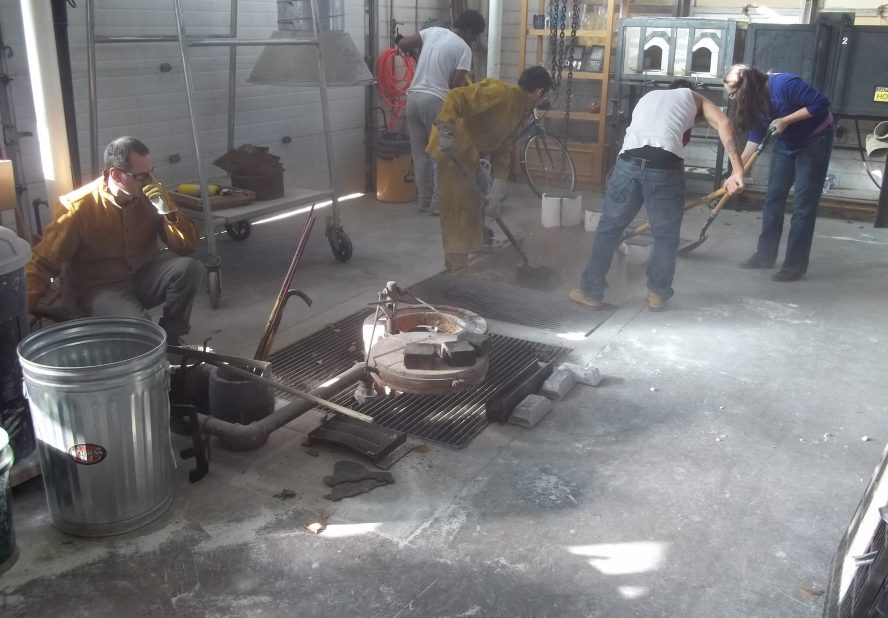
Due to the labor and cost involved in investment casting, my cradle was invested at the same time as a bunch of other student projects from a nearby sculpture class. And given the speed at which the investment material cures, we really needed all hands on deck to mix and pour all the molds as quickly as possible!
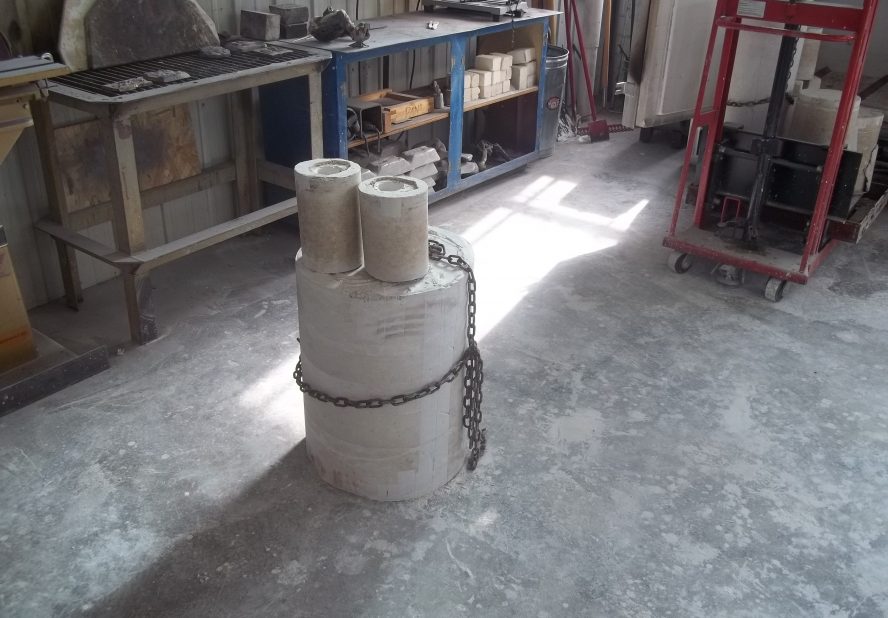
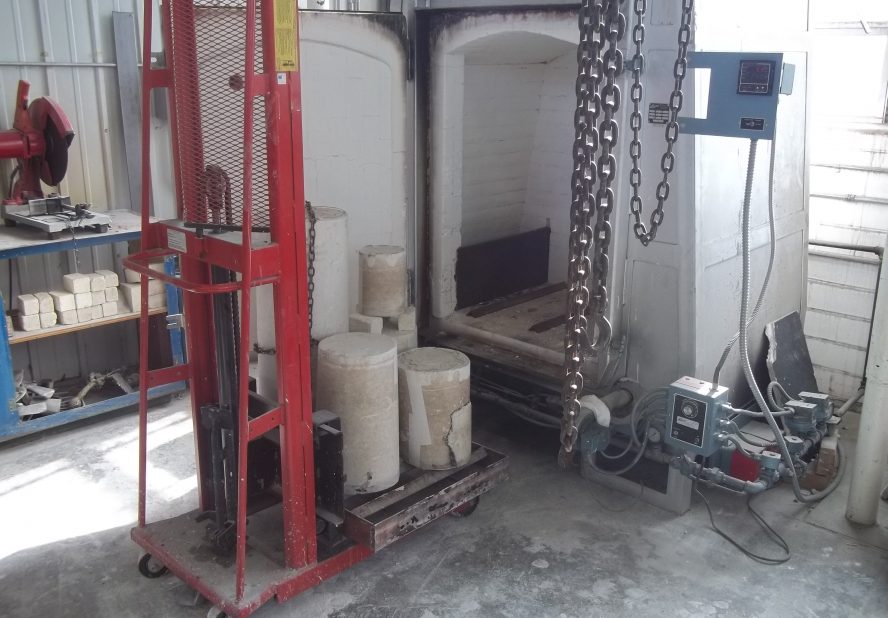
Once all the molds were poured we left them for a little while to cure and set up. As soon as they were ready we removed the wax paper, stacked all the molds up and placed them into the kiln. Over the course of about 48 hours the kiln ran through a carefully programmed heating profile to melt away any wax and burn away any materials and residue leftover. When the cycle finished we were left with perfect, bone-white molds ready for metal casting.
Casting
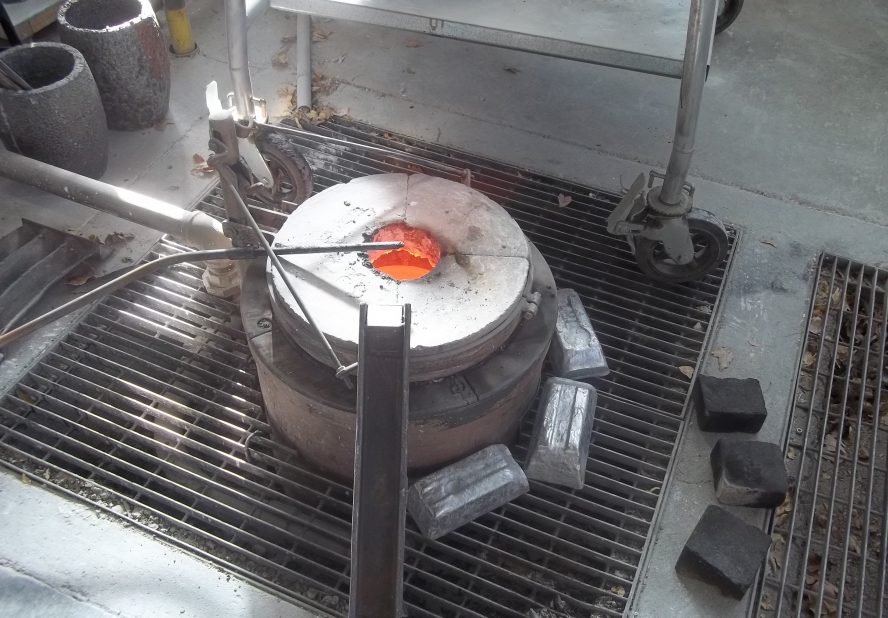
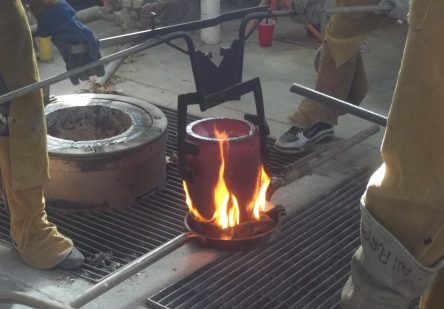
It is vital that the molds don’t have any chance to cool down once the burnout cycle is complete, as that can cause fracturing in the molds and make casting impossible. In preparation for the end of kiln’s heating profile, the professor fired up the crucible furnace and filled the crucible with pieces of aluminum to be liquefied. Once it was near temperature we unloaded the kiln and carefully (but quickly) placed the molds in a pit of sand, covering them up to help preserve the heat during the pouring process.
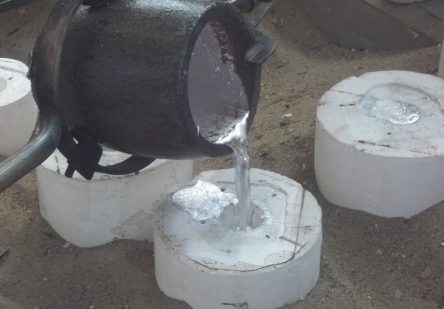
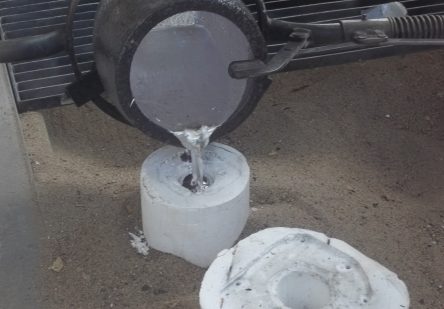
As soon as the aluminum was ready, the professor and an experienced helper suited up in protective gear and set to work carefully lifting the crucible out of the furnace and pouring the molten metal into each of the molds.
At this point the entire studio was extremely warm, but with the amount of excitement and energy in the air from the various students it was hardly noticeable. As the metal was being poured we all kept a safe distance, yet couldn’t help but get as close as we could to see the metal being poured and watch for any complications in our molds.
Demolding
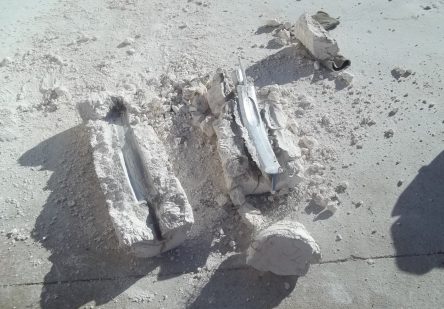
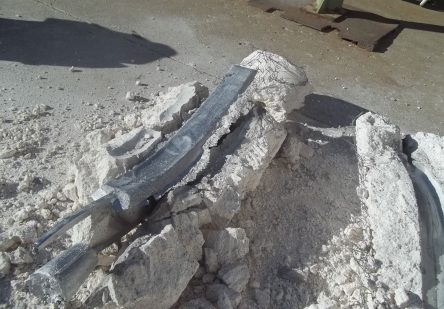
Once all of the metal had been poured all we had to do was wait for the molds to cool down enough to work with, which was about a day for most of us. Once cool enough to handle, I was able to take my mold to the open patio behind the studio and use a combination of hammers, chisels and wire cutters to break apart the mold and cut through the embedded chicken wire.
Rough cleaning
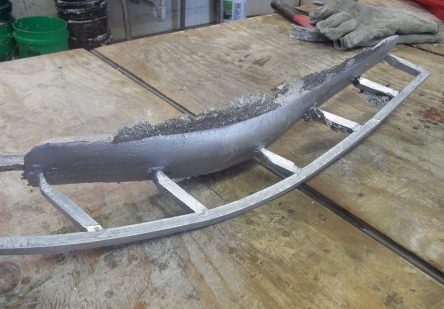
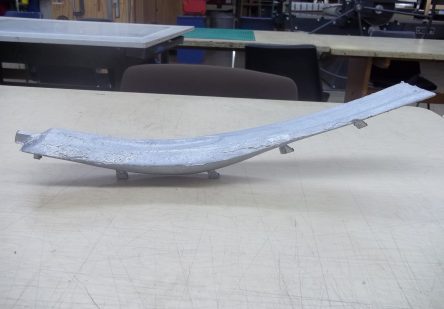
Using an angle grinder with a cutoff wheel I removed the bulk of the gating system in preparation for grinding and smoothing.
Finished piece
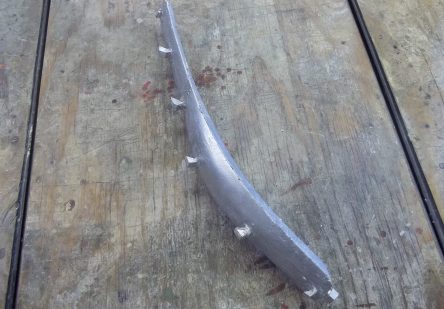
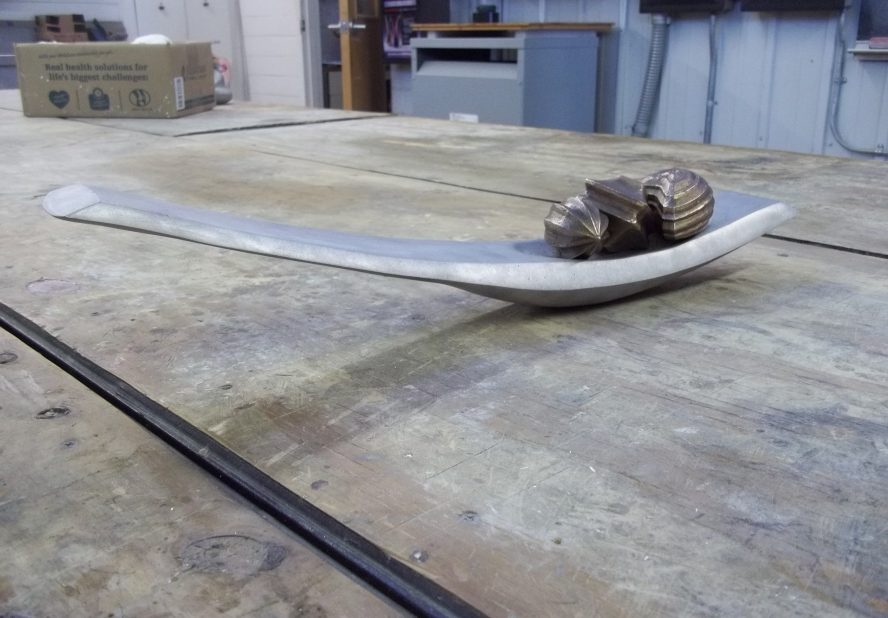
Over the course of couple weeks I worked for a couple hours a day grinding away at my piece using an angle grinder. It took quite a lot of effort to achieve the perfect curves and edges I was looking for, and while I didn’t get it 100% right, I’m very happy with what I ended up with – especially considering it was my first cast aluminum piece!
