Gelatin casting experiment with 3D-printed mold
This semester I’m experimenting with 3D printing in the arts, specifically in mold-making, casting and sculpture. 3D printing has the potential to offer some really important advantages for artists, if its used in the right way. In the last couple of weeks in particular I’ve been thinking about how I could use 3D printing to help in the mold-making process by generating ready-to-use molds, from which castings can be made directly. So I started working on a set of OpenSCAD scripts that generate 2-part molds based on STL models provided by the user :)
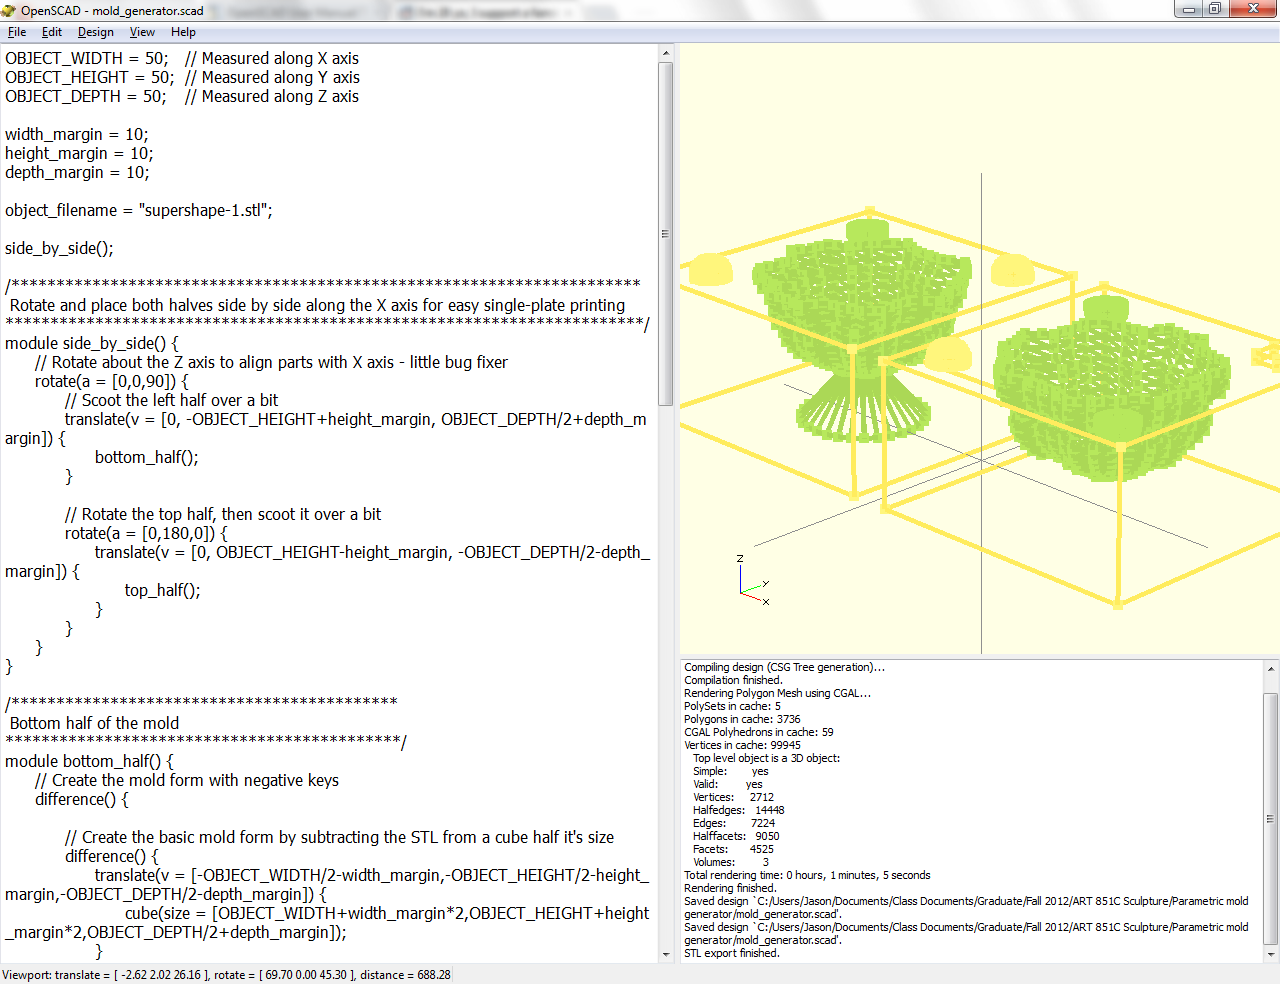
Creating the mold generator script in OpenSCAD
 Thanks to OpenSCAD’s built-in support for parametric CSG modelling, it’s actually very easy to create various types of molds for 3D printing! Here’s a breakdown of the script I’ve come up with to create 2-part molds in OpenSCAD:
- Import and subtract an external STL file from two cubes to create the two halves of the mold
- Add registration marks in the form of matched spheres unioned and differenced from the cubes
- Add one master key to the mold halves (a square) that forces the halves to only fit together in one particular orientation, so you really can’t get the fitting wrong.
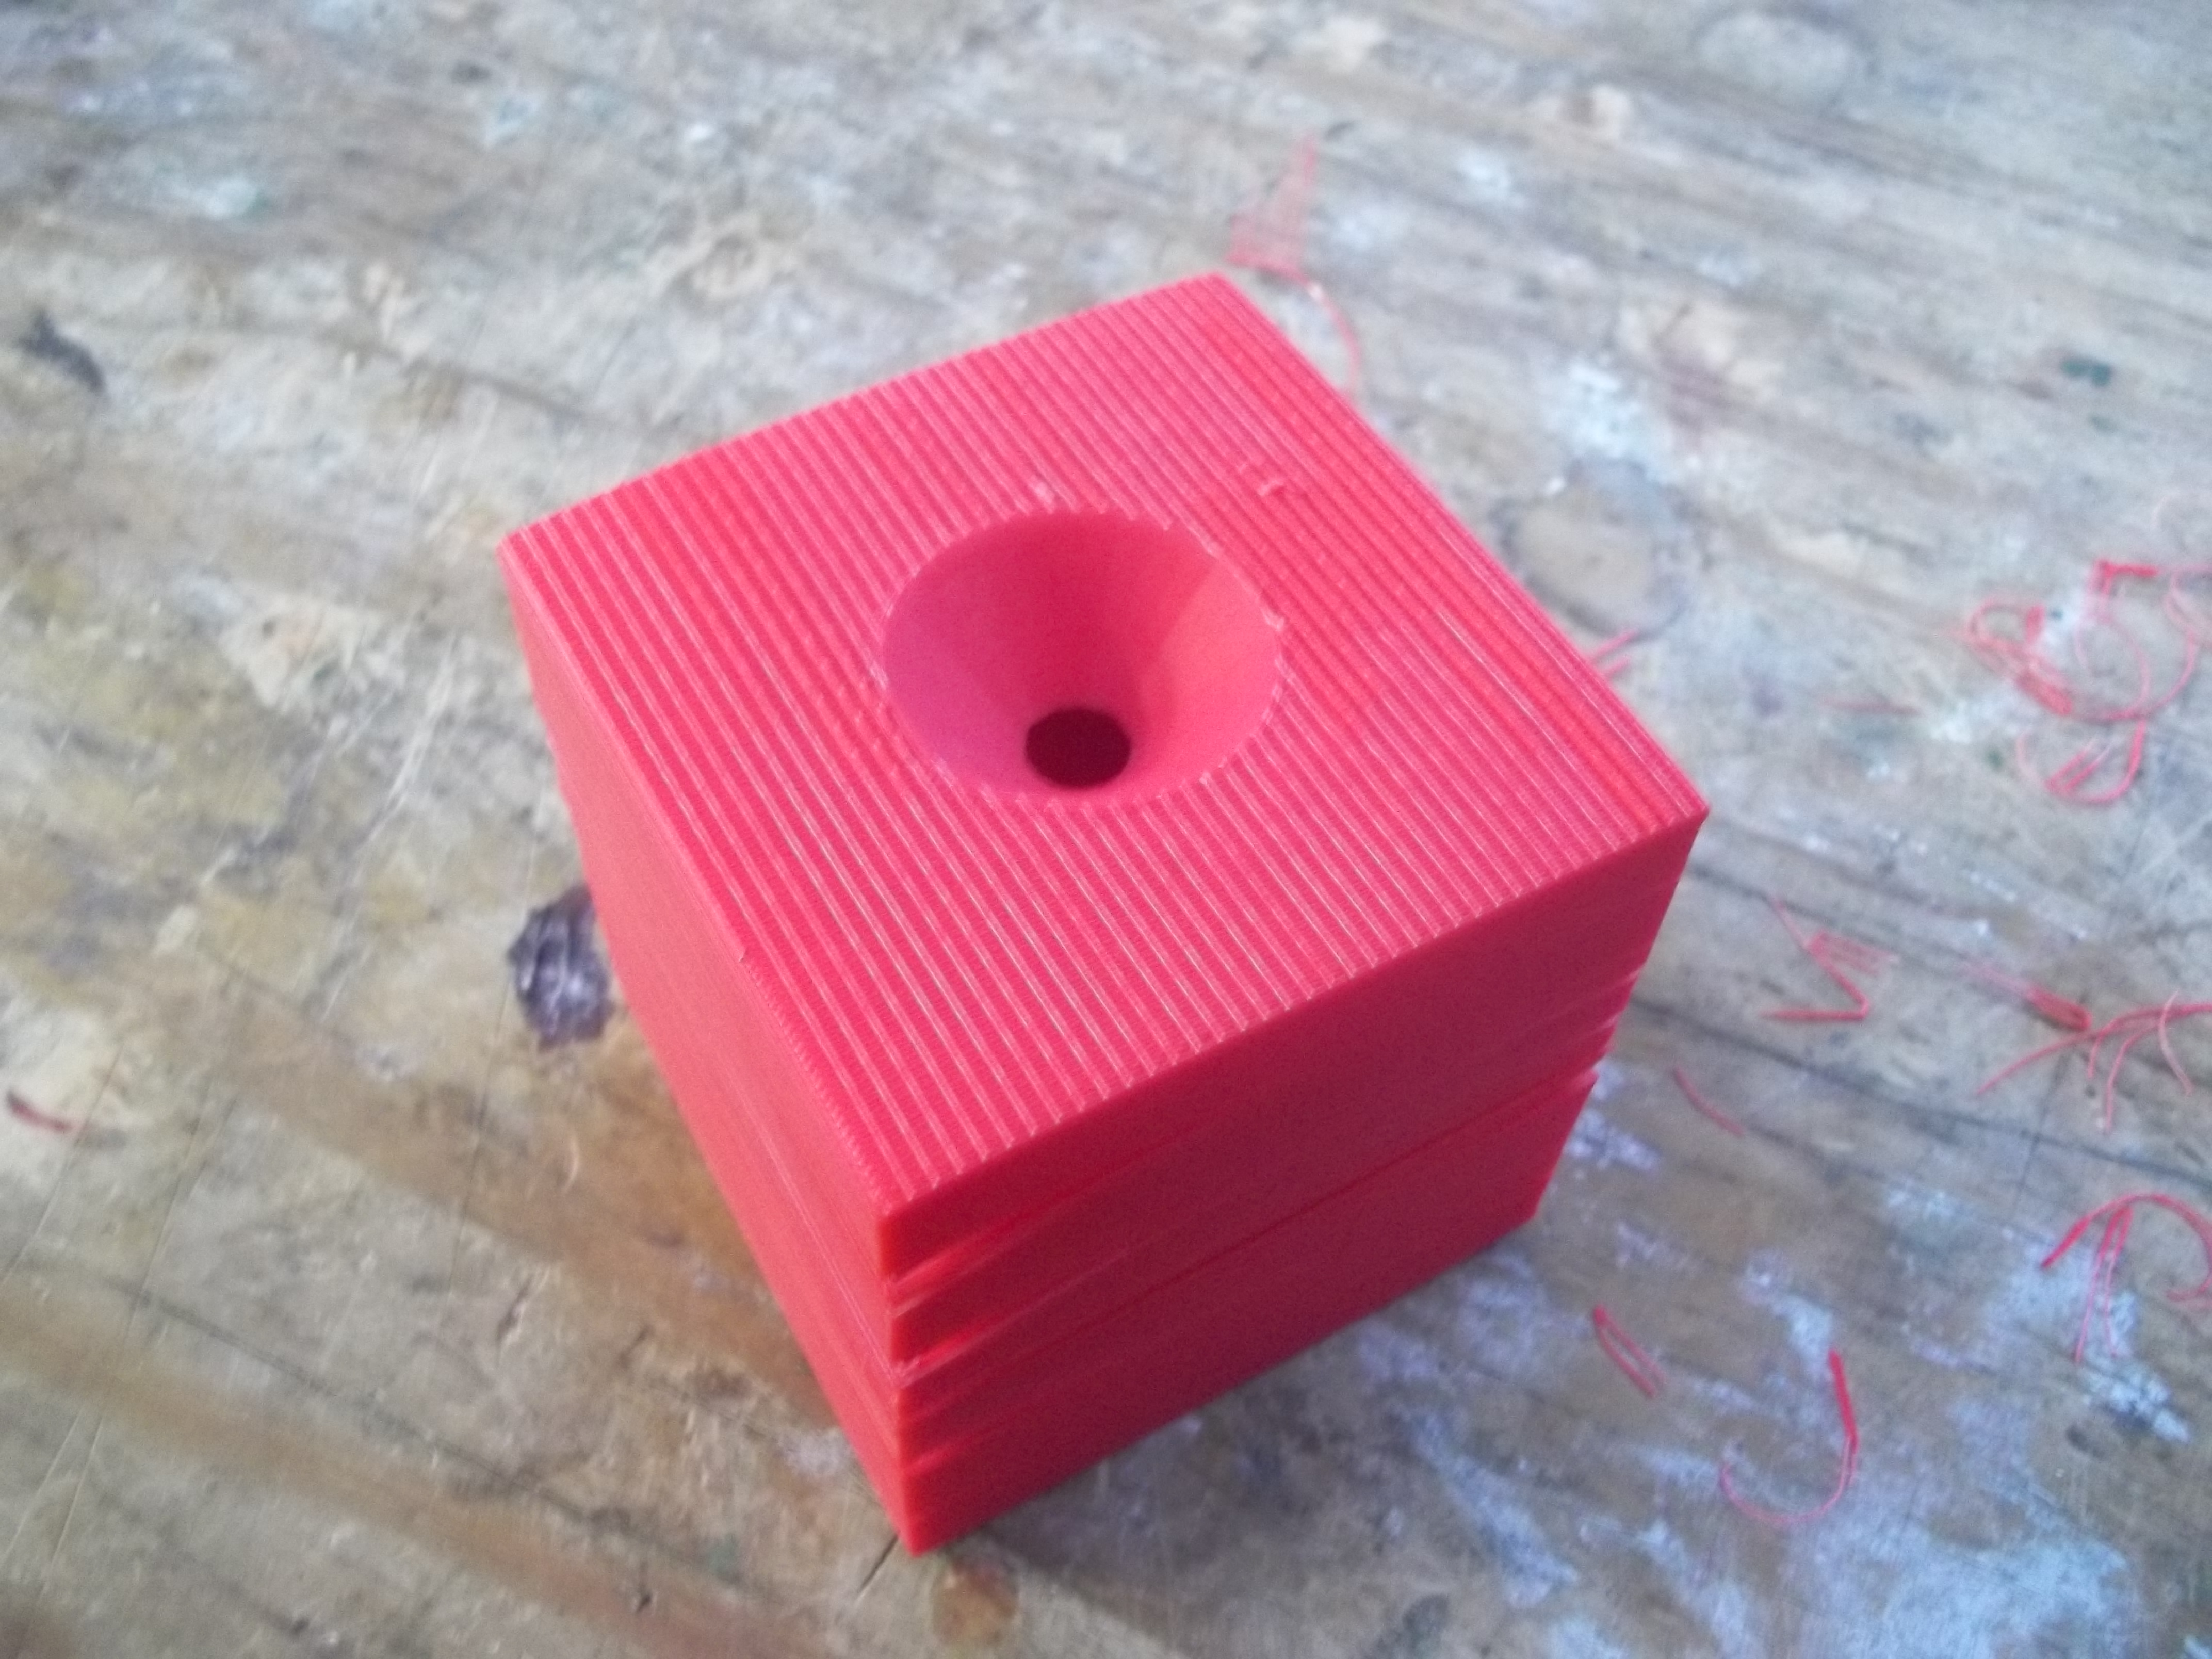
- Add a funnel-shaped pour hole extending from the hollow inner form of the mold to the outside of the mold, so material can be poured in from the outside later
One annoying thing about OpenSCAD right now is that it can’t figure out the dimensions of your STL file by itself – you will need to supply the width, height and length of your model to make a mold of the right size for your model. Since the models that I’m working with come from another OpenSCAD script, I already know their dimensions, but I’m sure there are helpful tools in the modelling / CAD package of your choice.
I’ve included variables to help rotate, translate and scale the model relative to the mold so you can easily choose where the seam line and pour hole end up. I’ll be tossing this script and more detailed instructions up on Thingiverse in the next couple weeks sometime once I’ve tested it out some more, but here’s the basic script as it stands right now:
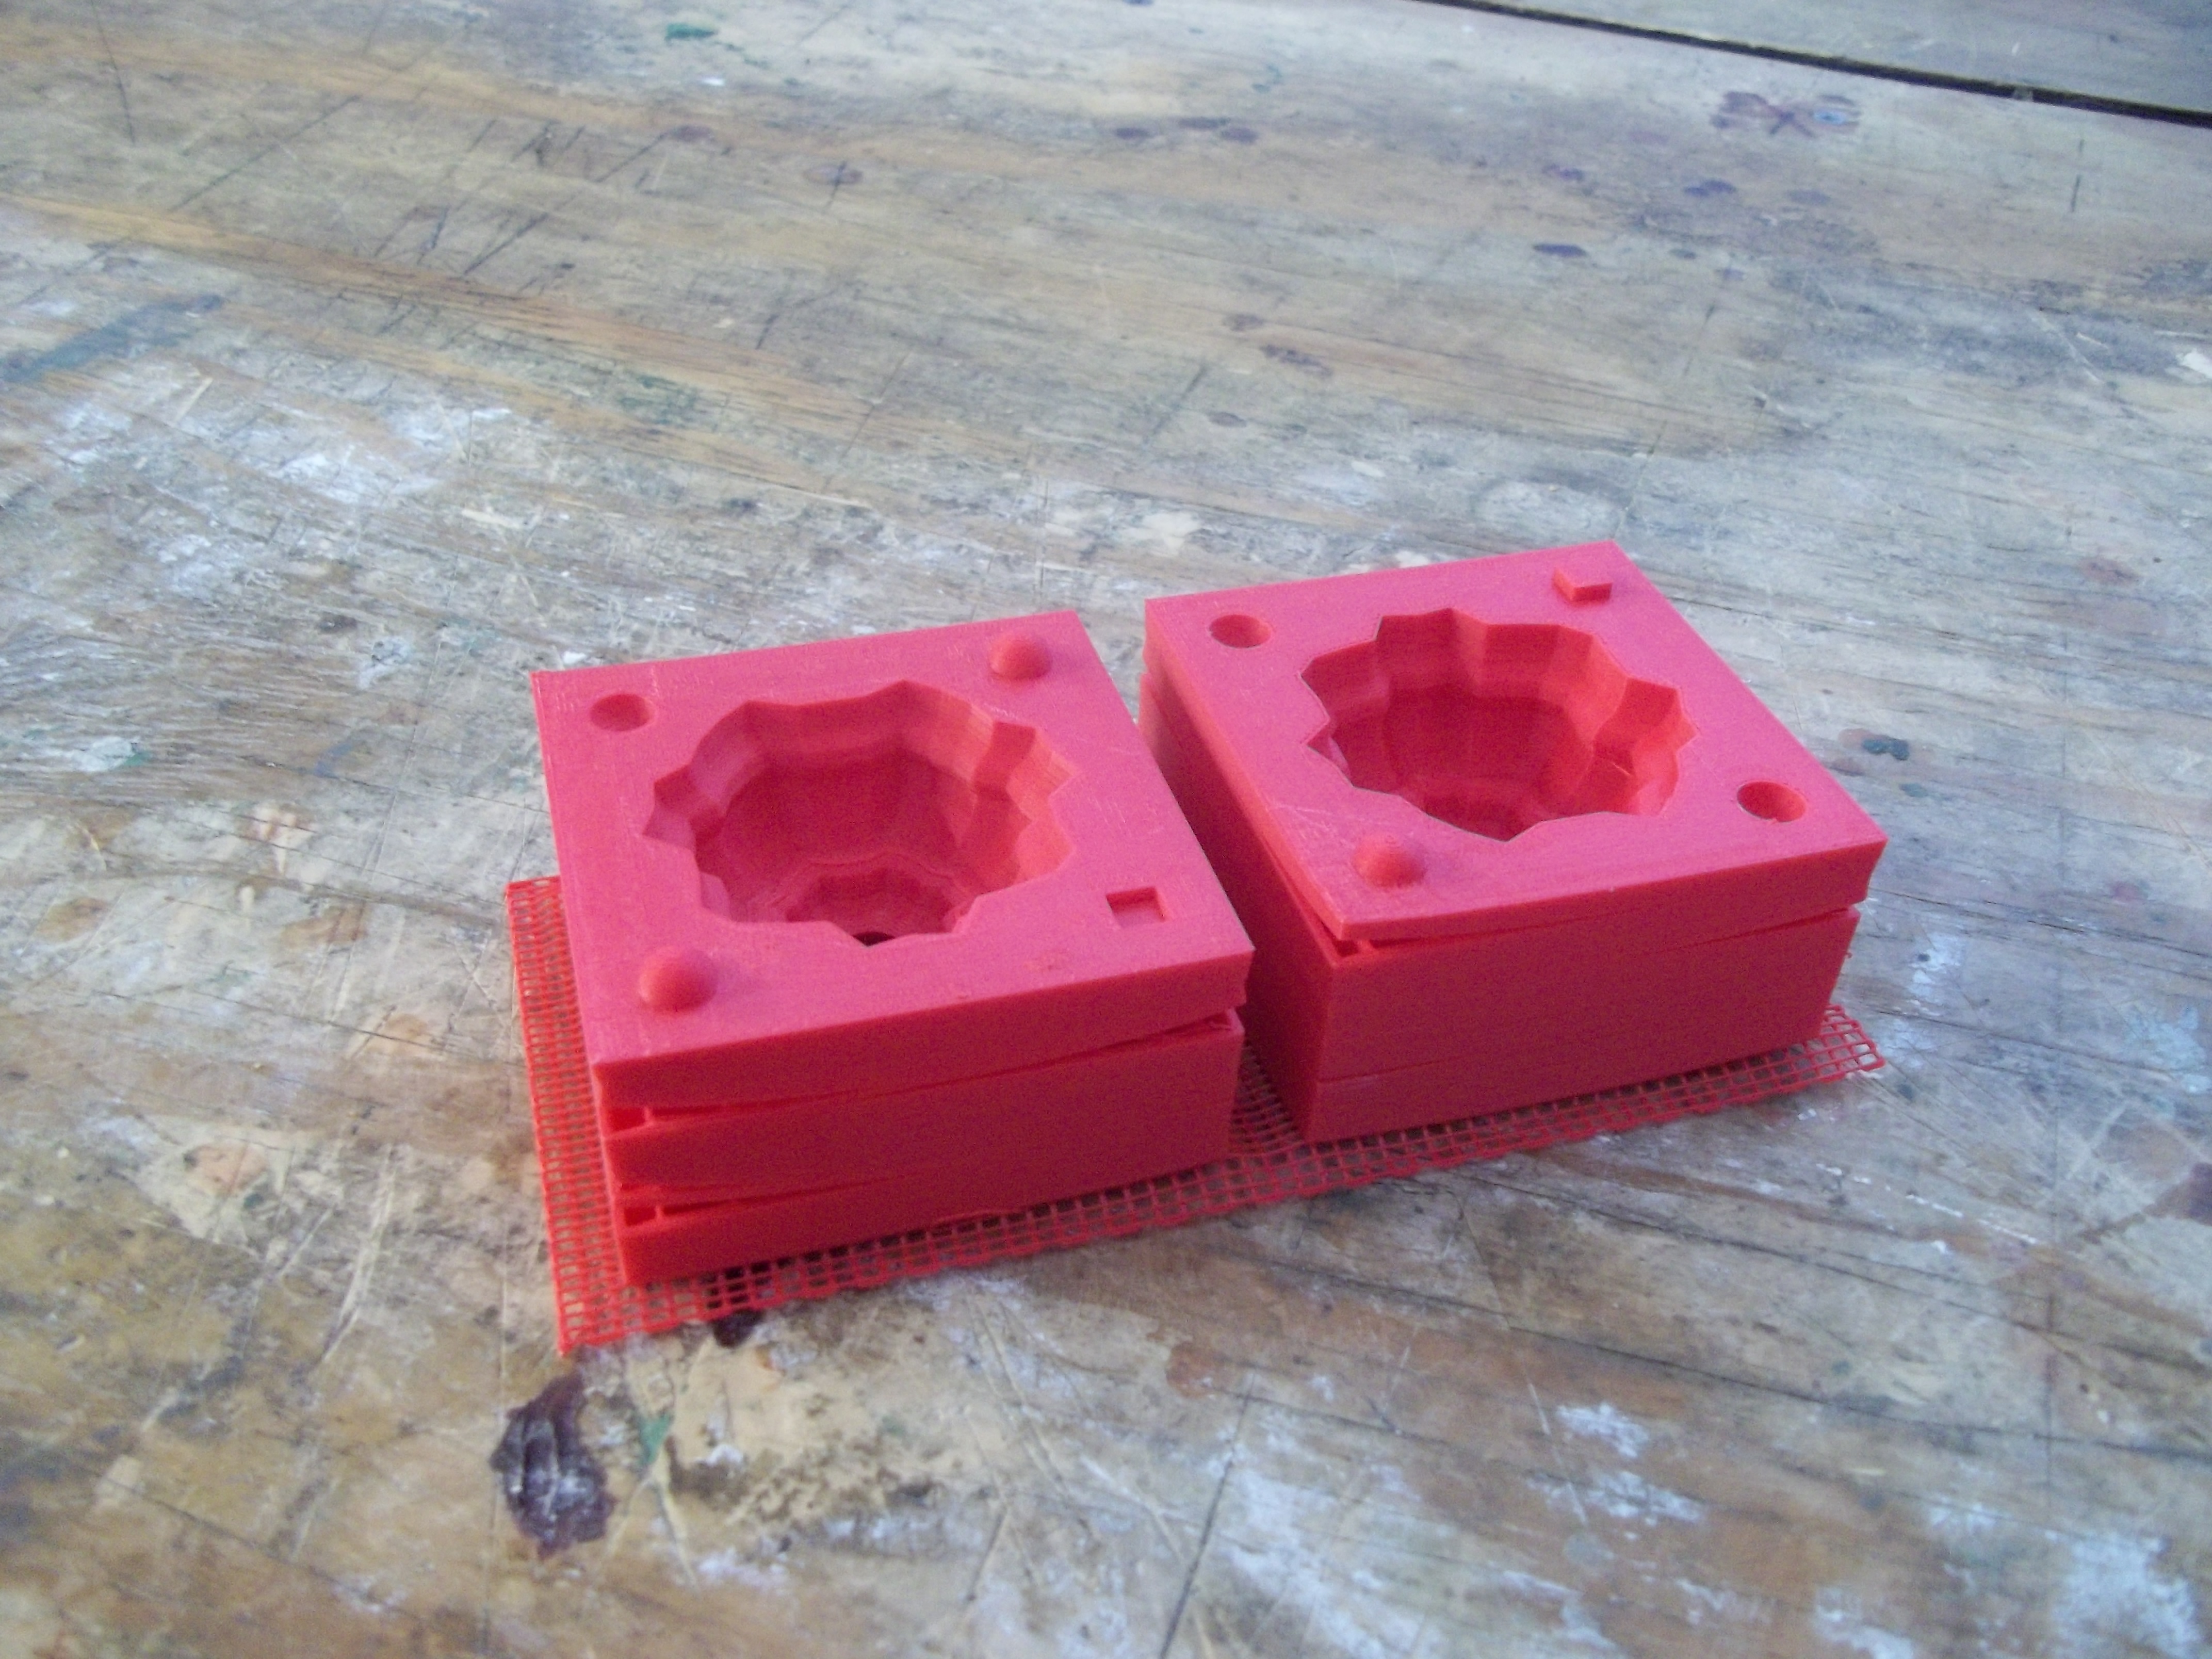
First attempt at printing a mold
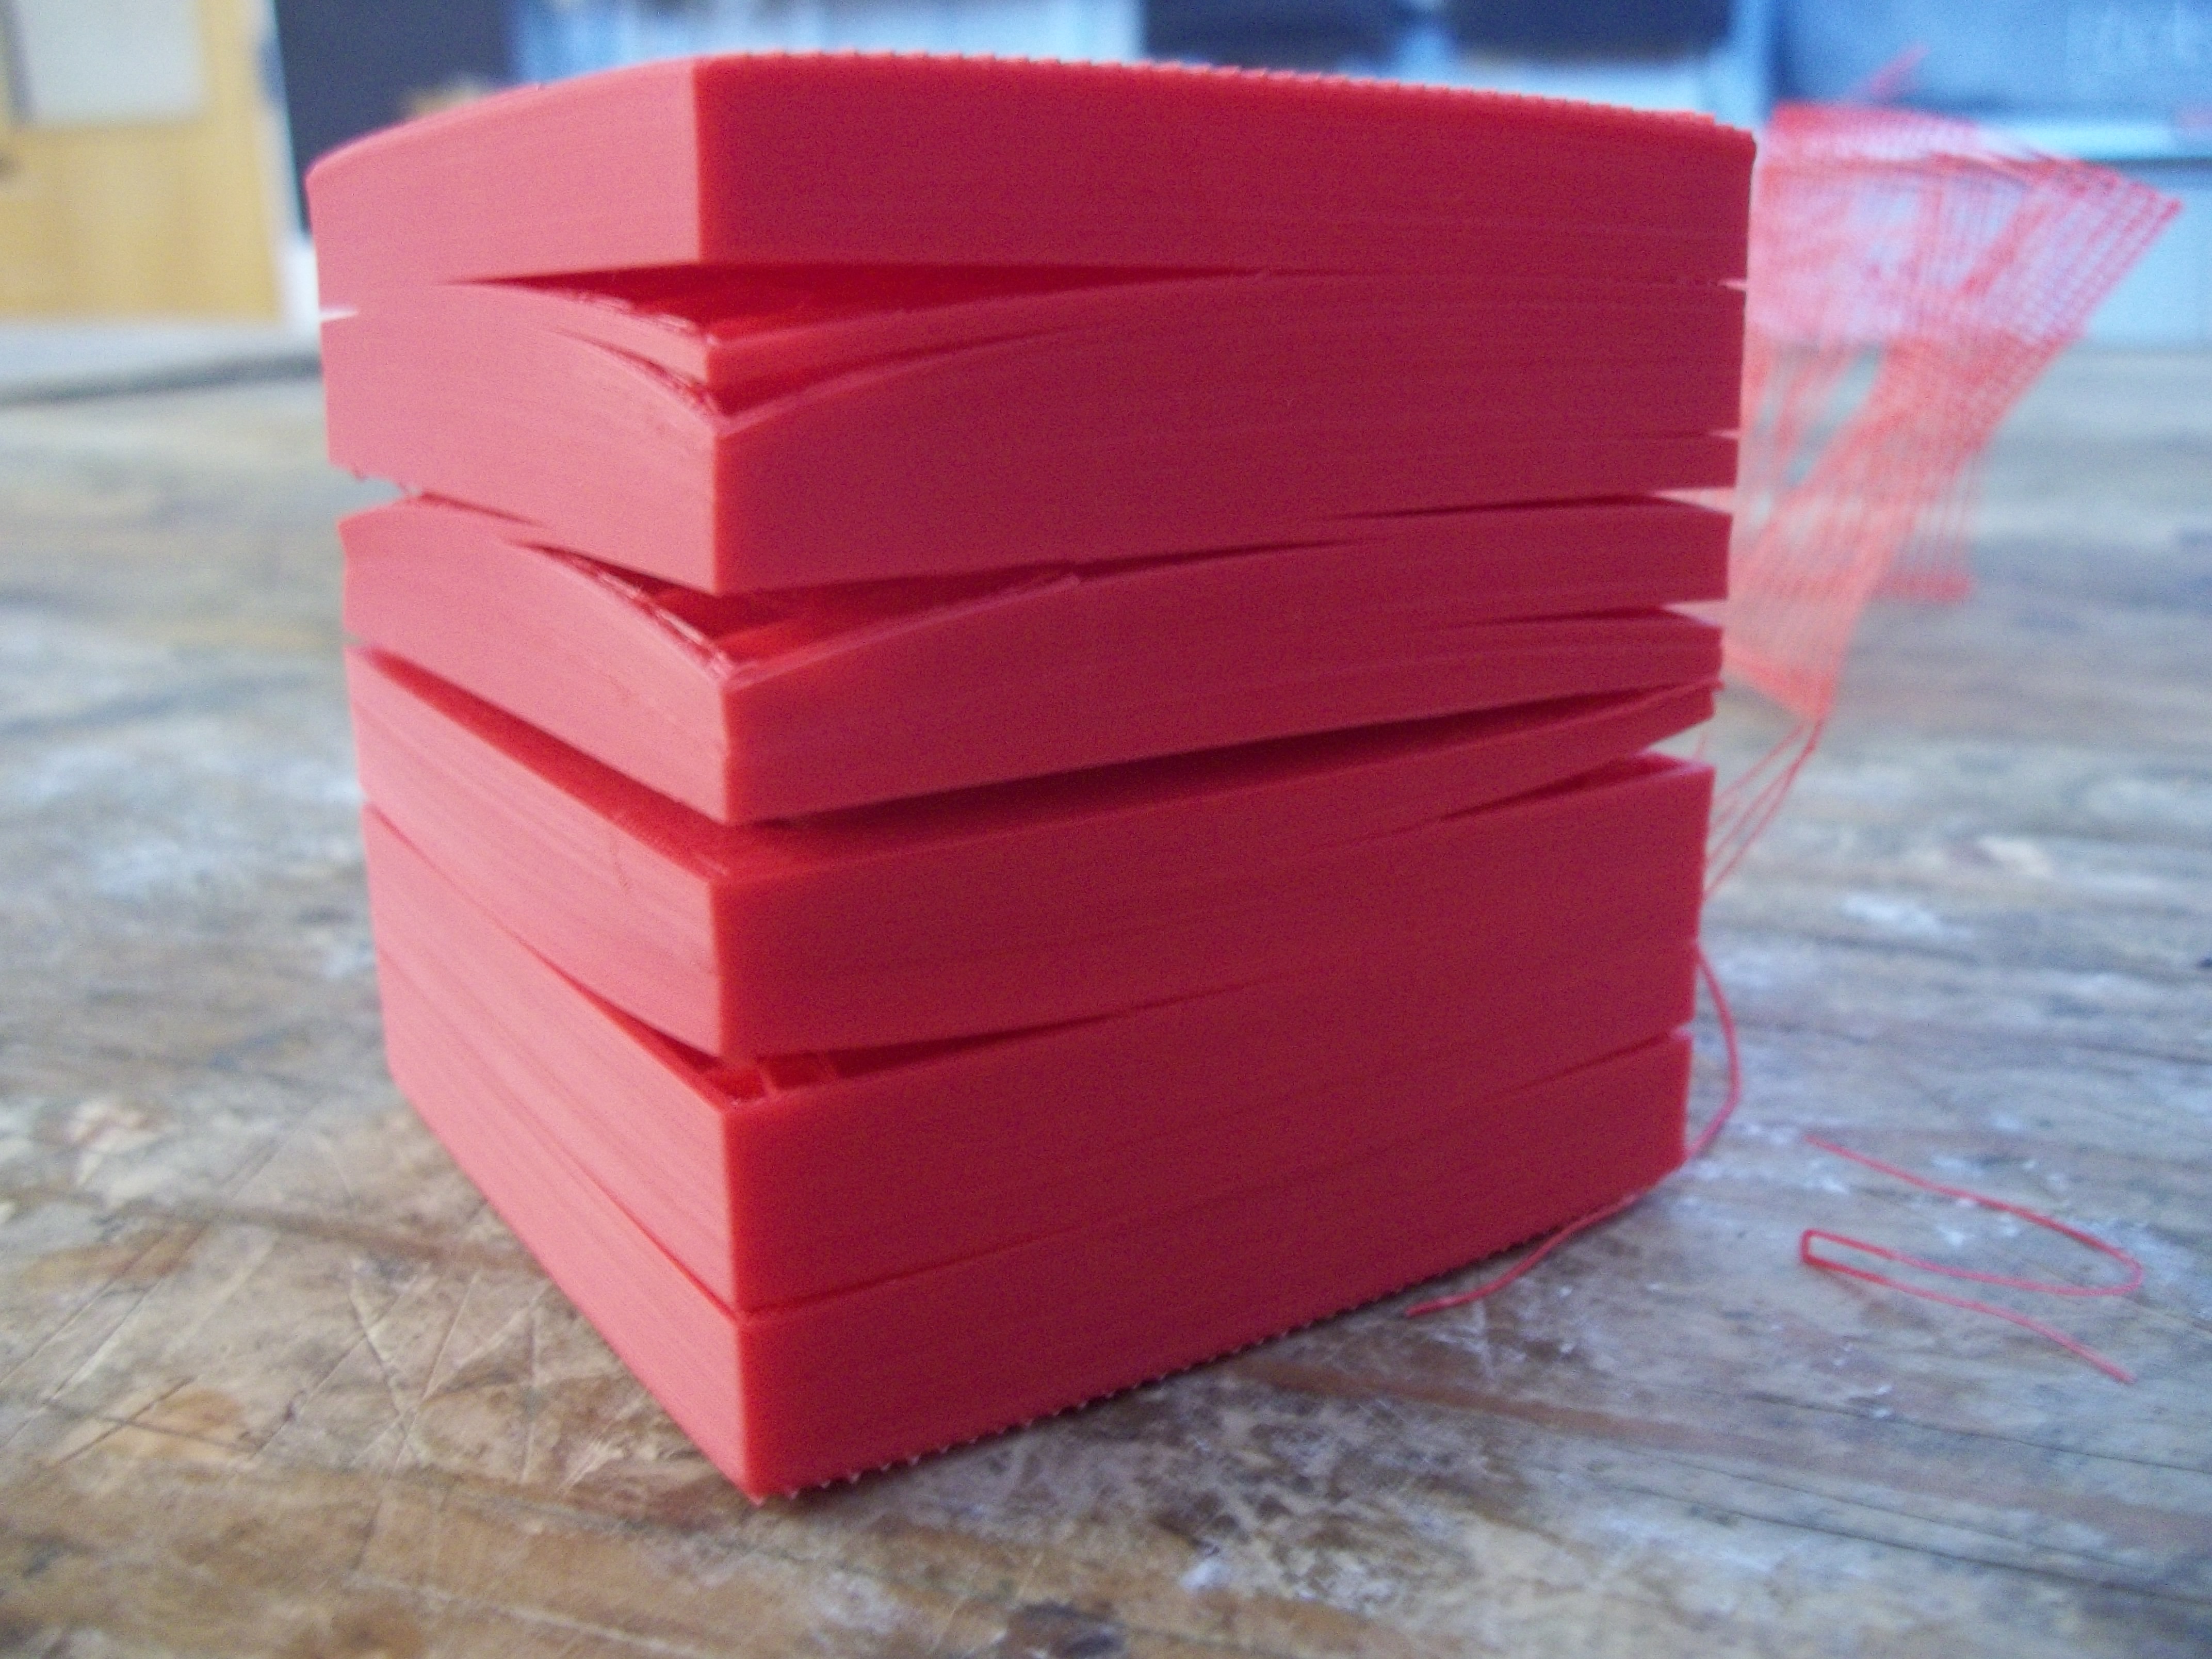
Once the script was looking decent, I exported an STL and sliced it up in ReplicatorG. I used 10% infill, 3 shells and 0.15mm layer height. It took about 5 and a half hours to print, but didn’t print out perfectly. There was some pretty severe layer separation and curling on the perimeter of the mold, causing it to be pretty difficult to fit the two halves together. Still, the inner form turned out well, so I believe that the layer separation issue was mostly cosmetic. Nothing that a few wood clamps couldn’t compensate for!
Next time, I’ll add a hood to the Replicator and try printing with a slightly higher infill.

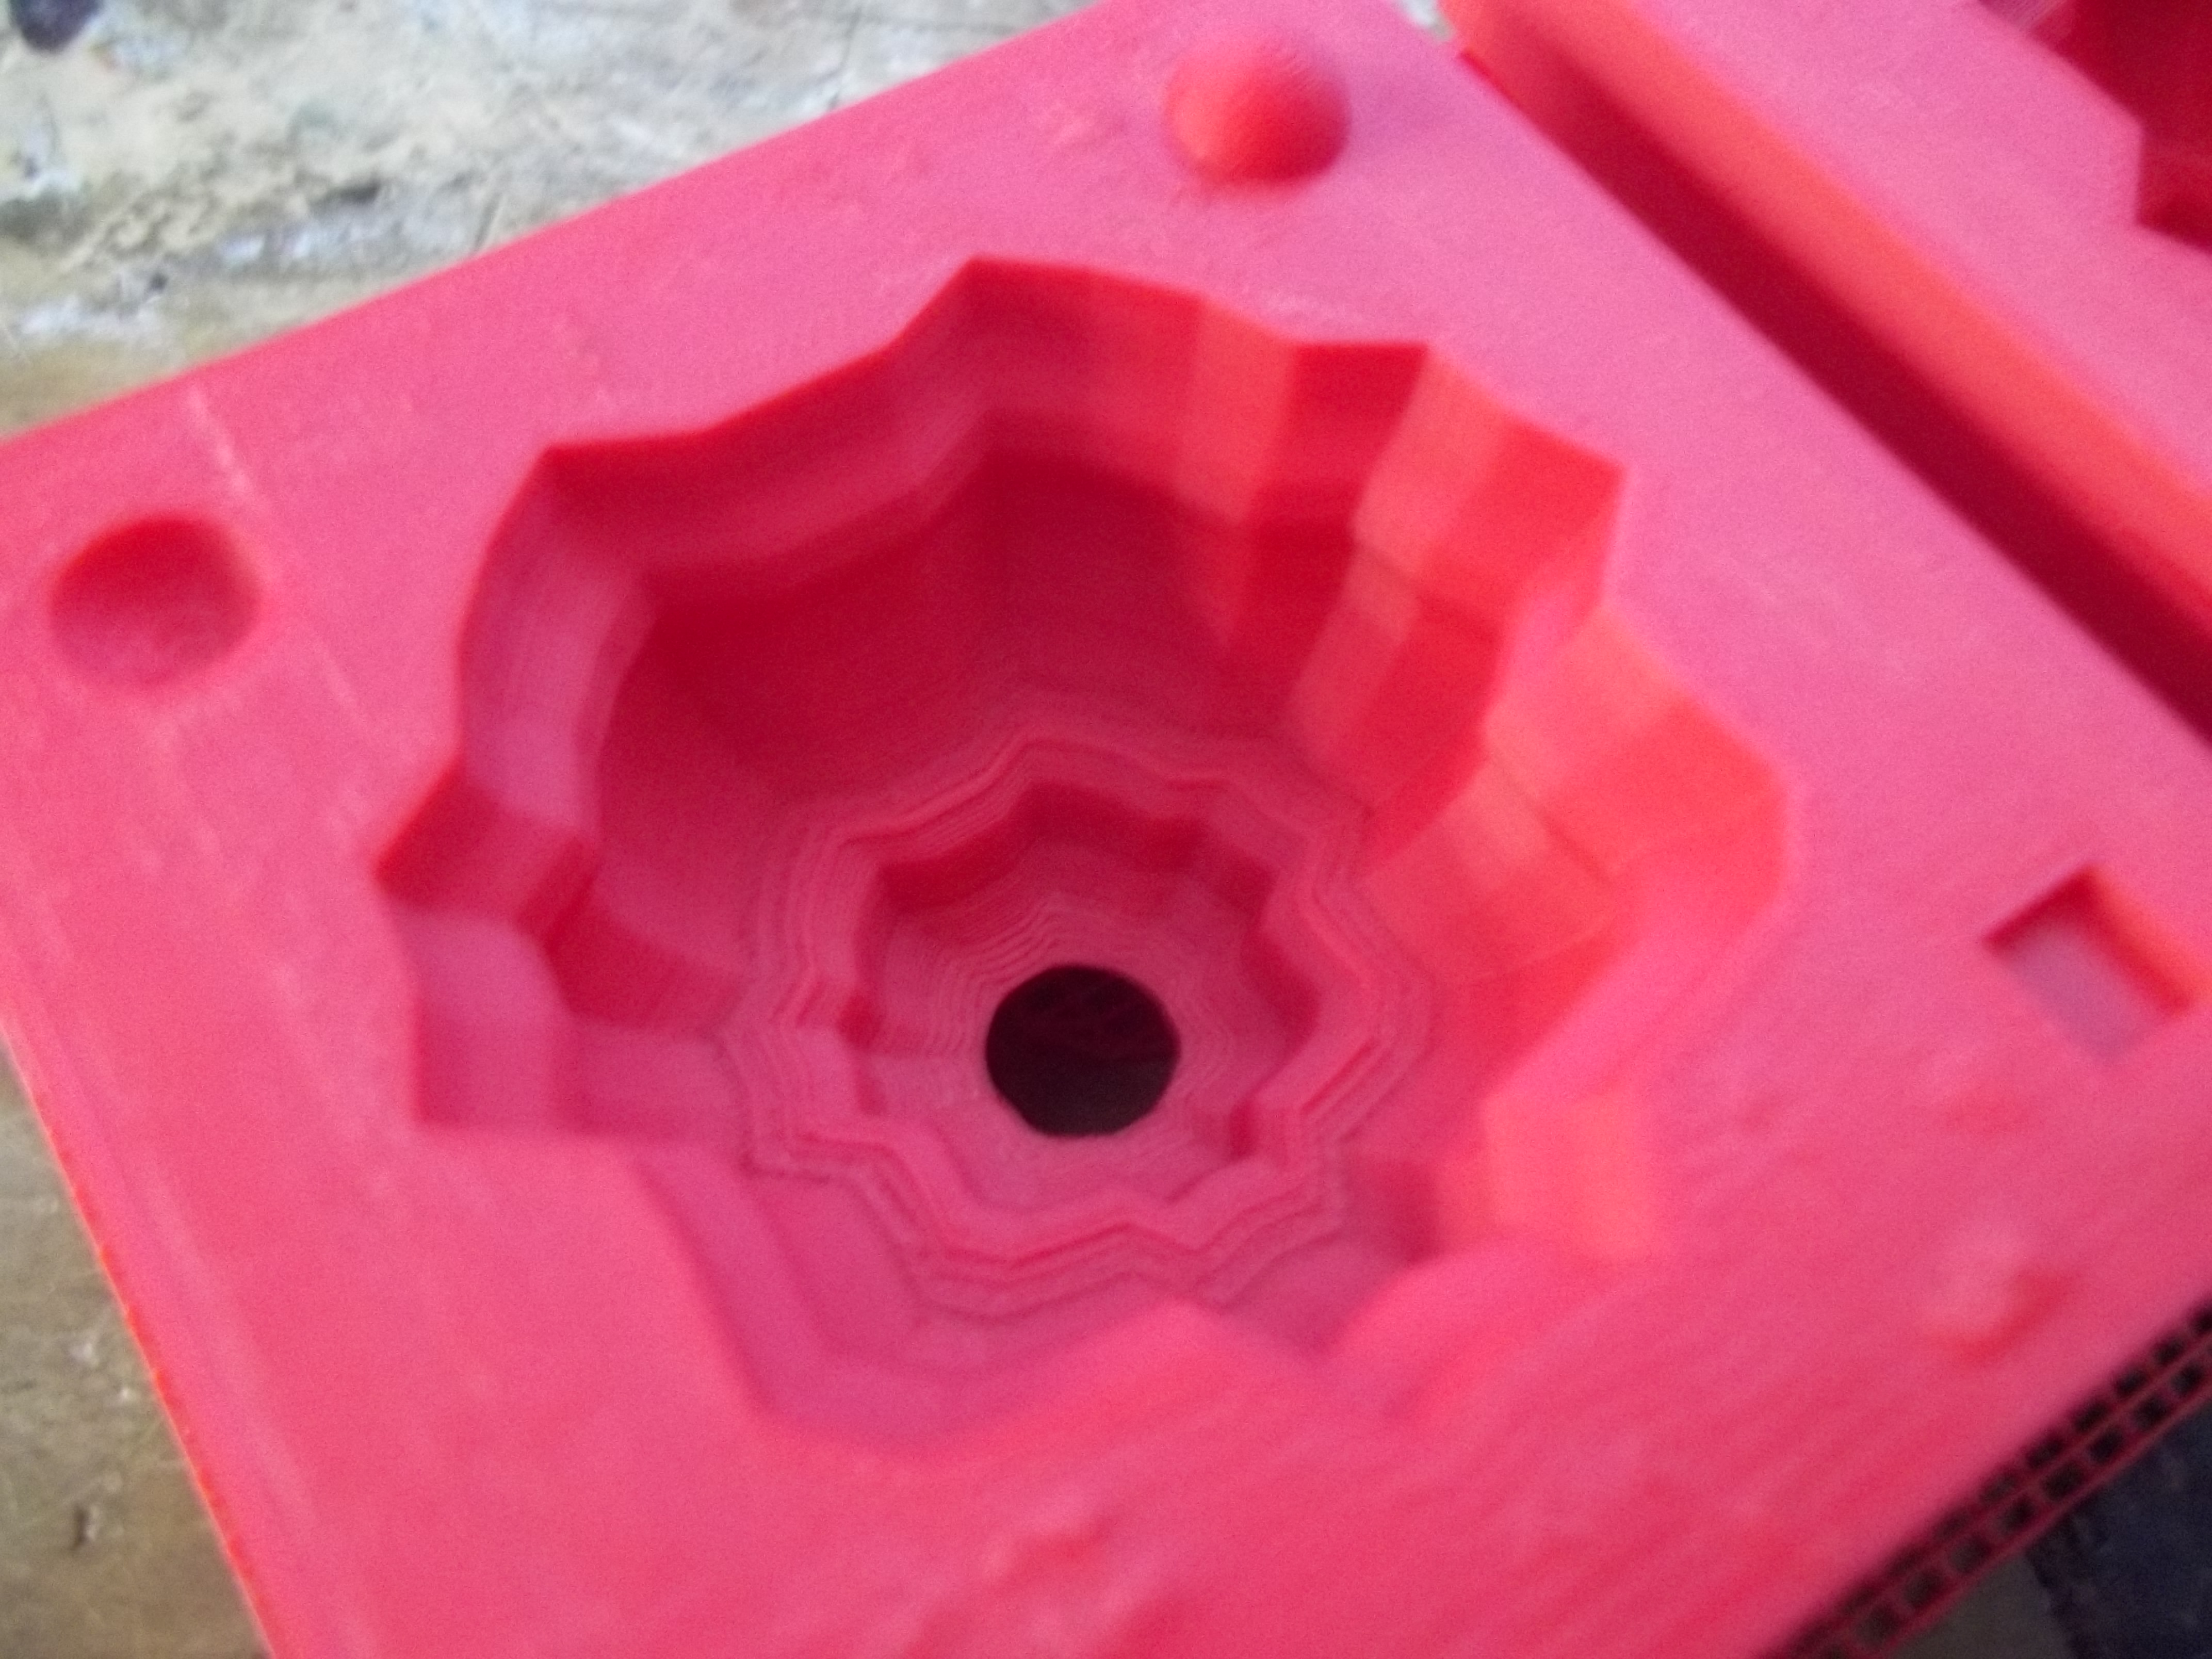
Early casting attempts and notes
To see if the mold was watertight, I filled the bottom half of the mold and let it sit for a while. Unfortunately, it slowly leaked out over the course of about 20 minutes, so I knew I had to seal it before I tried casting anything.
Sealing the leaky mold
First I tried dabbing some Vaseline around, but all this did was make the leak even slower. Next I dripped a little bit of hot wax and let it settle, then used some hand tools to mash it down a bit. The mold was still leaking, and now it had a glob of wax and some errant Vaseline all over it.
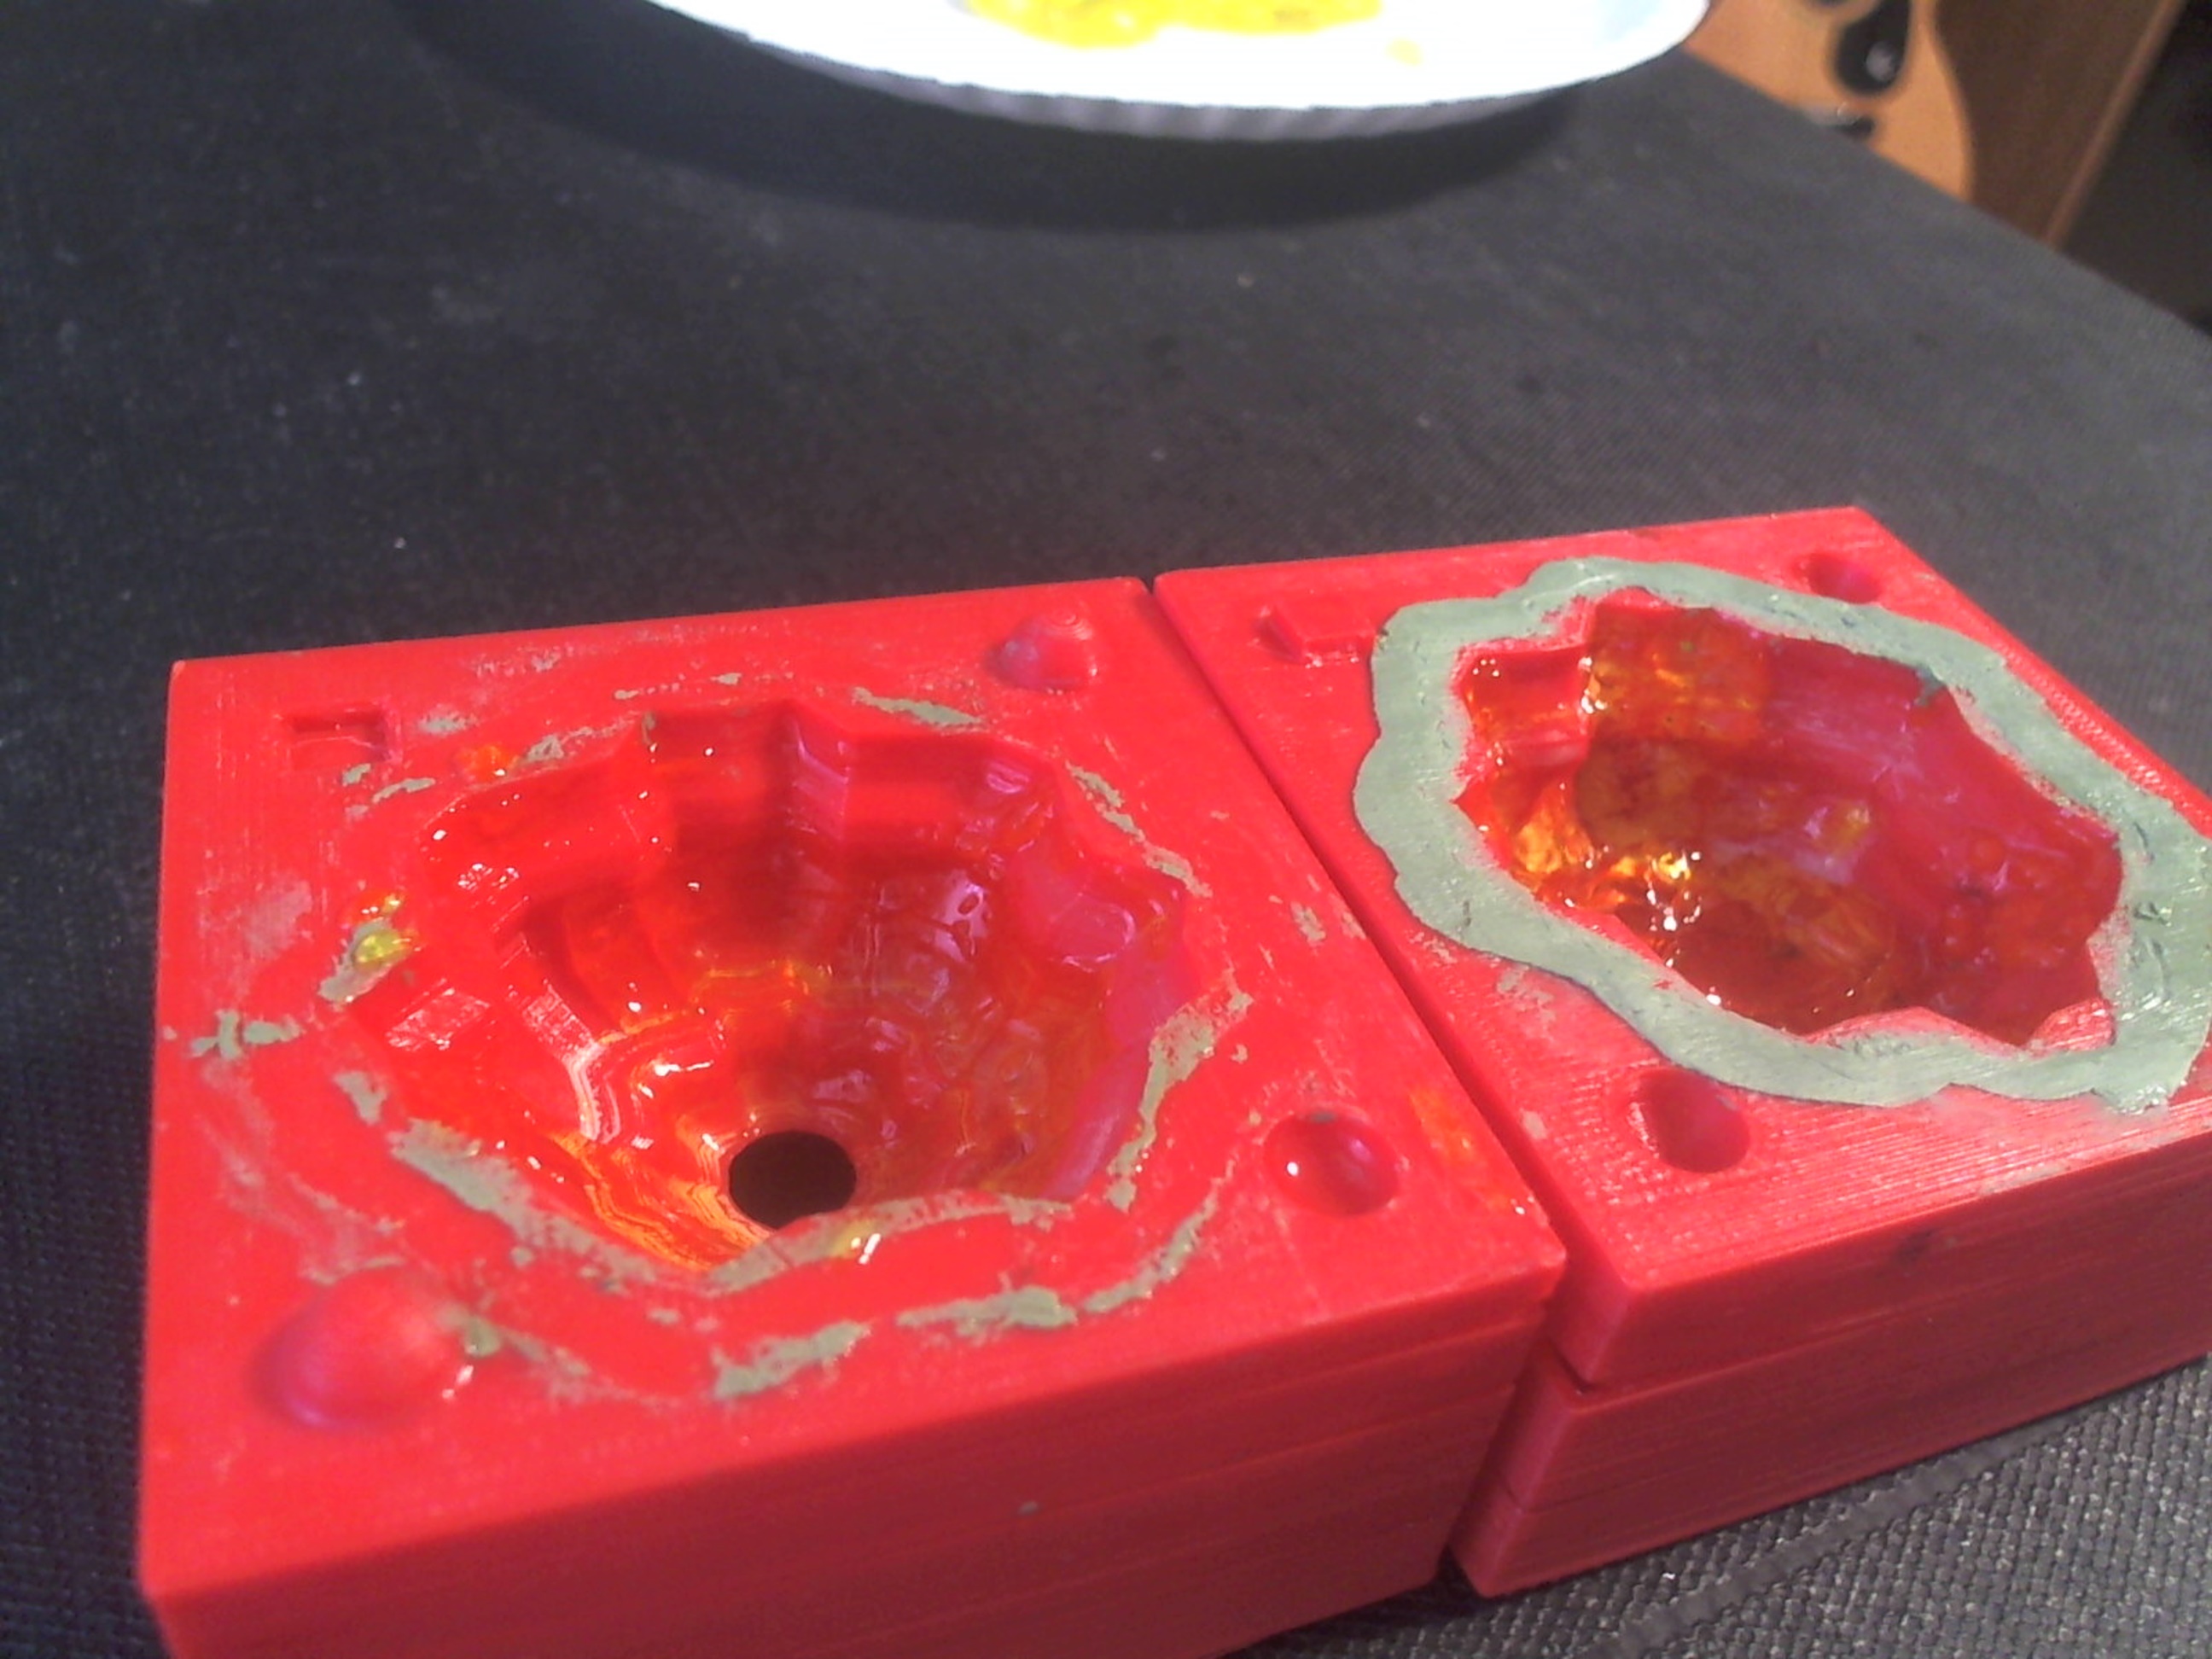
Luckily, I ran across a very helpful tip from the instructions for a vase on Thingiverse. To make the vase watertight, the author suggested pouring some polyurethane sealant into the vase and immediately pouring it out, leaving behind a thin layer of sealant. After air drying, the part should be watertight – if not, do it again to build up layers of sealant. I didn’t have any liquid polyurethane at the time, but I did find a spray cane of the stuff and gave the mold a liberal spritzing. After a few hours I filled the bottom half of the mold with water again and let it sit. No leak!
Using modelling clay as a gasket
I added a thin ring of modelling clay between the two mold halves to help stop any water from seeping out along the seam line, then clamped the two halves together. The modelling clay turned out to be useless, as the castings I was able to get out of the mold had no discernible seam line and obviously never spilled out from the mold joint enough to reach the clay at all!
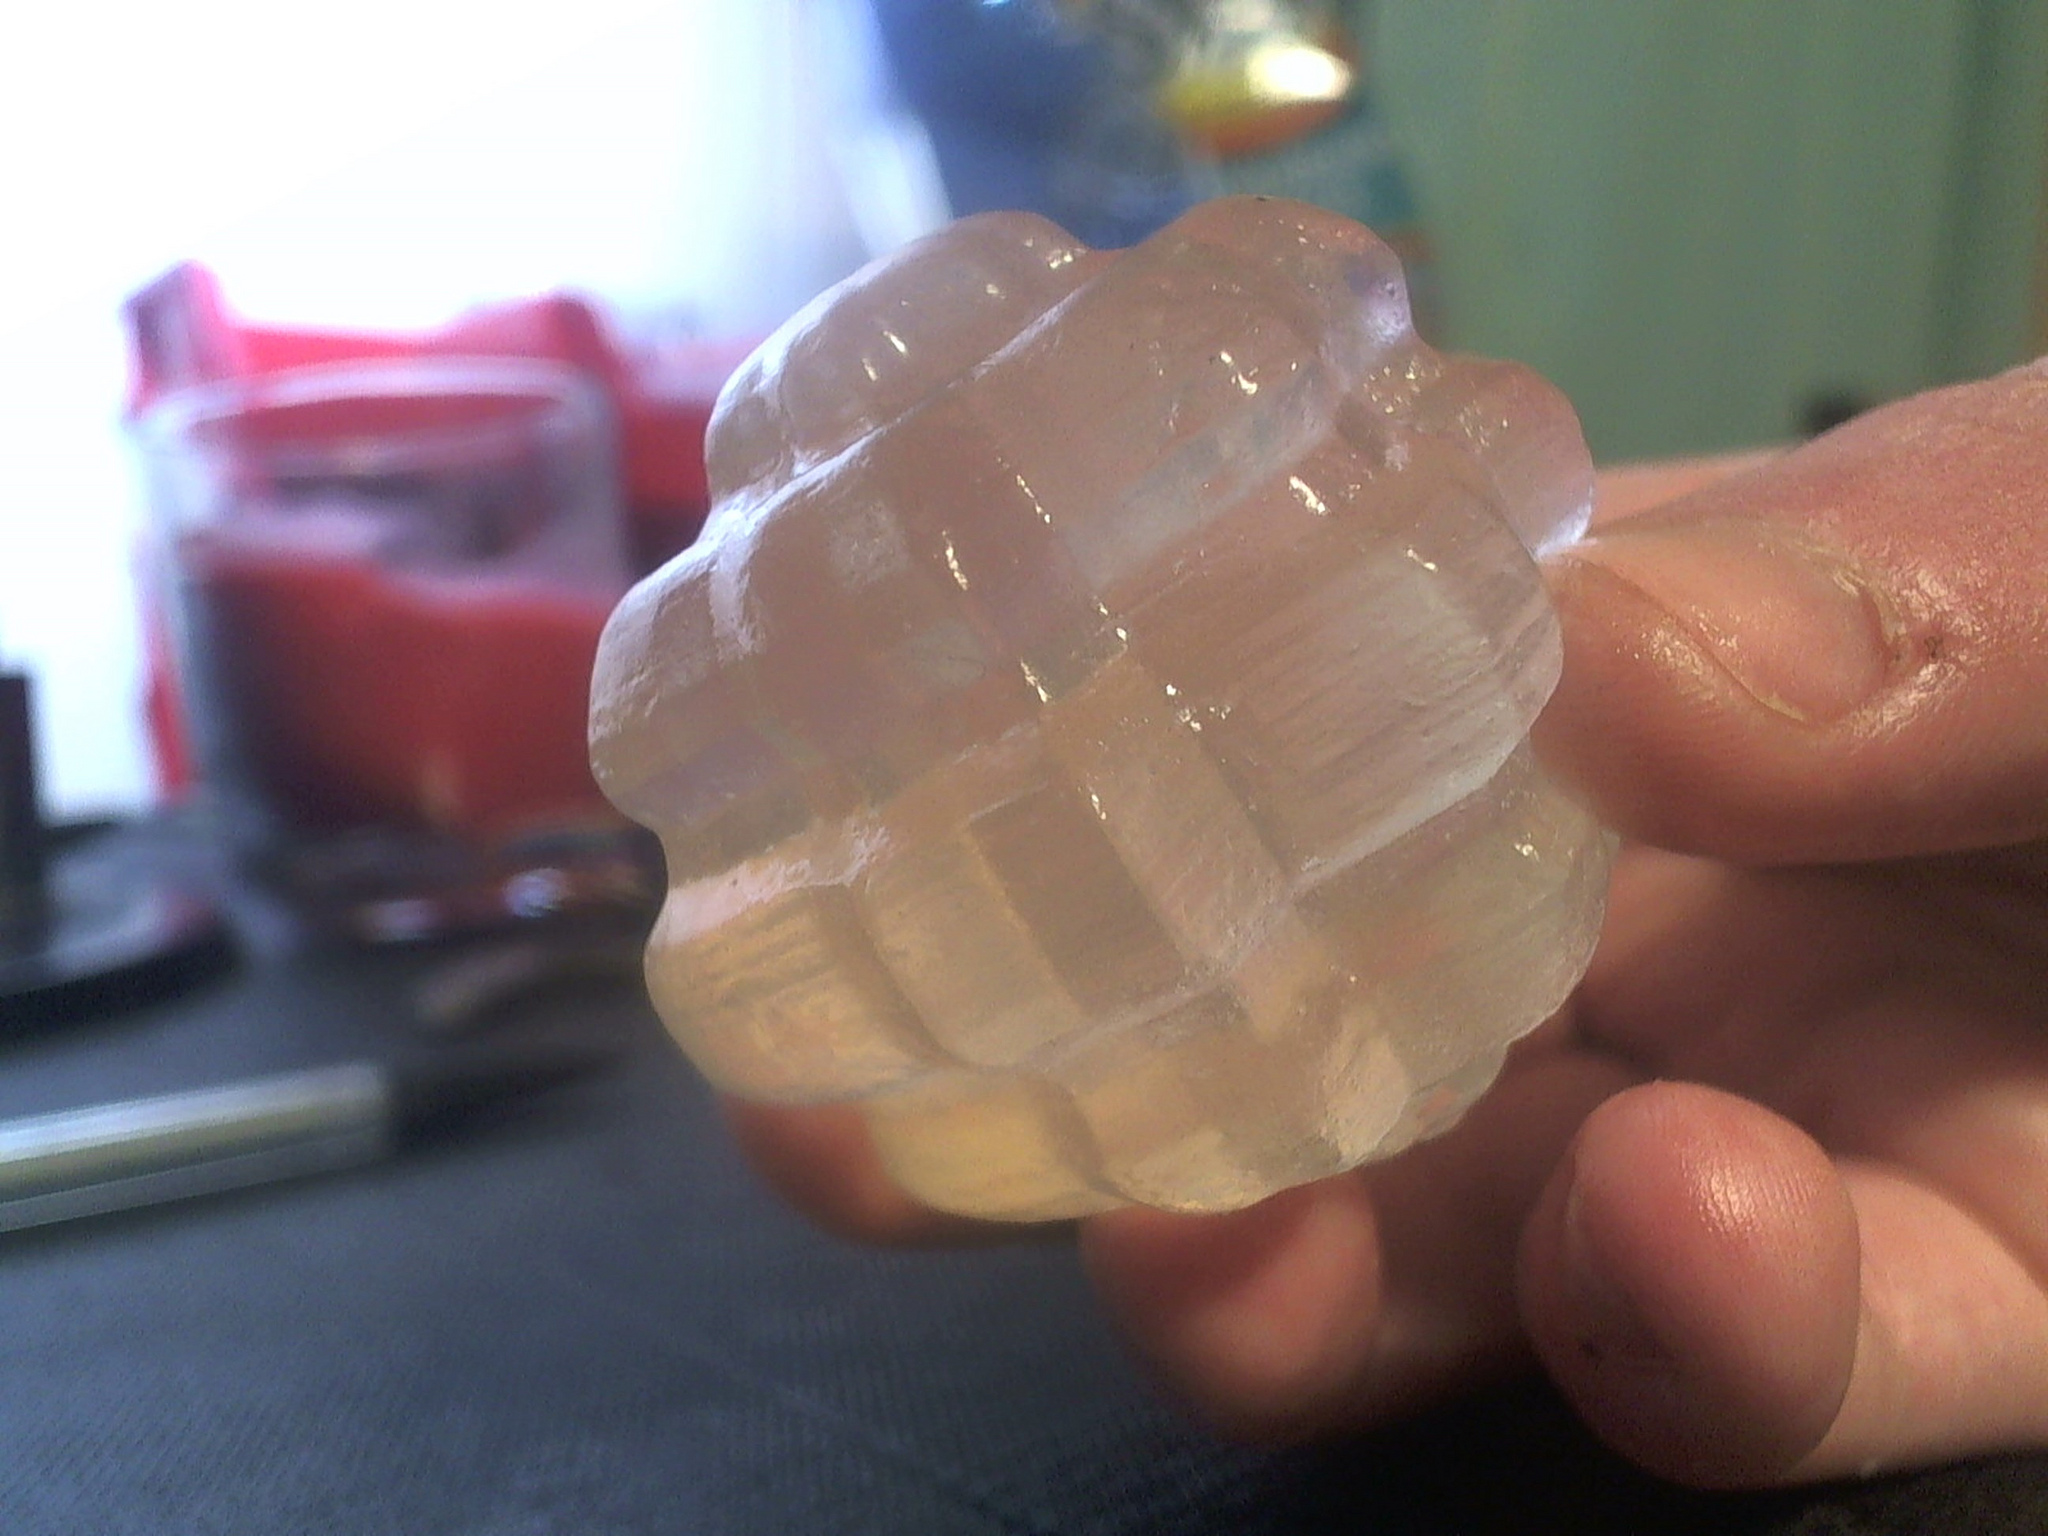
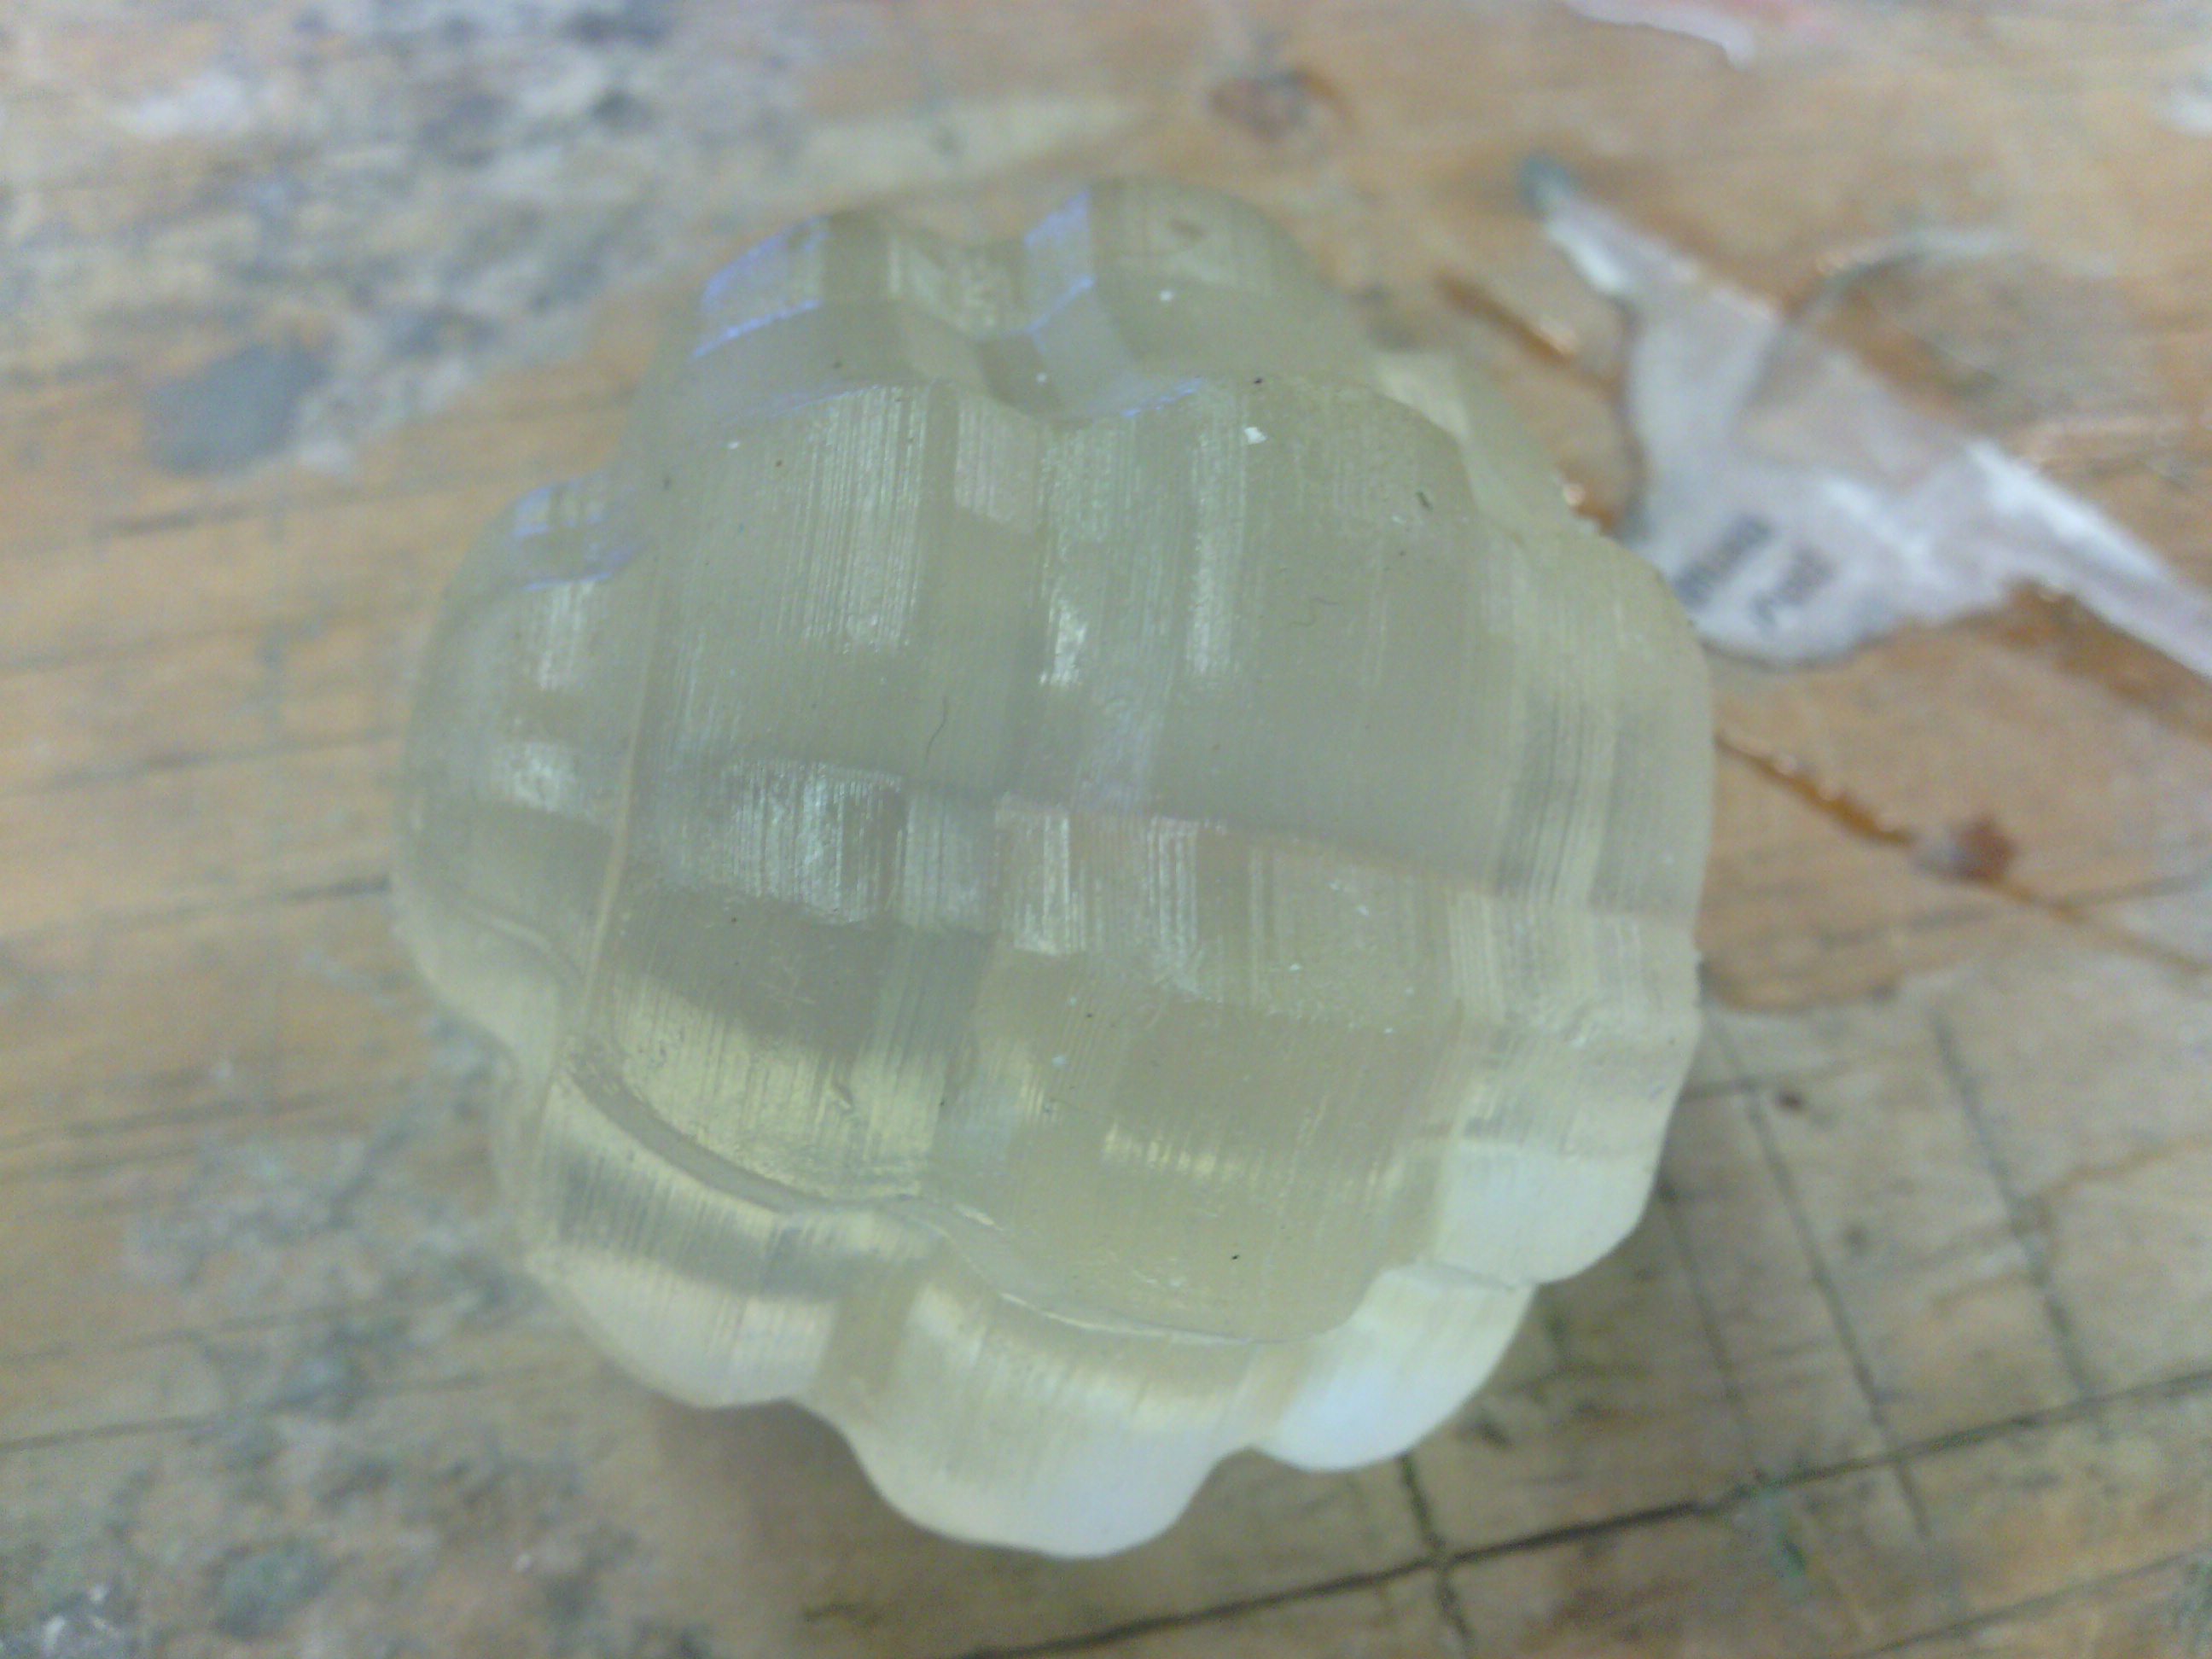
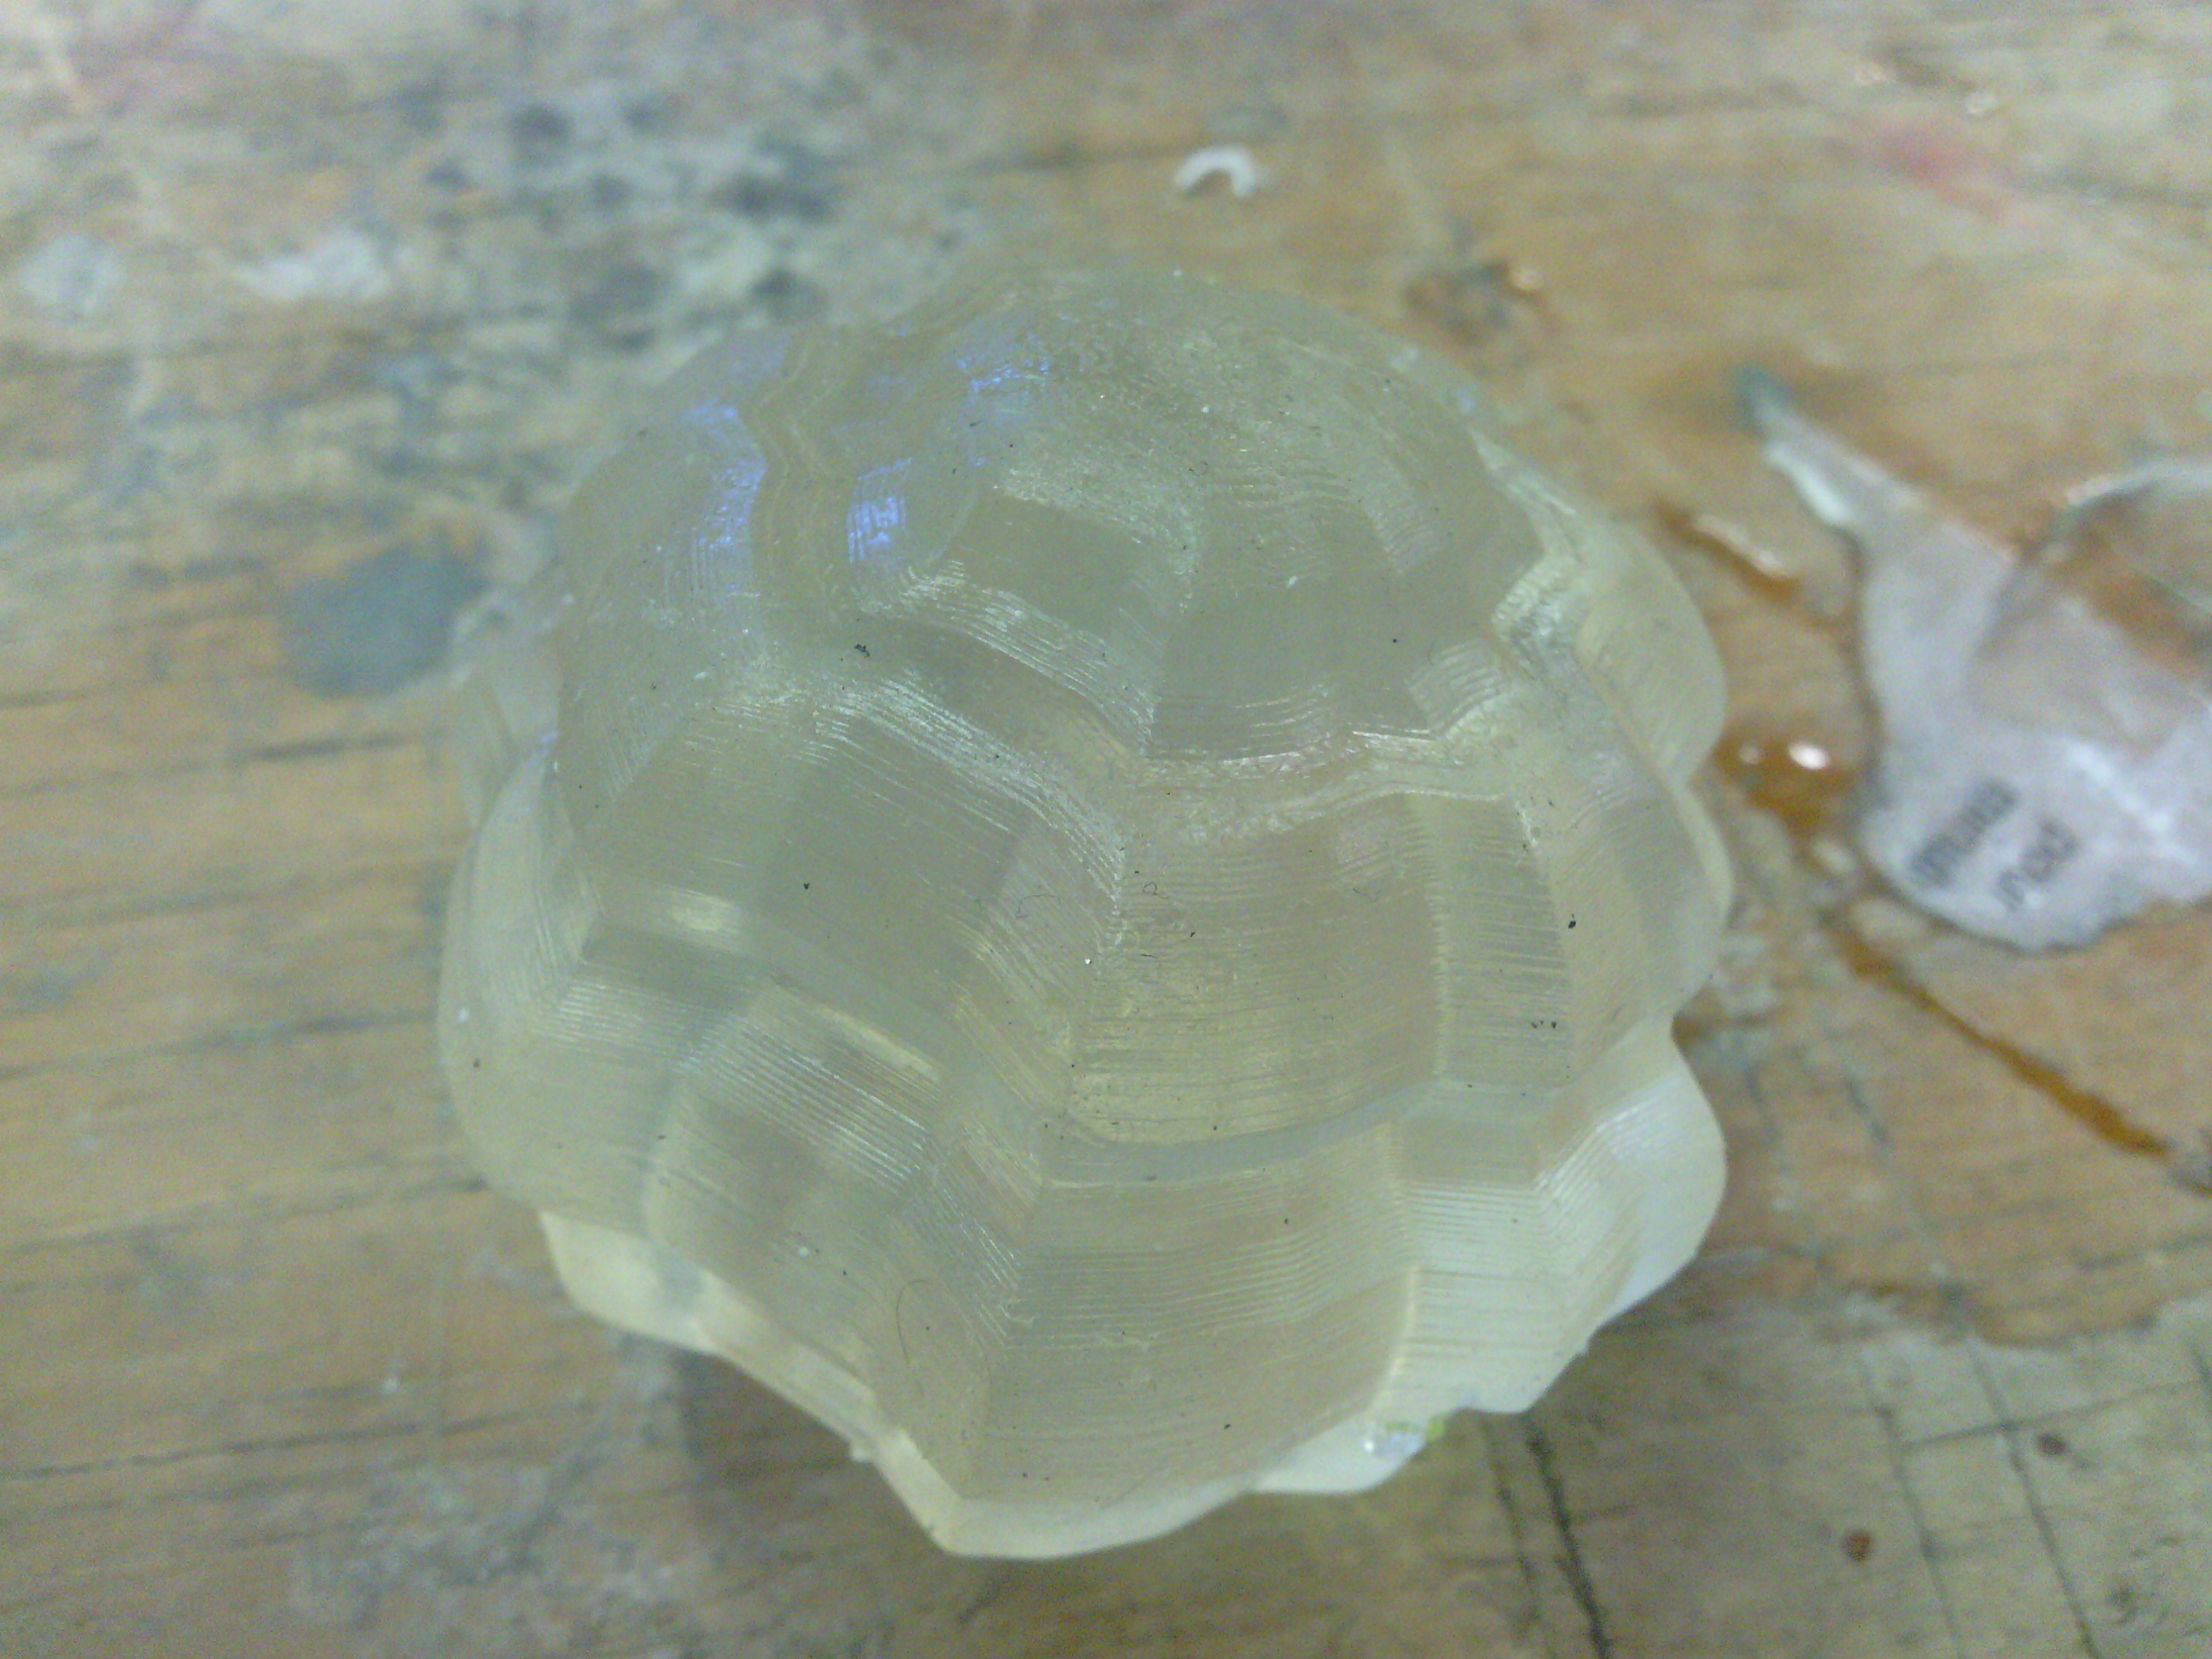
Gelatin and cooking spray castings
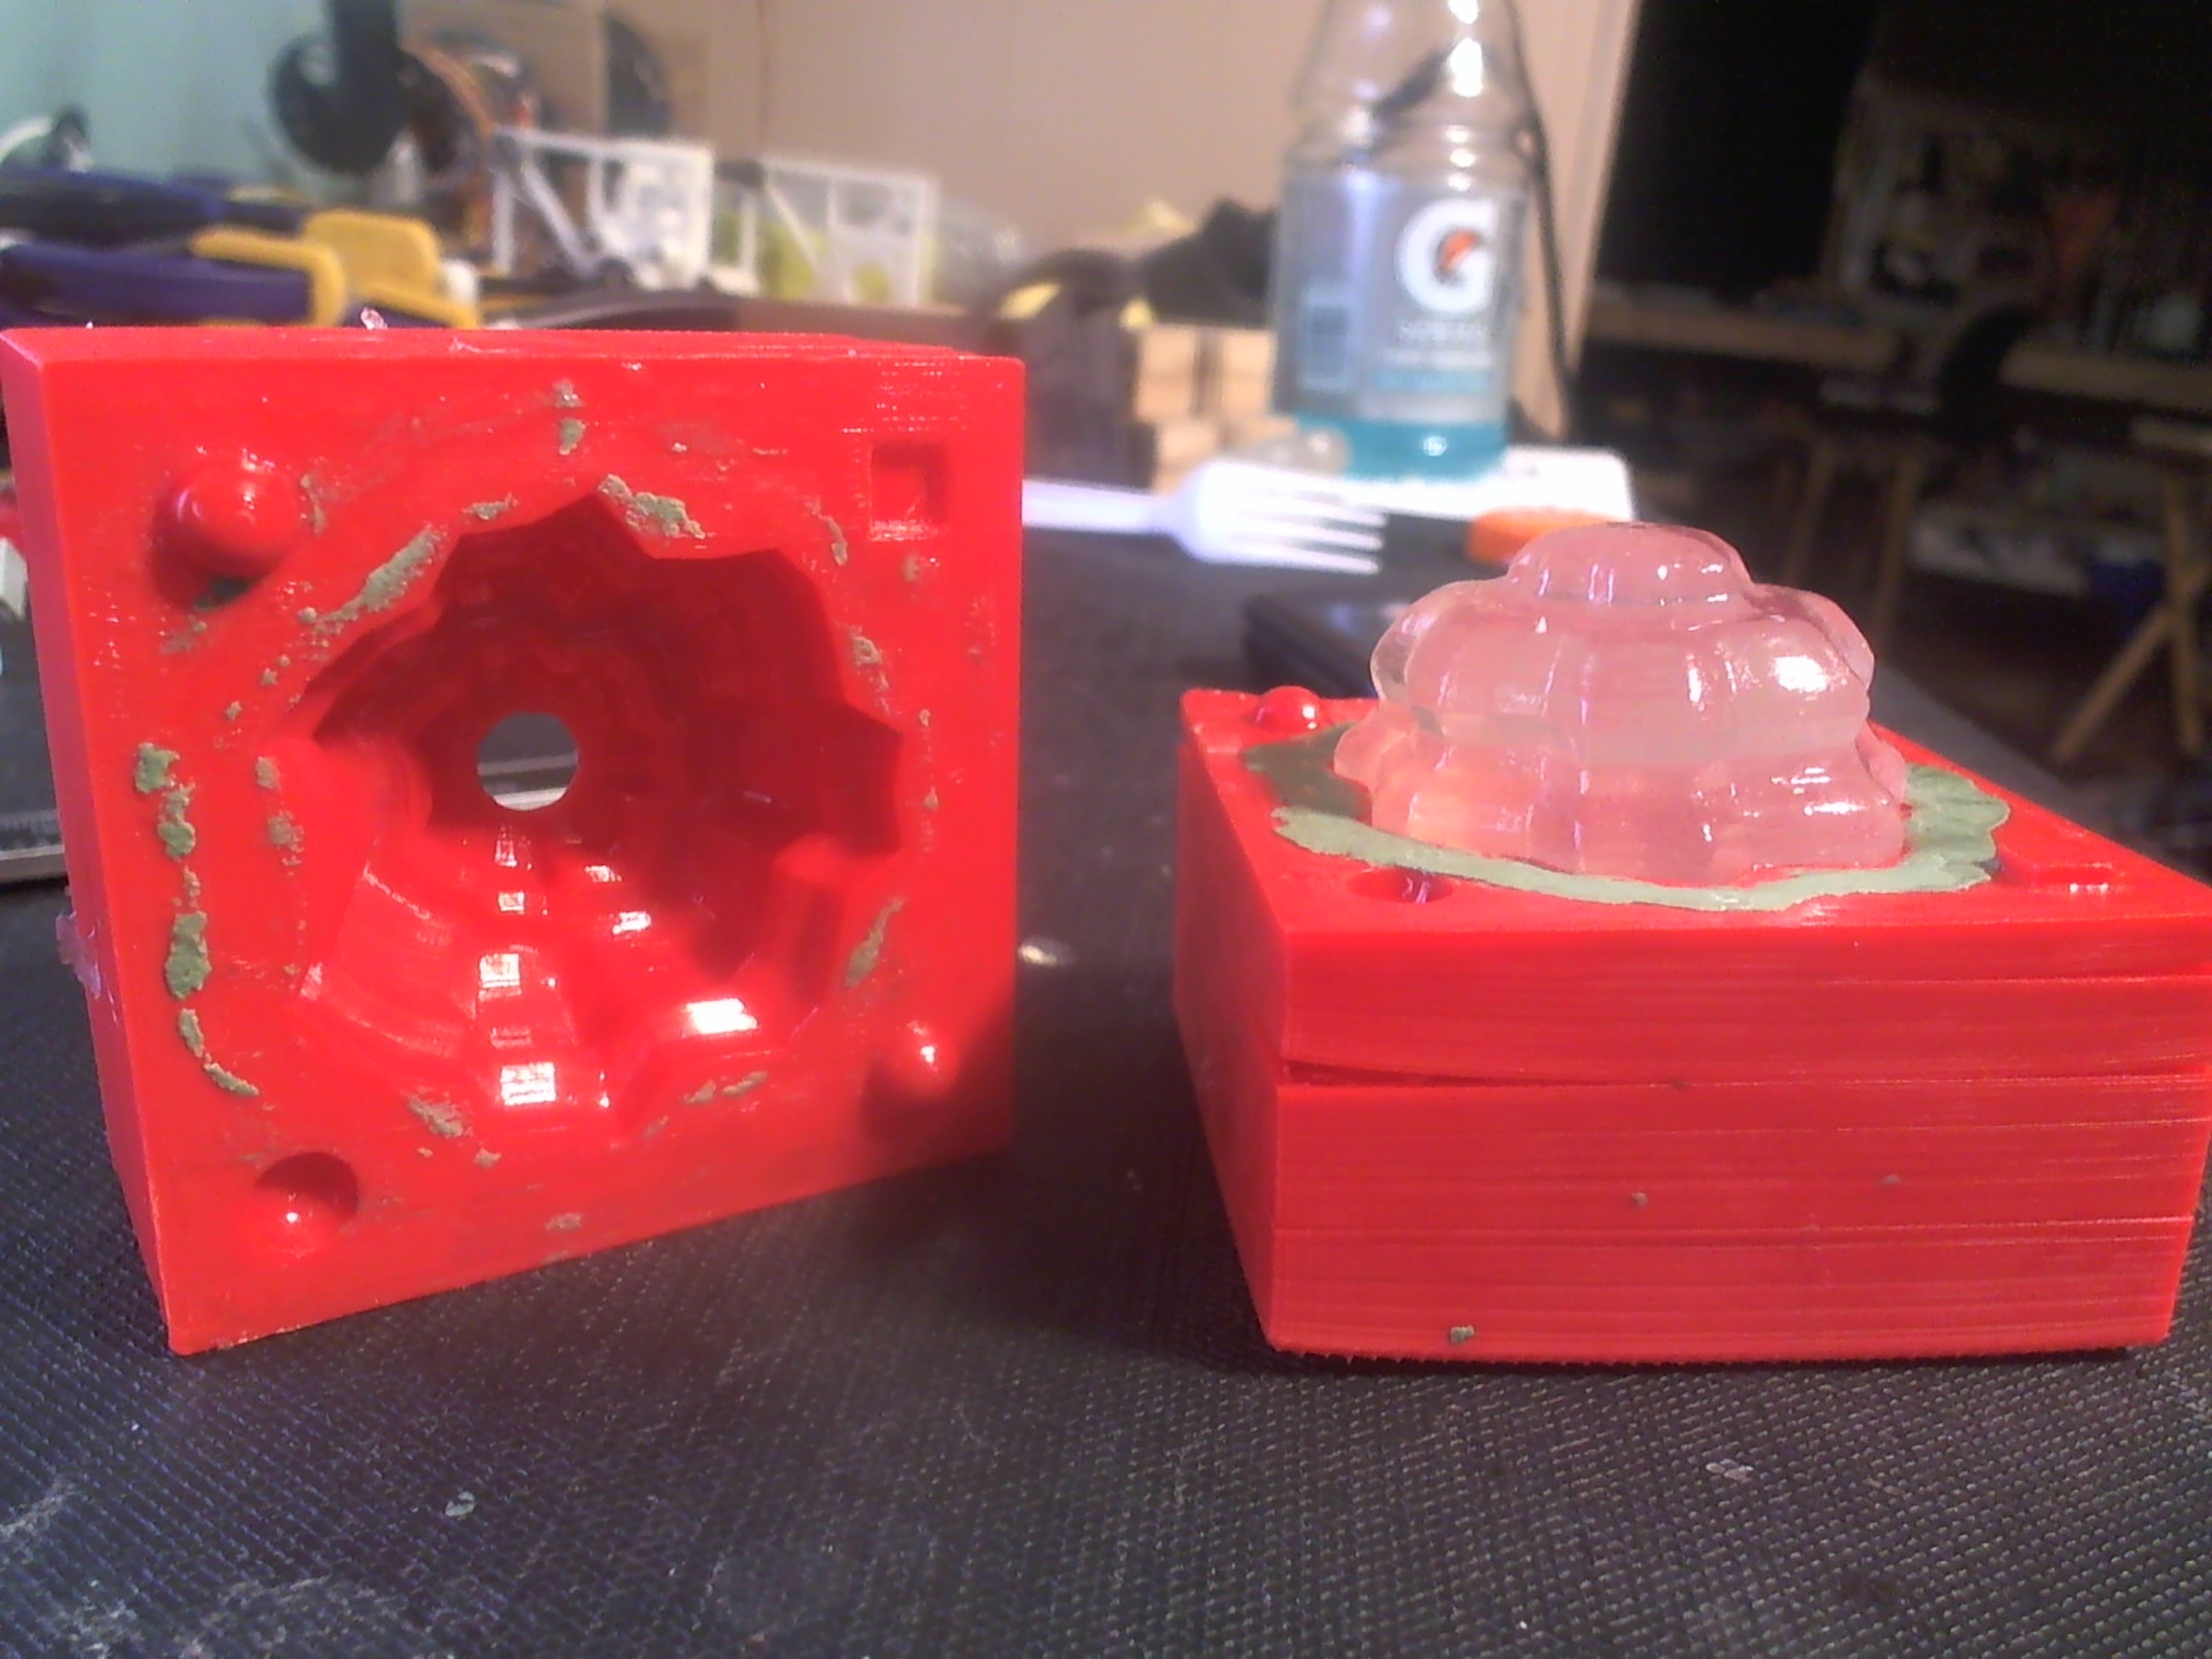
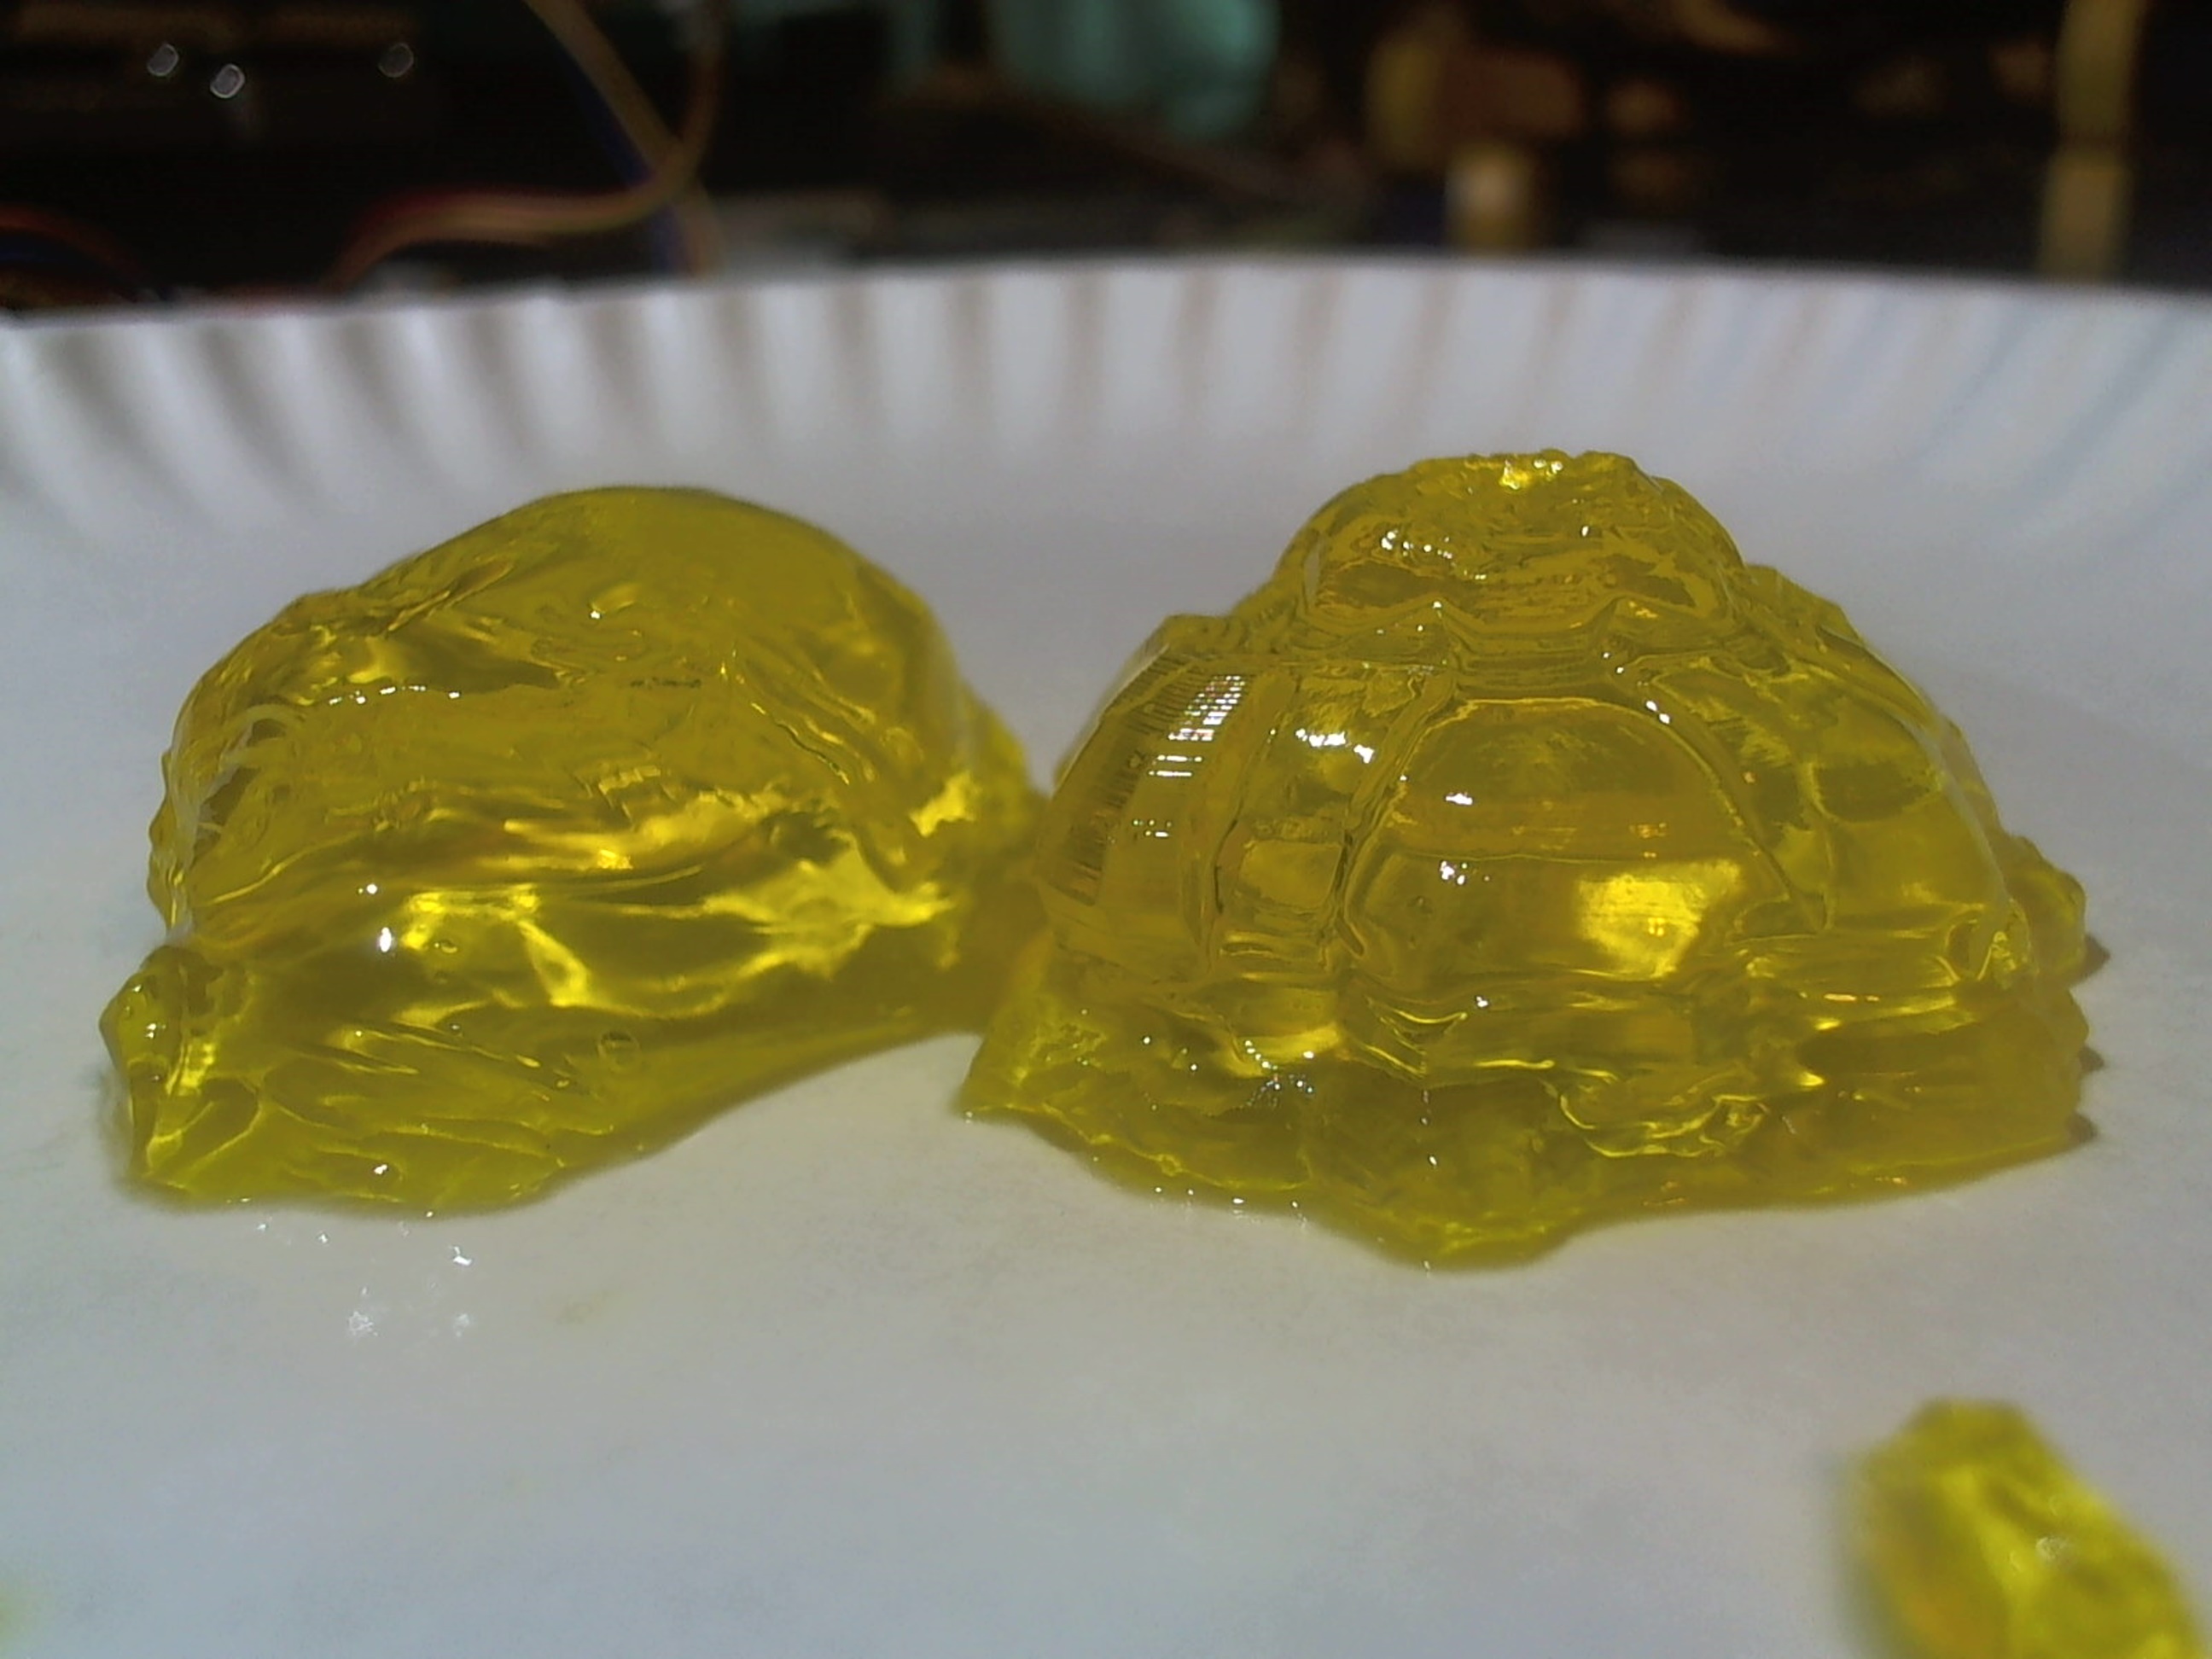
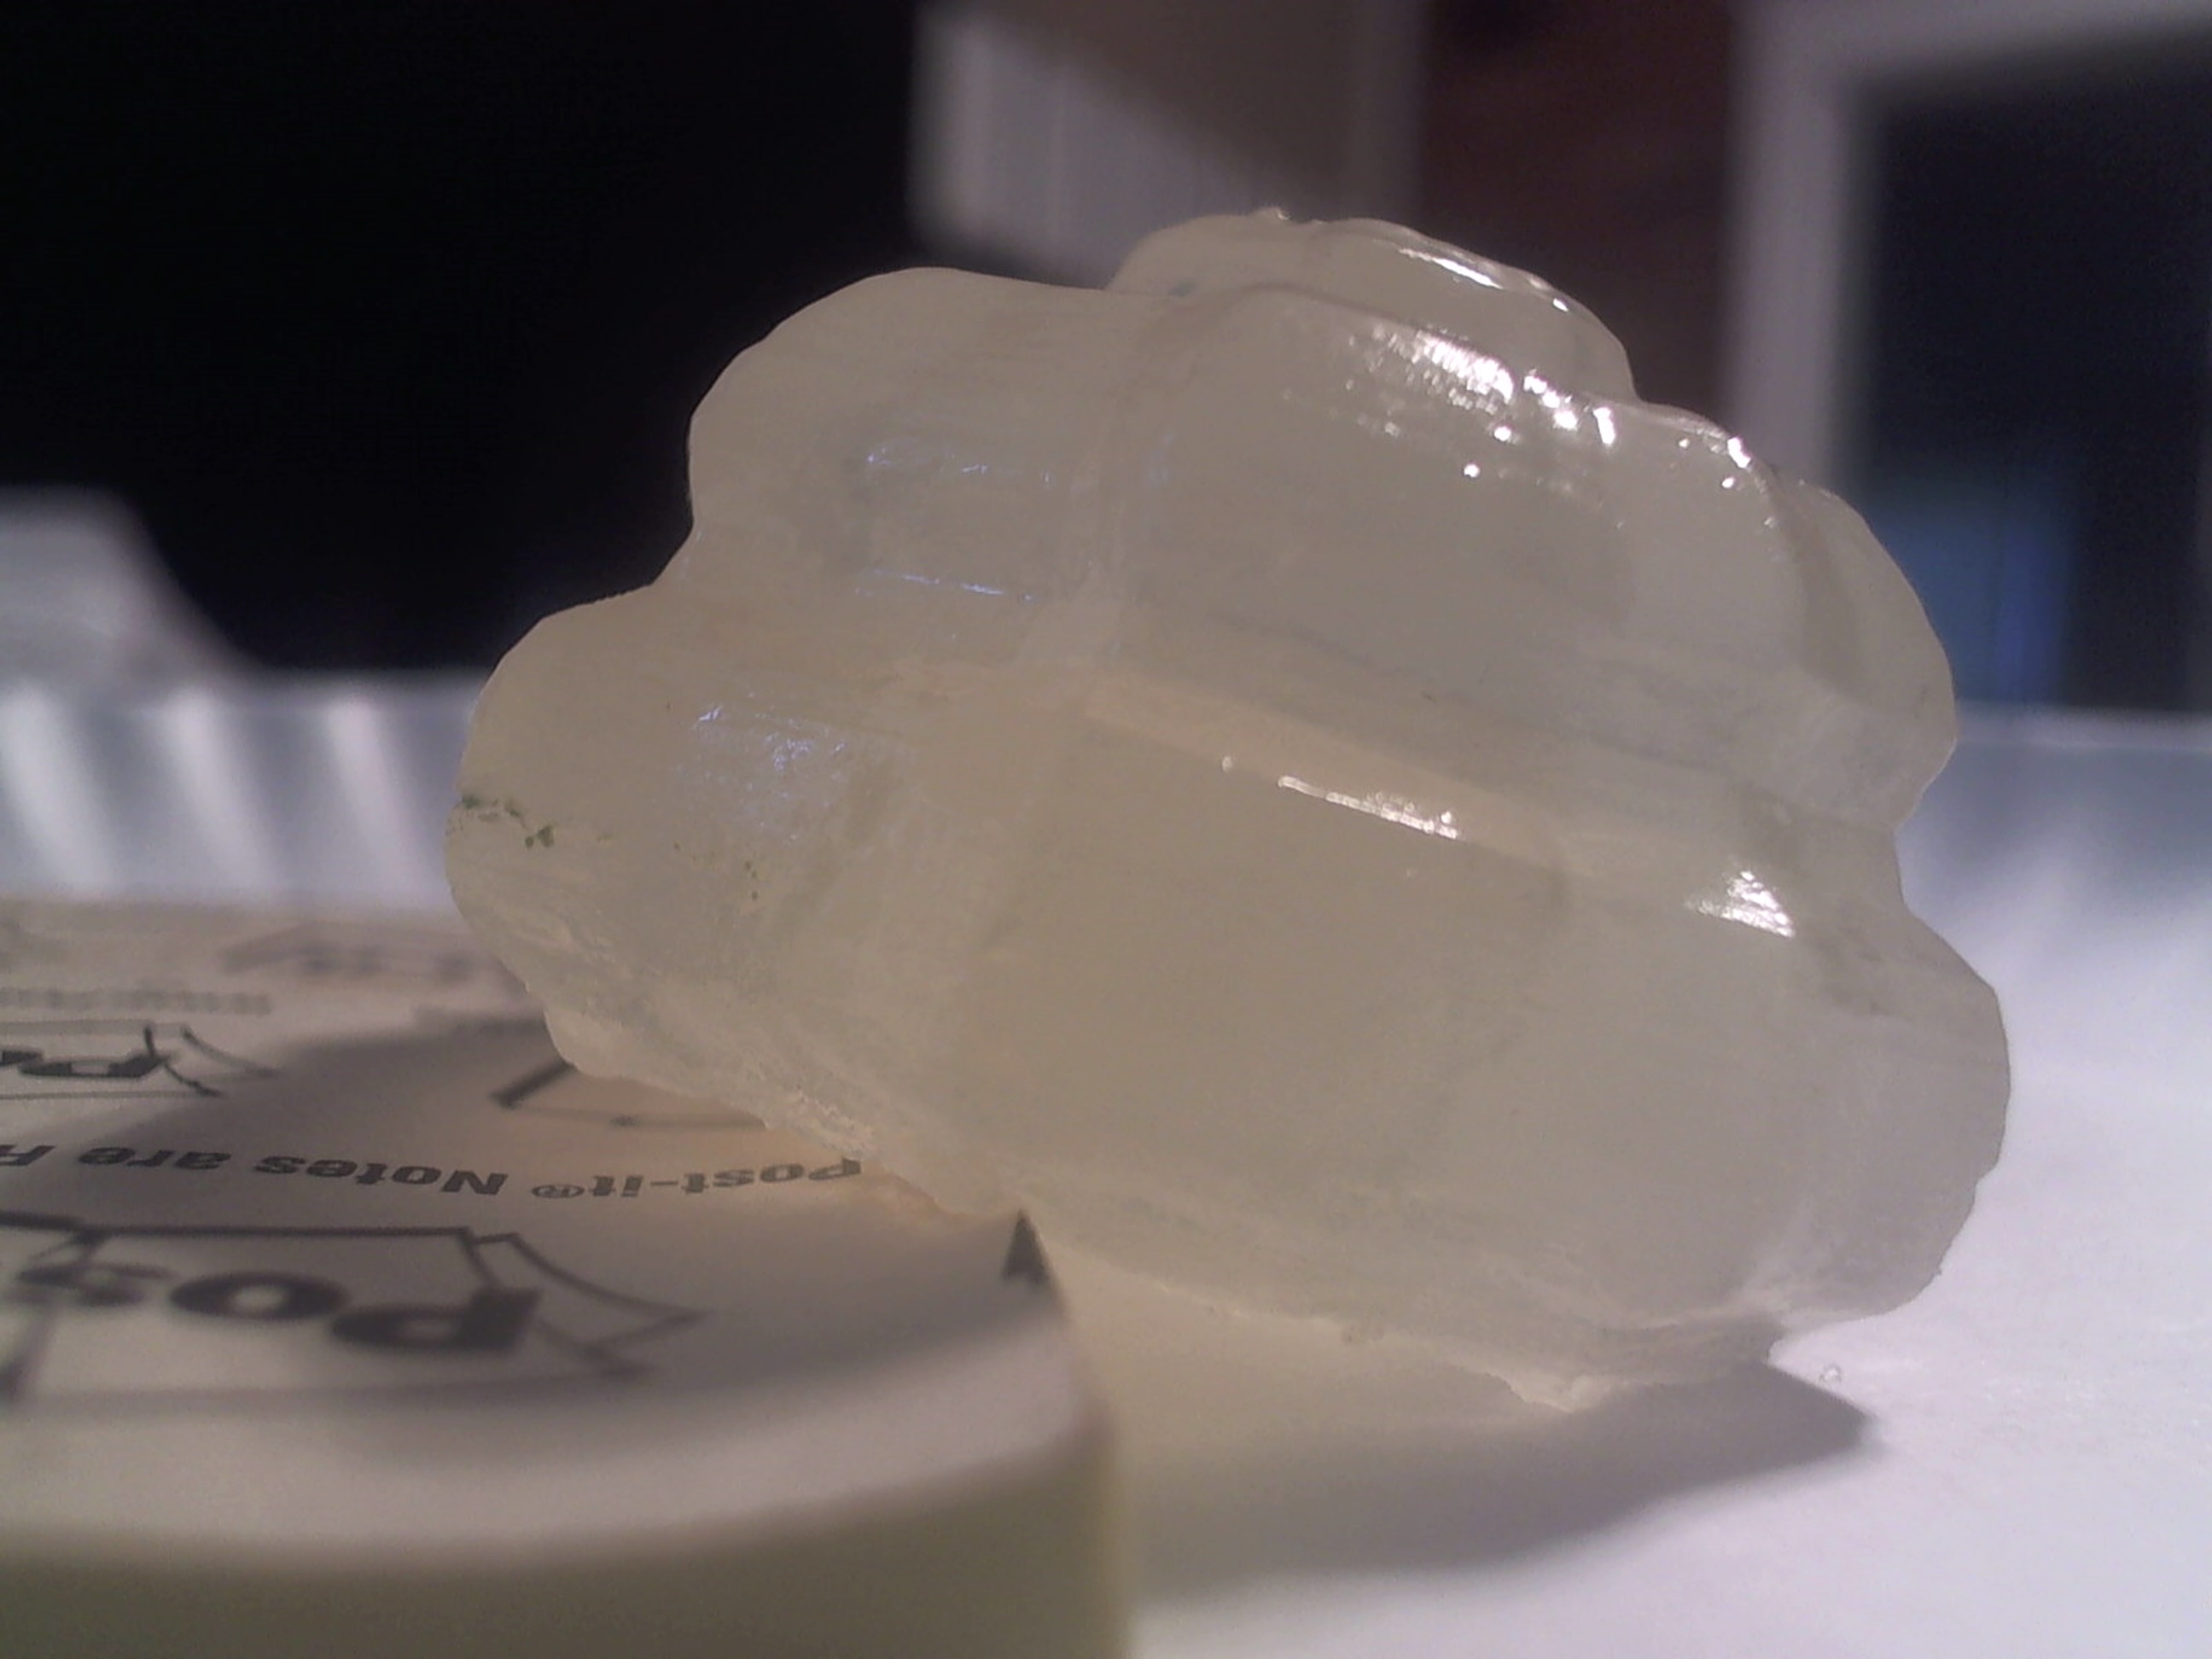
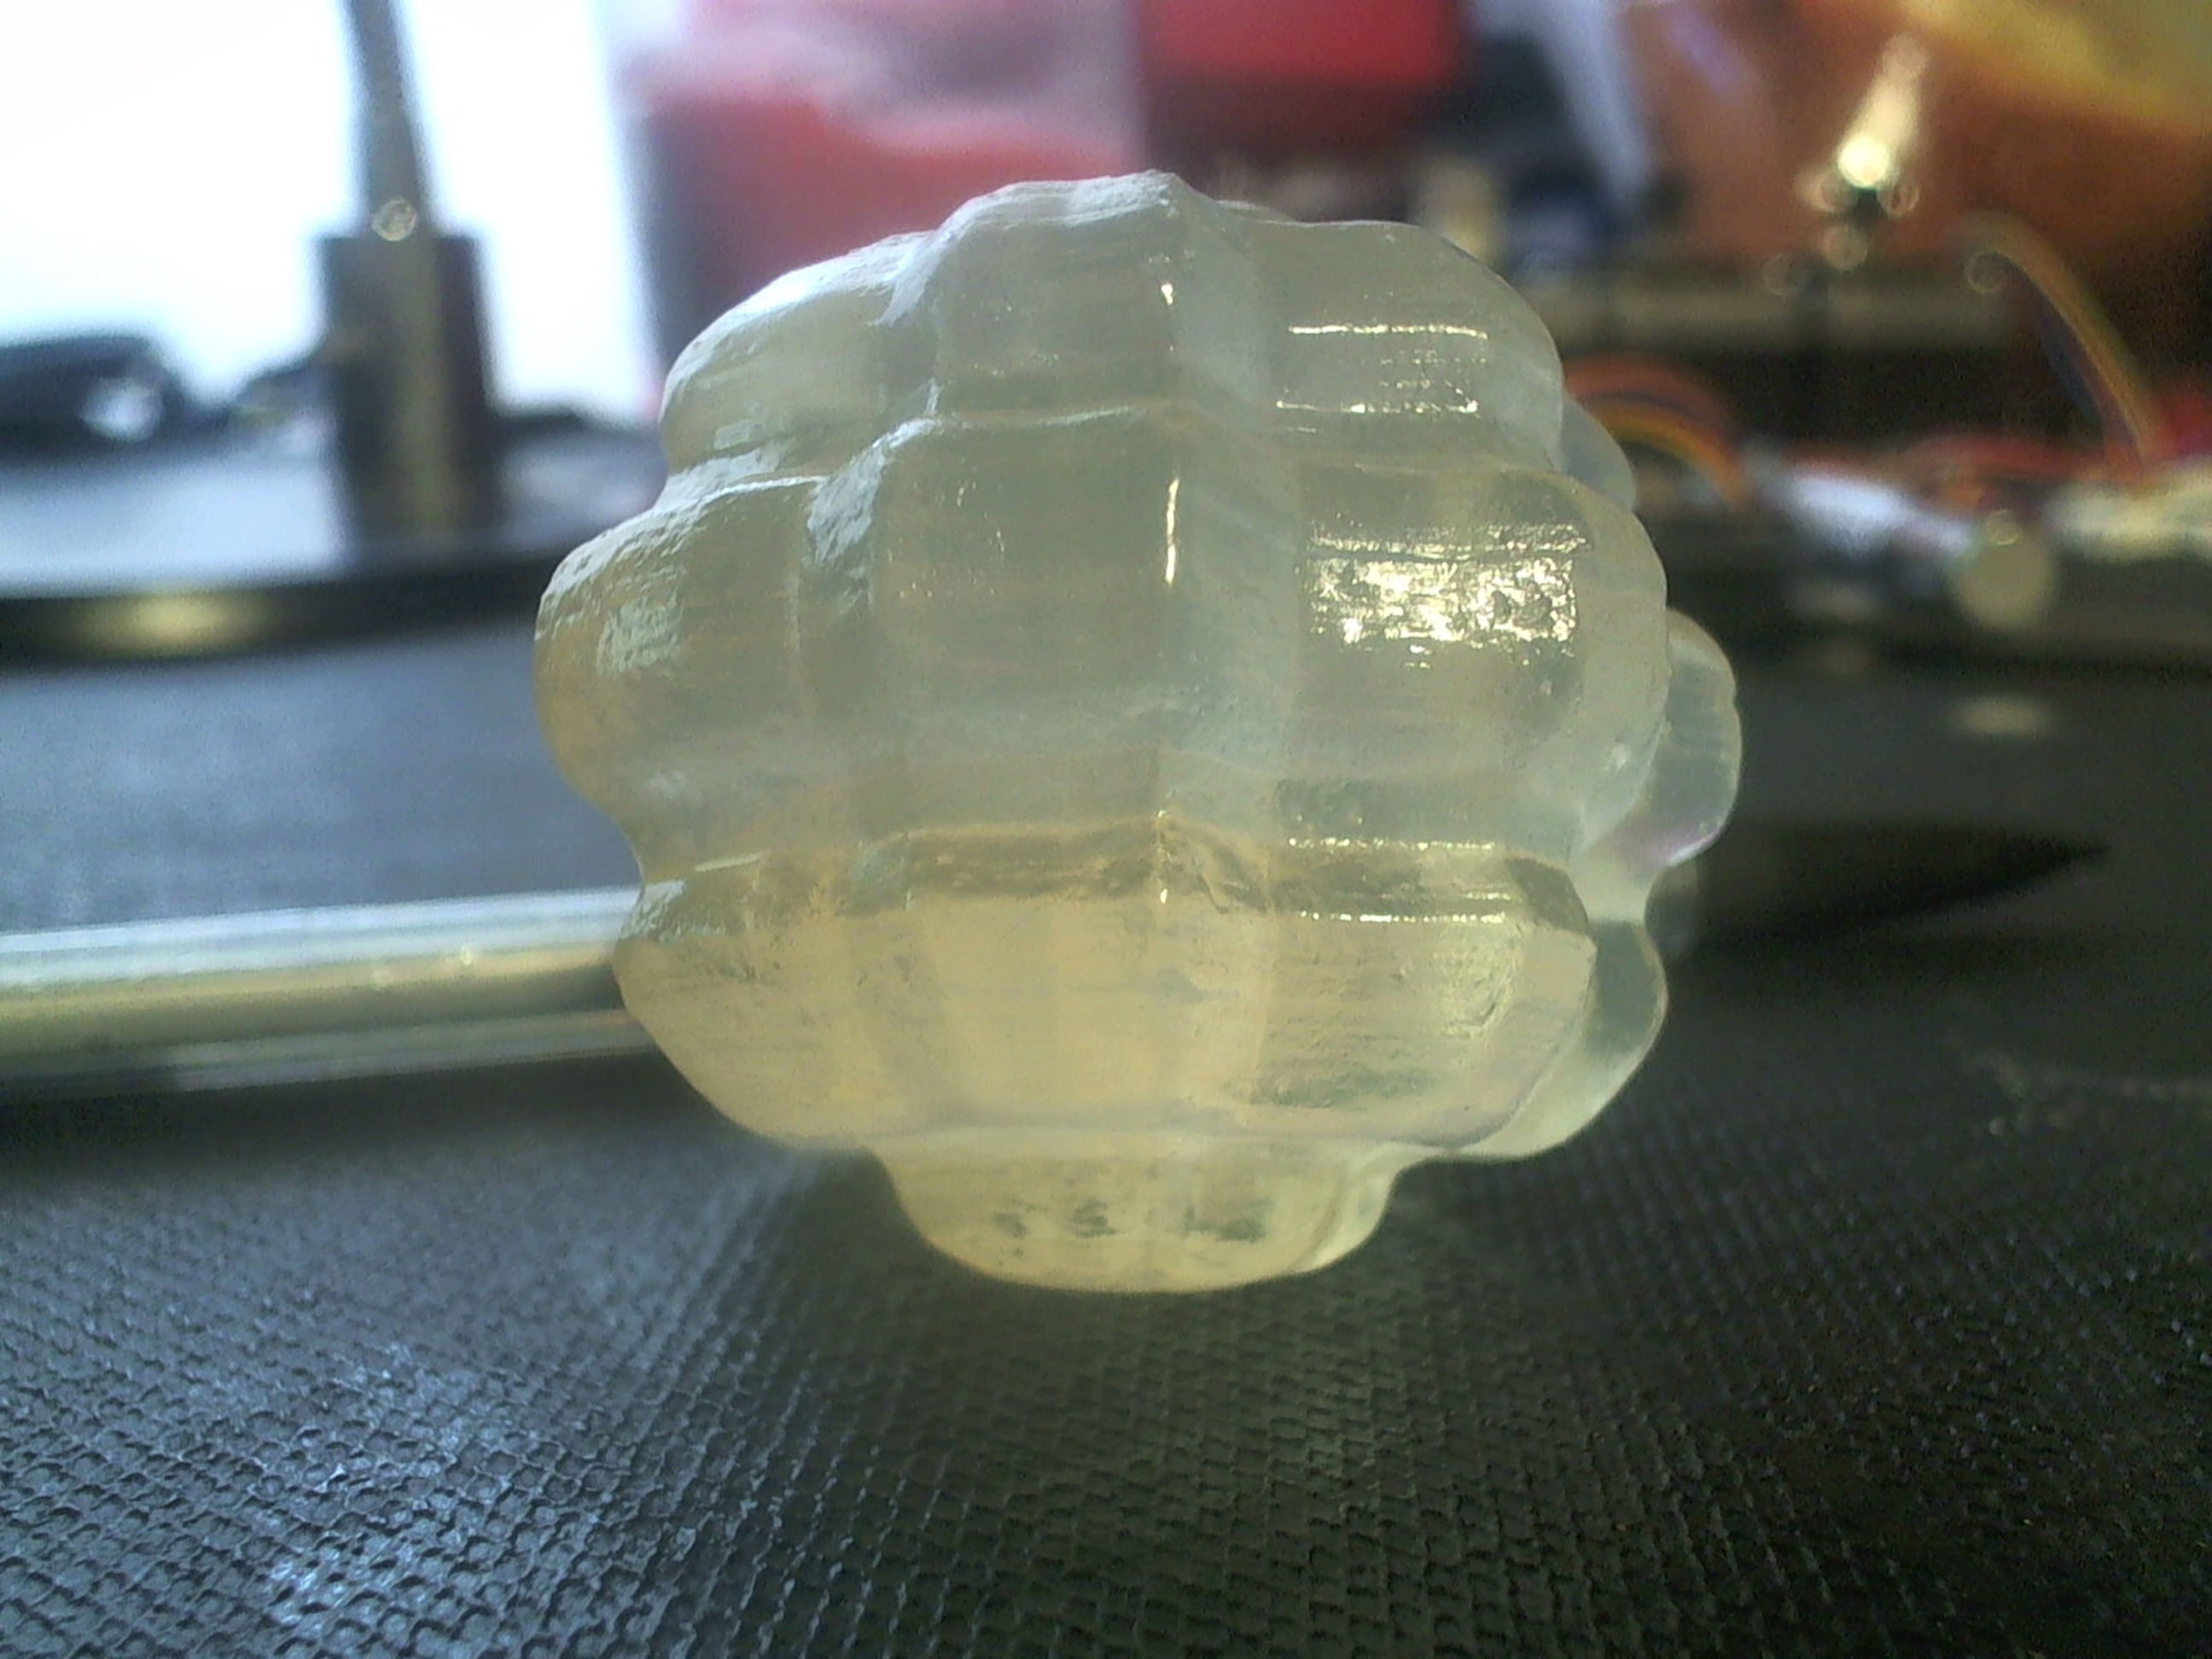
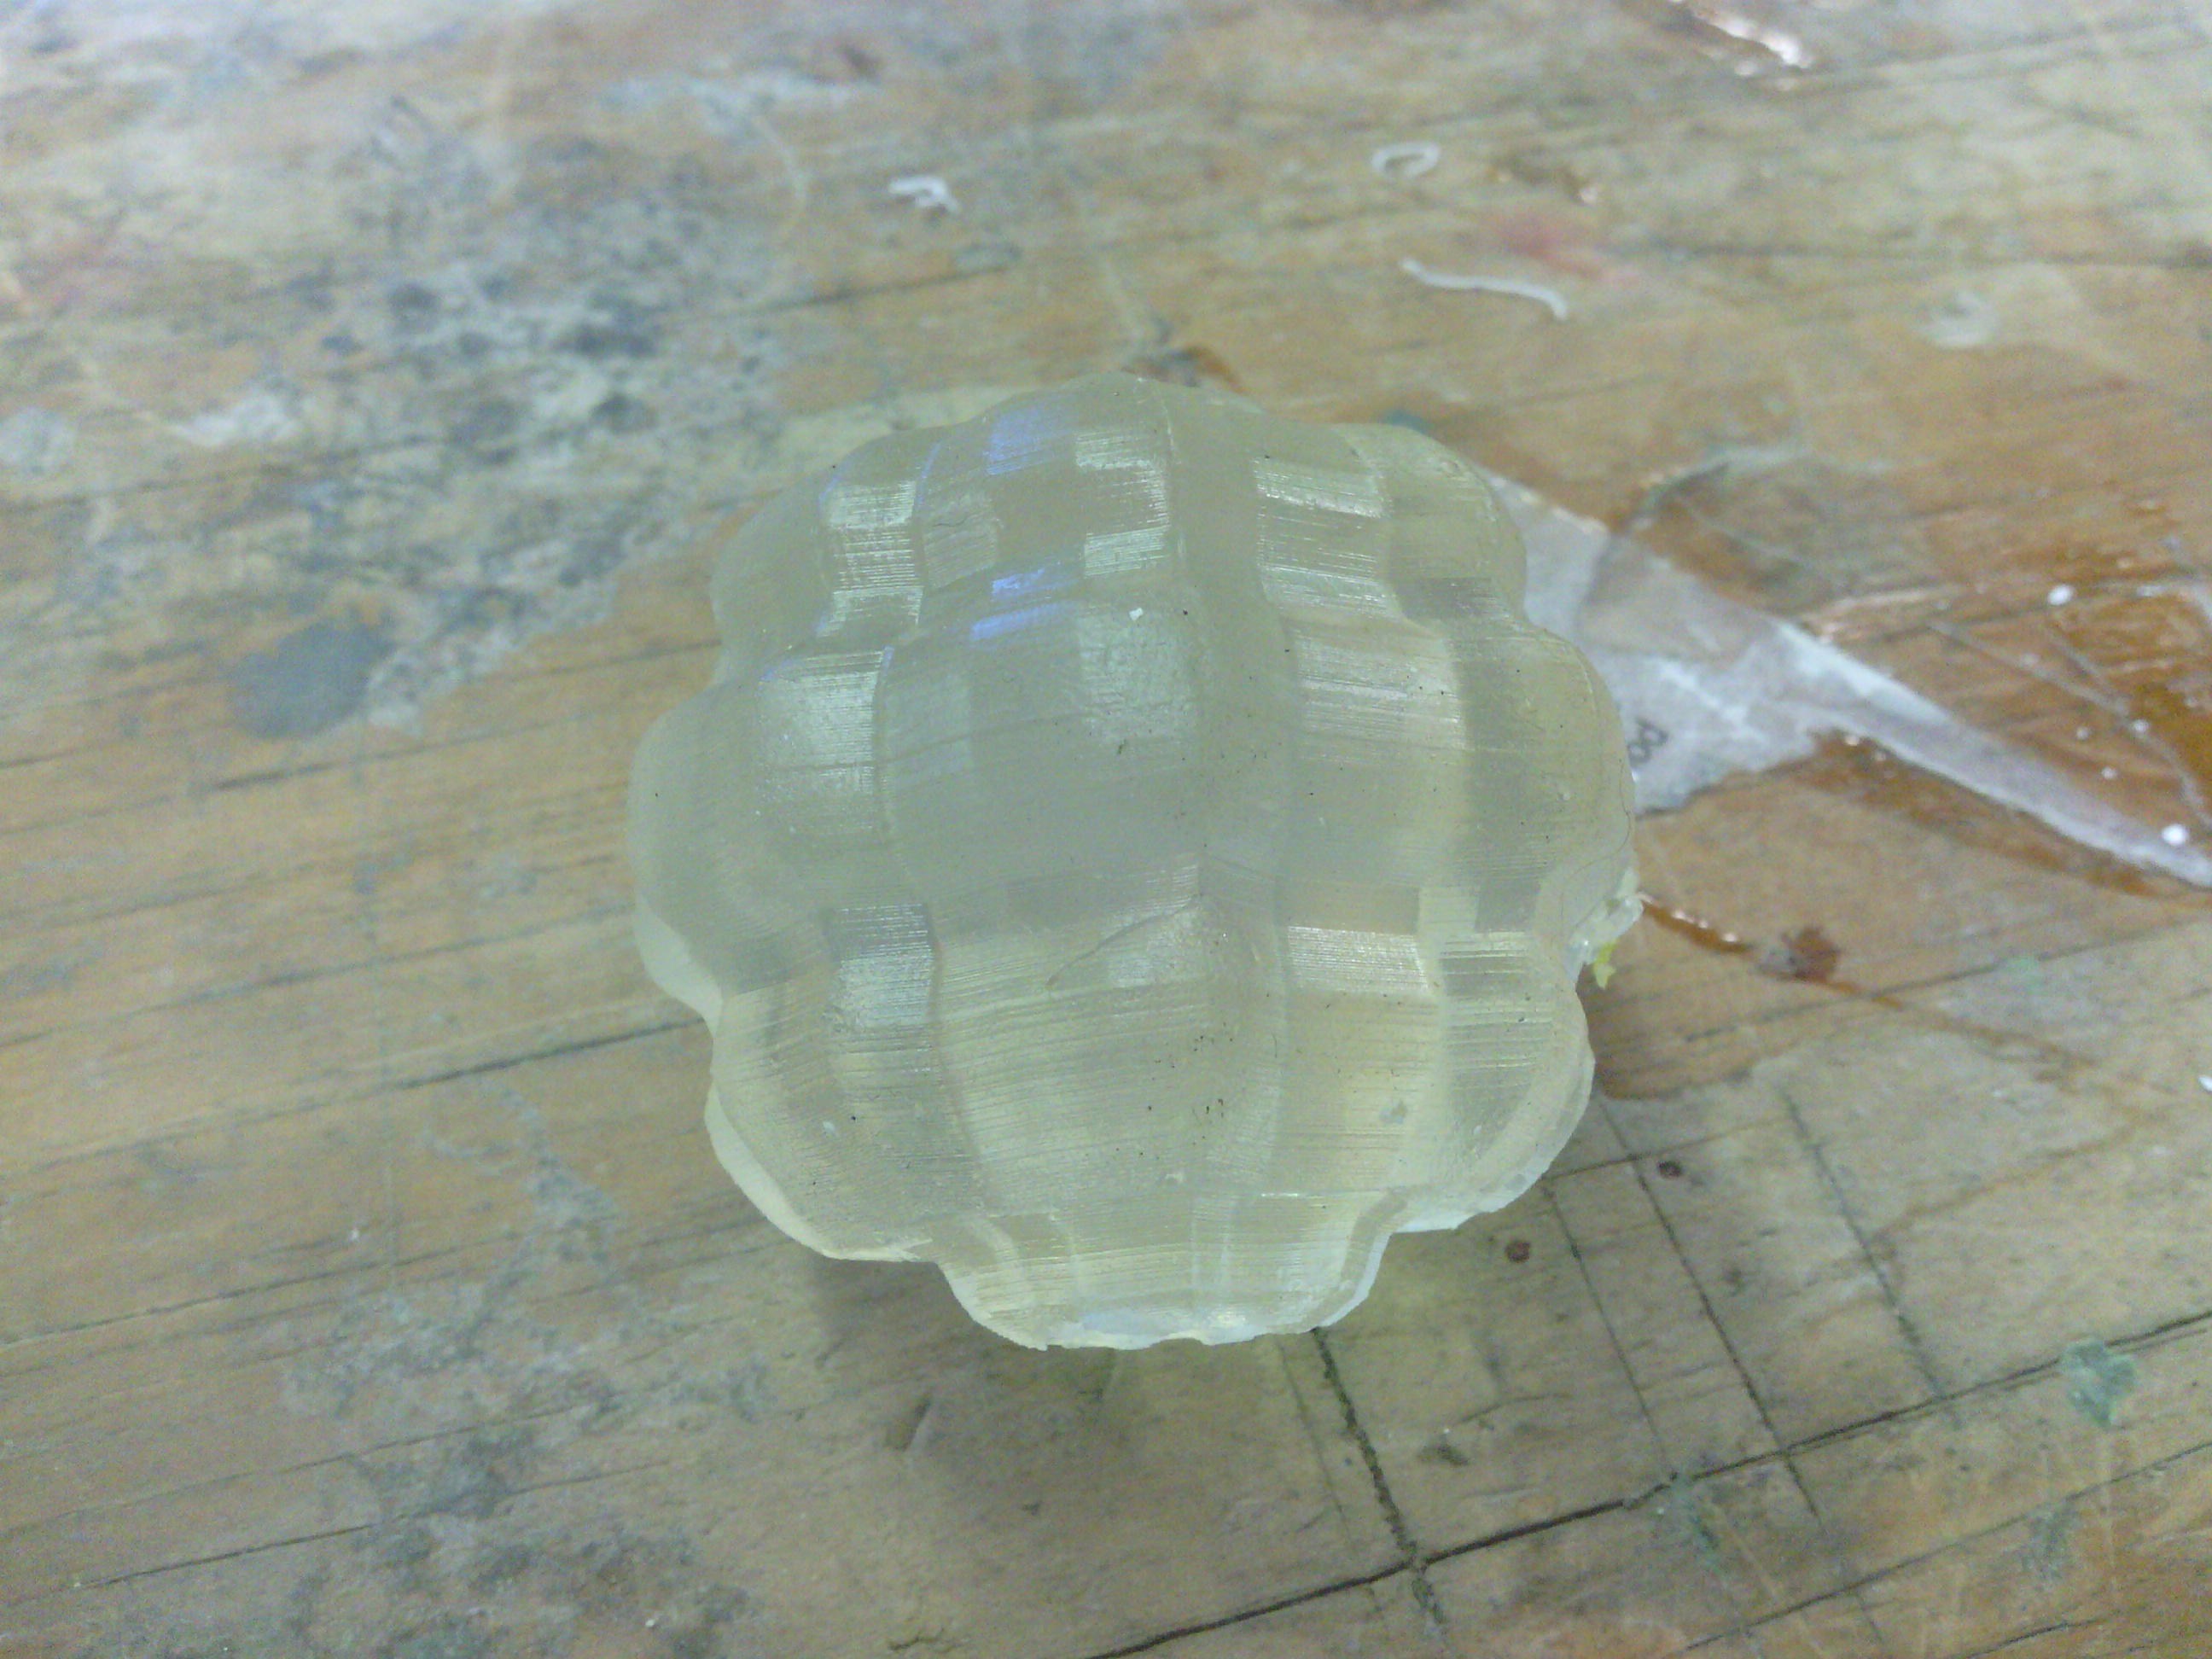
I first tried off-the-shelf off-brand Jell-O, and tried two castings. Neither of them worked, as the Jell-O was just too soft to survive demolding. After a tip from a friend, I tried using Knox unflavored gelatin, along with cooking spray as a release agent, and was able to get much better castings. The Knox castings are much more firm and able to withstand more deformation and handling. Thanks to the cooking spray, the castings literally fell right out of the mold in perfectly intact chunks!
Obviously, Knox gelatin and cooking spray is a great combination, so I’m going to continue using it. The next obvious step is to substitute fruit juice for the water to make the gelatin slightly more palatable, though after Googling “what is gelatin”, I’m not sure that’s possible. It’d be fun to make a few more molds and fill a bowl full of multi-colored gelatin snacks to hand out, so maybe I’ll start working on that!

Up next …
") While writing this post I printed another two-part mold of a different shape, after putting a hood on the MakerBot Replicator. Spoiler alert: it printed out great, and seems to hold water without any sealant needed! Because this new mold has no undercuts, I should be able to cast using solid materials like chocolate, ice and maybe even plaster. Results will be posted here soon, of course.
While writing this post I printed another two-part mold of a different shape, after putting a hood on the MakerBot Replicator. Spoiler alert: it printed out great, and seems to hold water without any sealant needed! Because this new mold has no undercuts, I should be able to cast using solid materials like chocolate, ice and maybe even plaster. Results will be posted here soon, of course.
") I’ve also printed out two open-face molds for some reason. I’m thinking of casting Oogoo (DIY RTV silicone substitute), or plaster, though I have to find a good mold release technique to try first.
I’ve also printed out two open-face molds for some reason. I’m thinking of casting Oogoo (DIY RTV silicone substitute), or plaster, though I have to find a good mold release technique to try first.