Wall plotter update #10: switched to belts and pulleys, distortion problem solved!
After months of tinkering and testing with fishing line and sewing machine bobbins and being unable to fix some pretty bad distortion issues, I finally made the switch to precise timing belts and pulleys! Immediately the majority of the distortion stopped, and I can already tell by watching the pen carriage that the lines are extremely straight and consistent – it almost looks like the pen is locked into straight tracks, rather than being dragged around by small motors!
Decision to stop using fishing line and bobbins
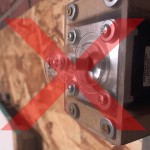 For some reason, I was really set on the idea of using sewing machine bobbins and fishing line as the drive mechanism for my plotter. I had become convinced early on in the project that it should work, because I’ve seen several other plotters do the same without any special notes about the quirks involved. What I have come to understand in hindsight is that lack of documentation does not necessarily mean that there wasn’t anything to document. In fact, there is a very, very important difference between the bobbin-and-line method and the pulley-and-belt method: the fishing line spools up on the bobbin, whereas belts don’t spool up on pulleys.
One big problem that this spooling causes is small fluctuations in the diameter of the spool itself. Originally, I was using fishing line that was 0.015″ (0.38mm) in diameter, which means that its impossible for the effective diameter of the spool to fluctuate by 0.1″ or more! This translates into a surprisingly large amount of distortion in the movement of the pen carriage. I even tried out some super-thin SpiderWire, with a diameter of 0.0015″ (0.0381mm) and still had too much distortion!
Essentially, as the fishing line spools up on the bobbin, it does so a somewhat non-predictable fashion, sometimes overlapping itself and sometimes sitting right next to the last loop on the spool. Sometimes, overlaps can even shift under tension! It’s one thing to compensate for spooling affecting the bobbin diameter in software, its another thing to build more hardware to correctly spool and unspool the fishing line.
All in all, while I’m still not 100% convinced that using fishing line and bobbins is inherently a bad idea, but I am 100% convinced that using timing belts and pulleys is a better idea.
Finding timing belts and pulleys
The documentation of the project my plotter is based on (Der Kritzler) states that T2.5 timing belts and 22-teeth pulleys are used. However, his sources are in Germany, so I needed to find the parts in the US. Here is what I found:
- Belts: T2.5 pitch, 6mm width, 538 teeth from Econobelt (QB-T2.5-1345-06) = $4.53 * 2 + $9.76 S&H = $18.82
- Pulleys: T2.5 pitch, 6mm width, 22 teeth from SDP-SI (A6M32M022DF0604) = $5.79 * 2 + S&H
Installing the belts and pulleys
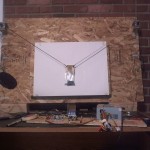 Installation is pretty simple, and doesn’t really have too many surprises.
- Attach the pulleys to the stepper motor shafts. For me, I had to bore the inner diameter out a little to fit my motors.
- Connect one end of each timing belt to the pen carriage. I created a simple loop held with a zip tie to do this.
- Attach a weight to the other end of each timing belt. Don’t use anything much heavier or lighter than the pen carriage, or you’ll get some slipping.
- Lay the belts over the pulleys and let the pen carriage and weights hang freely
First prints using belts and pulleys
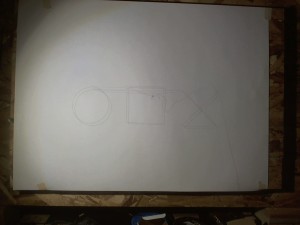
Two successful shape tests. No distortion between prints or overall – just a small amount of translation due to manually placing the pen carriage between takes.
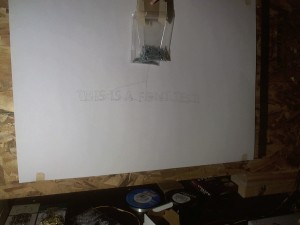
Simple font test. Small amount of downward drift and goofs inside of characters, but overall very good and legible. Indicates a small amount of belt slippage.
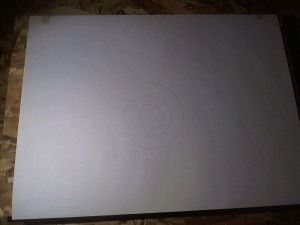
Pretty damn good looking spiral. No apparent vertical or horizontal distortion. Only a small amount of translation between starting and ending points, likely due to the pen angling in the carriage.