Design of space ship control panel for Kearney Area Children’s Museum
In June, I began working on a custom control panel to be installed in an upcoming exhibit at the Kearney Area Children’s Museum’s Science Zone. The exhibit will be a sizable, hand-made space ship, which is being designed and built by Jim and Sue Petersen, and will include several remarkable features:
- Custom futuristic nose-cone hand-built by members of the Experimental Aircraft Group of Kearney
- Control panel, including synthesizer, sound repeaters and LED displays, built by myself
- Intelligent sound system comprised of six 120W speakers, three amps and various control circuitry
- Main body built by the Petersens, containing LCD screens, ‘escape hatch’ slide, and lots of decorations and toys
Preliminary planning and sketches
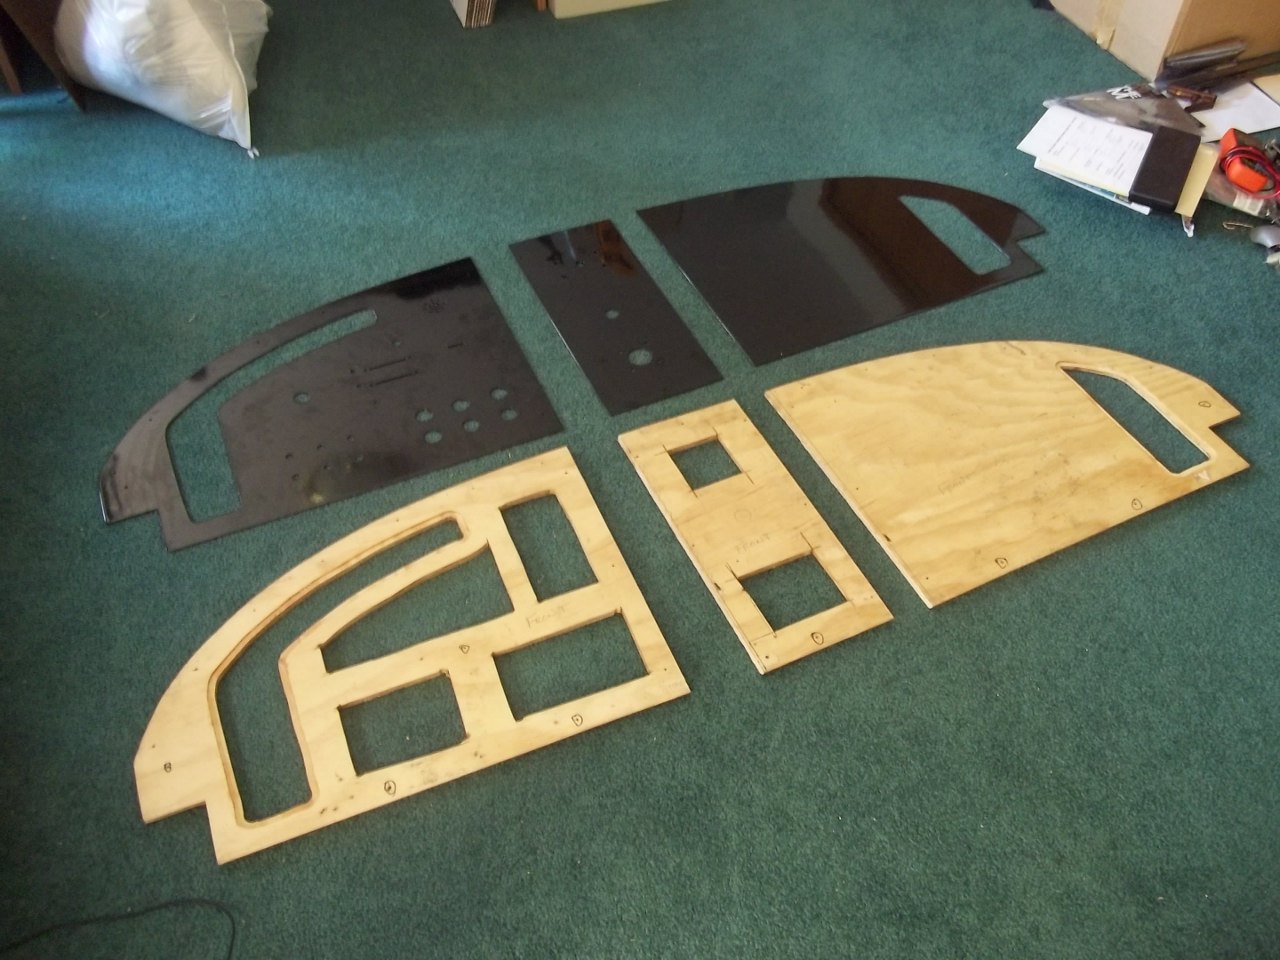
 First, I created a scale drawing of the control panel, based on dimensions given to me by the Experimental Aircraft Group, then drew various features that I would have liked to implement. Most of the features I planned were feasible, though some not in the same way I initially thought. I decided that the control panel would be split into three sections, with most of the custom electronics residing in the left-most section.
Fabrication
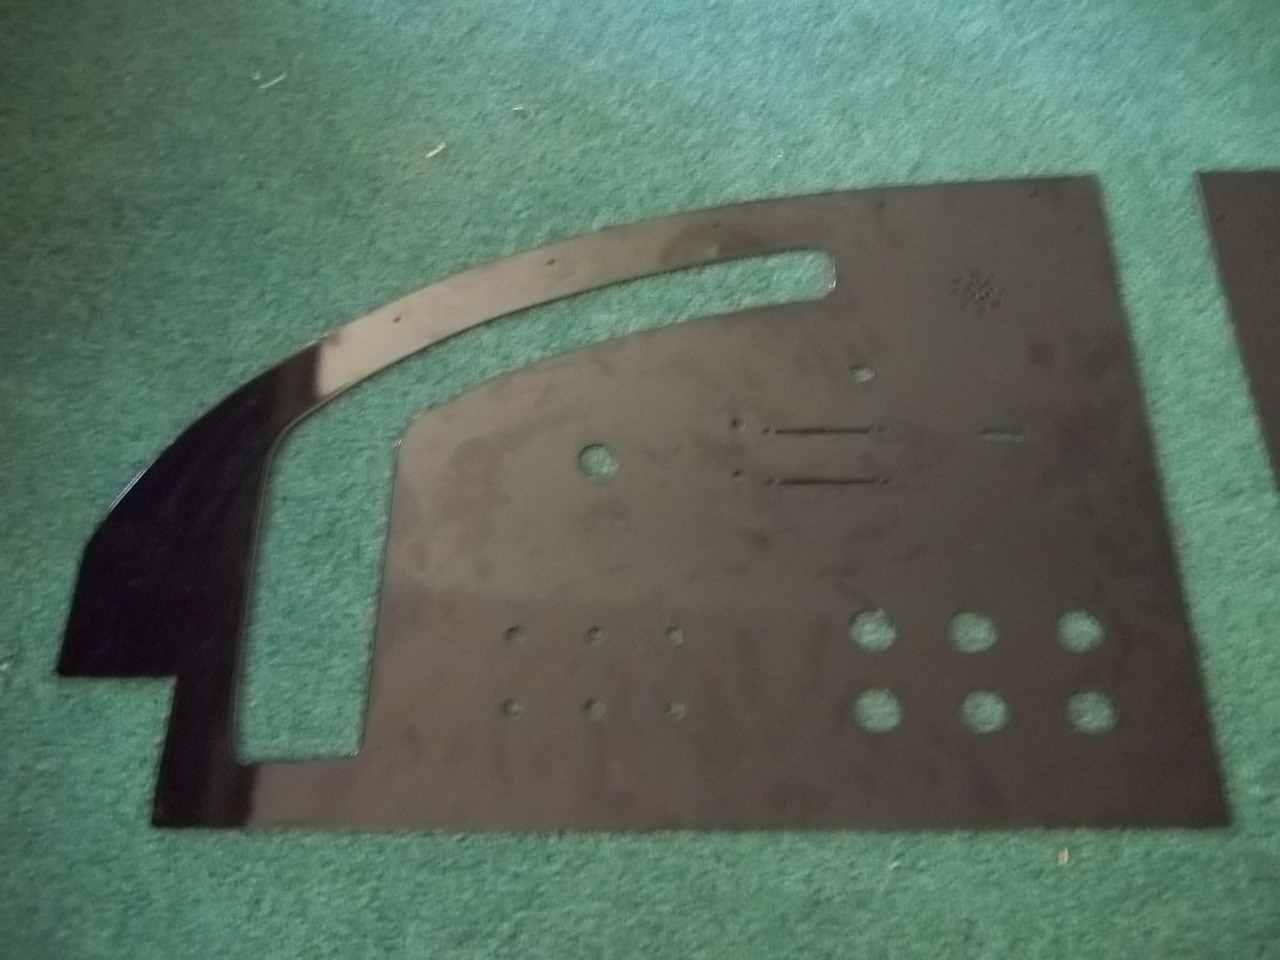
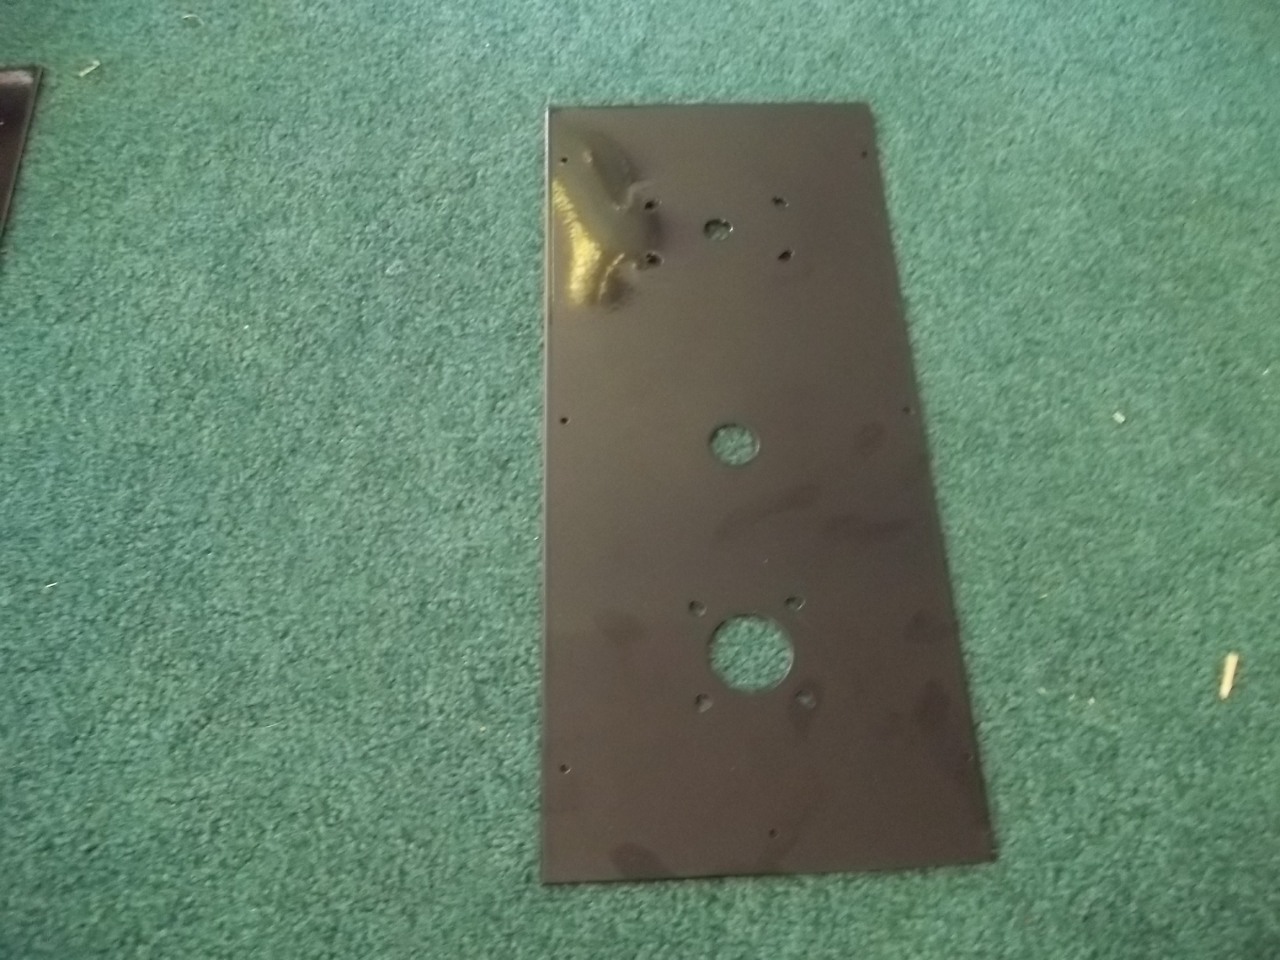
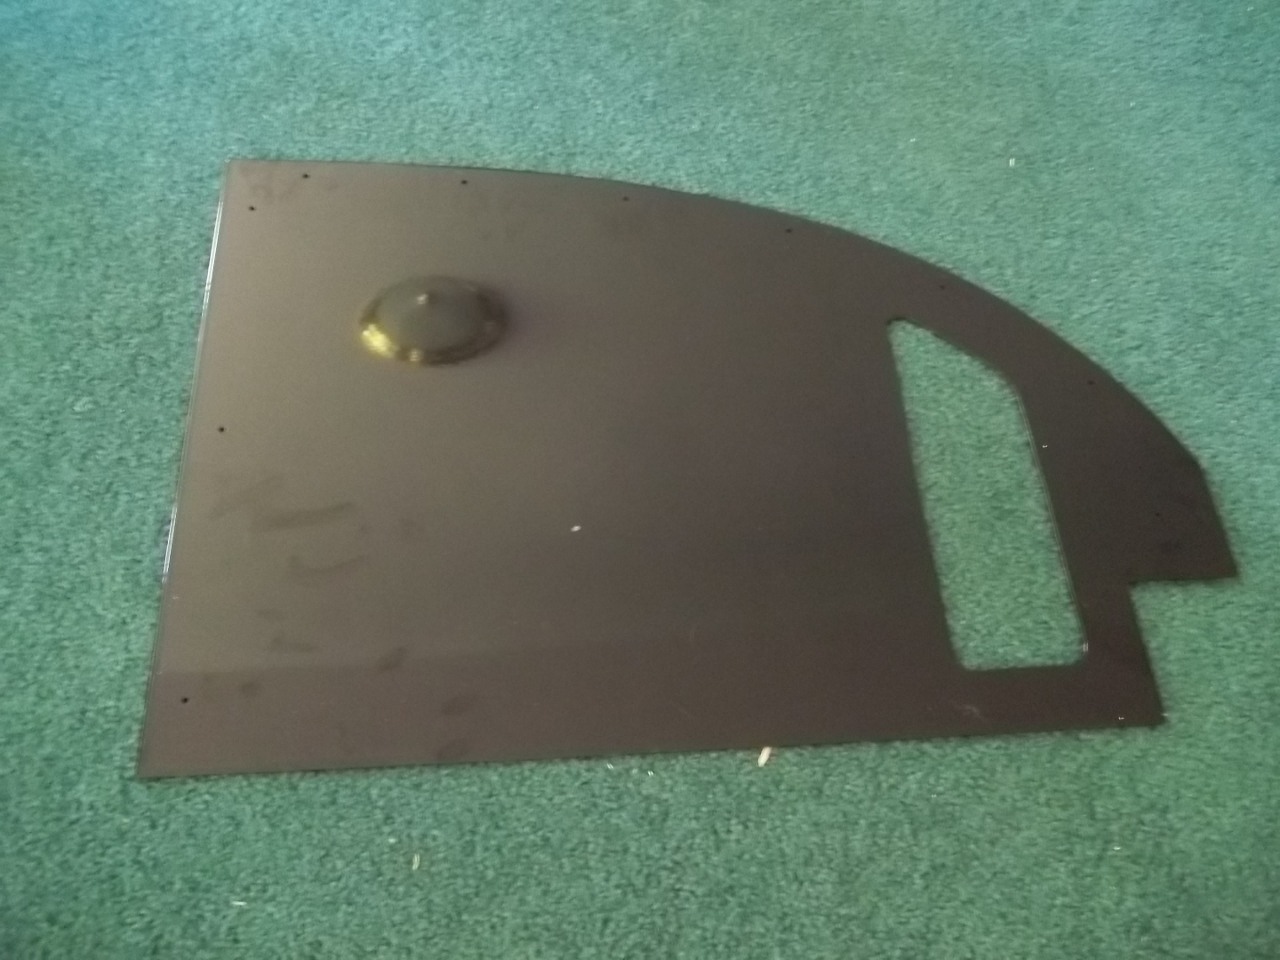
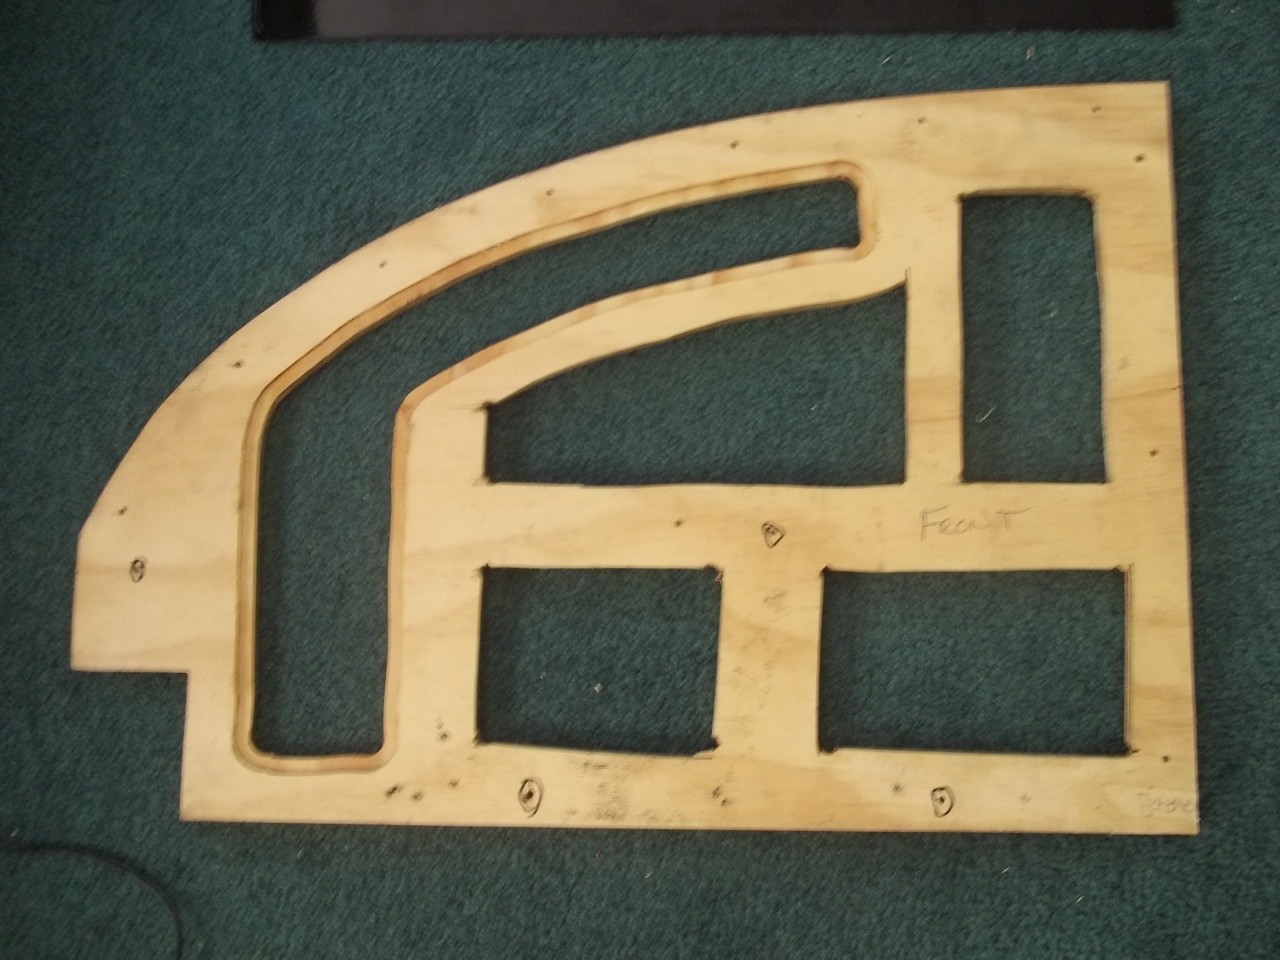
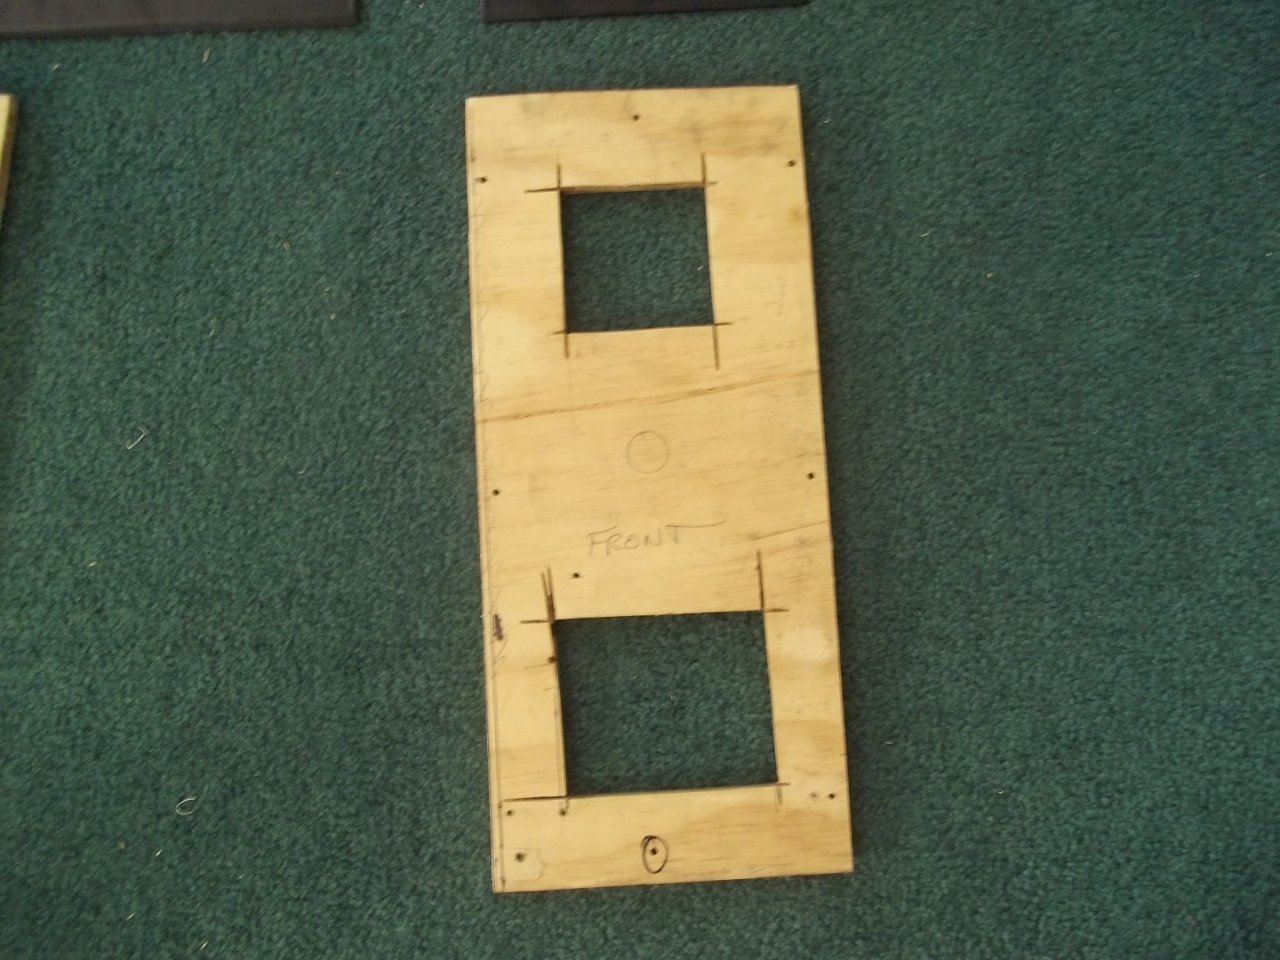
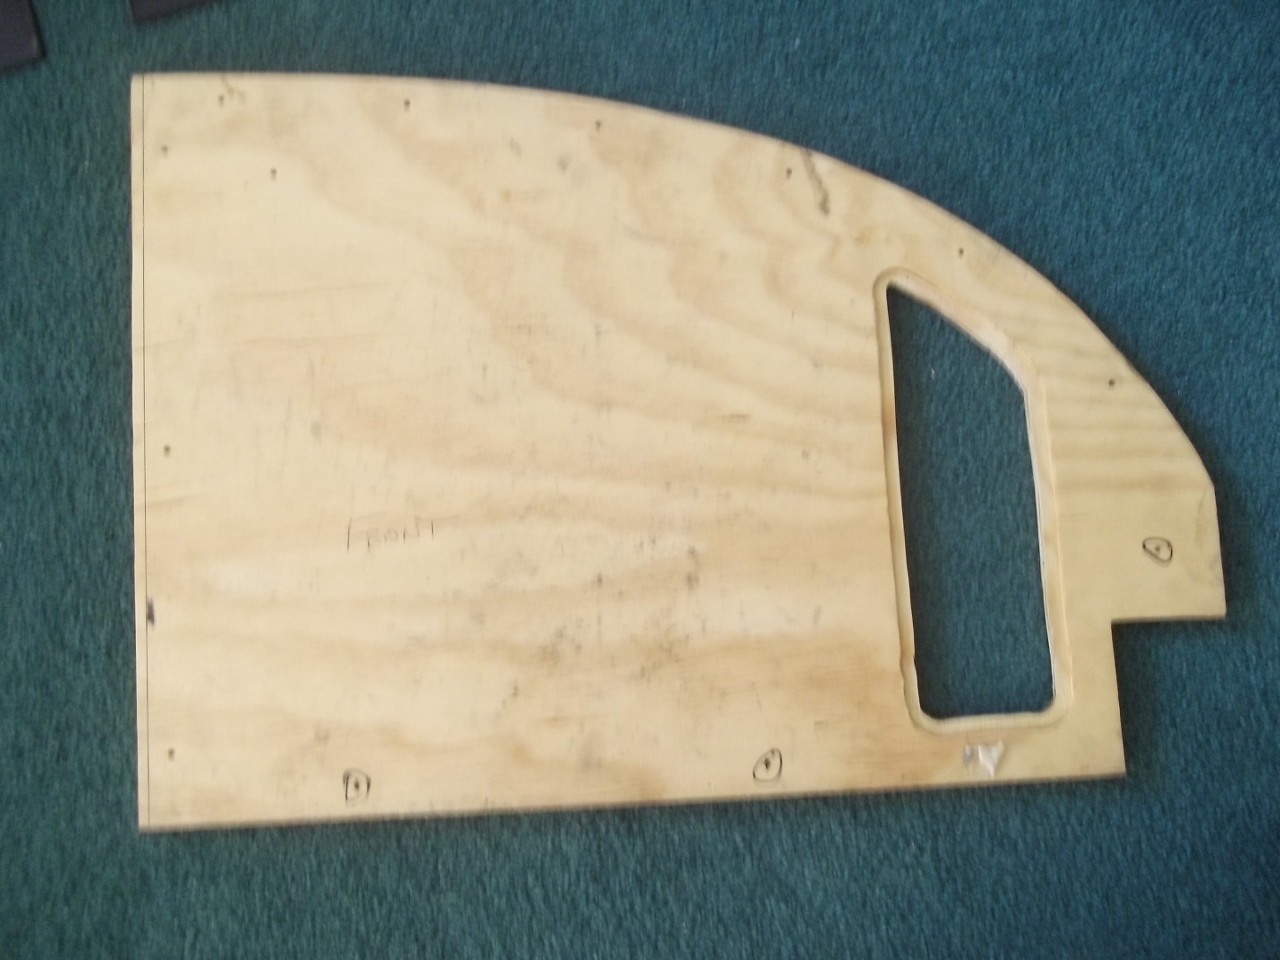
After a couple weeks, the Experimental Aircraft Group gave me a plywood form built to fit into their custom nose-cone for the space ship, for me to install electronics into. However, it was quickly realized that even when painted, a plywood panel would not be very durable, or futuristic for that matter. Therefore, we asked Gary Forbes, owner of the Marlatt Machine Shop in Kearney, to fabricate a thin steel faceplate to be overlaid and bolted onto the plywood form, which could be powder-coated with a high-gloss black finish by ACE Irrigation of Kearney.
Decals
 To bring a little more realism and futuristic feel to the control panel, I felt that some identification markings and text was necessary to complete the aesthetic appeal of the control panel. I took measurements of all of the electronics parts, then created full-scale graphics in Photoshop. These graphics were then printed out by LIPS Printing Service in Kearney as special adhesive paper decals, which I then manually applied to the surface of the powder-coated steel faceplate. The effect was better than expected, and was extremely cheap as well! However, the customer service and ease of use use at LIPS leaves much to be desired, so I’ll probably try another shop for the next time I need to do this.
At this point, the control panel was ready for me to begin installing the electronics to bring it all to life. Since there is quite a bit of electronics work embedded in this project, I’ve split the next steps into individual posts: